
Rendezvous FWD V6-3.5L VIN L (2006)
Trim Panel: Service and Repair
Trim Panel Replacement - Lower Center Pillar
TRIM PANEL REPLACEMENT - LOWER CENTER PILLAR
REMOVAL PROCEDURE
1. Remove the front and rear door sill plates.
2. Remove the upper seat belt guide loop attachment from the adjuster bracket.
3. Remove the front seat belt from the front seat.
4. Remove the seat belt escutcheon from the center lower trim panel using a small flat bladed tool.
IMPORTANT: The seat belt escutcheon is part of the seat belt assembly.
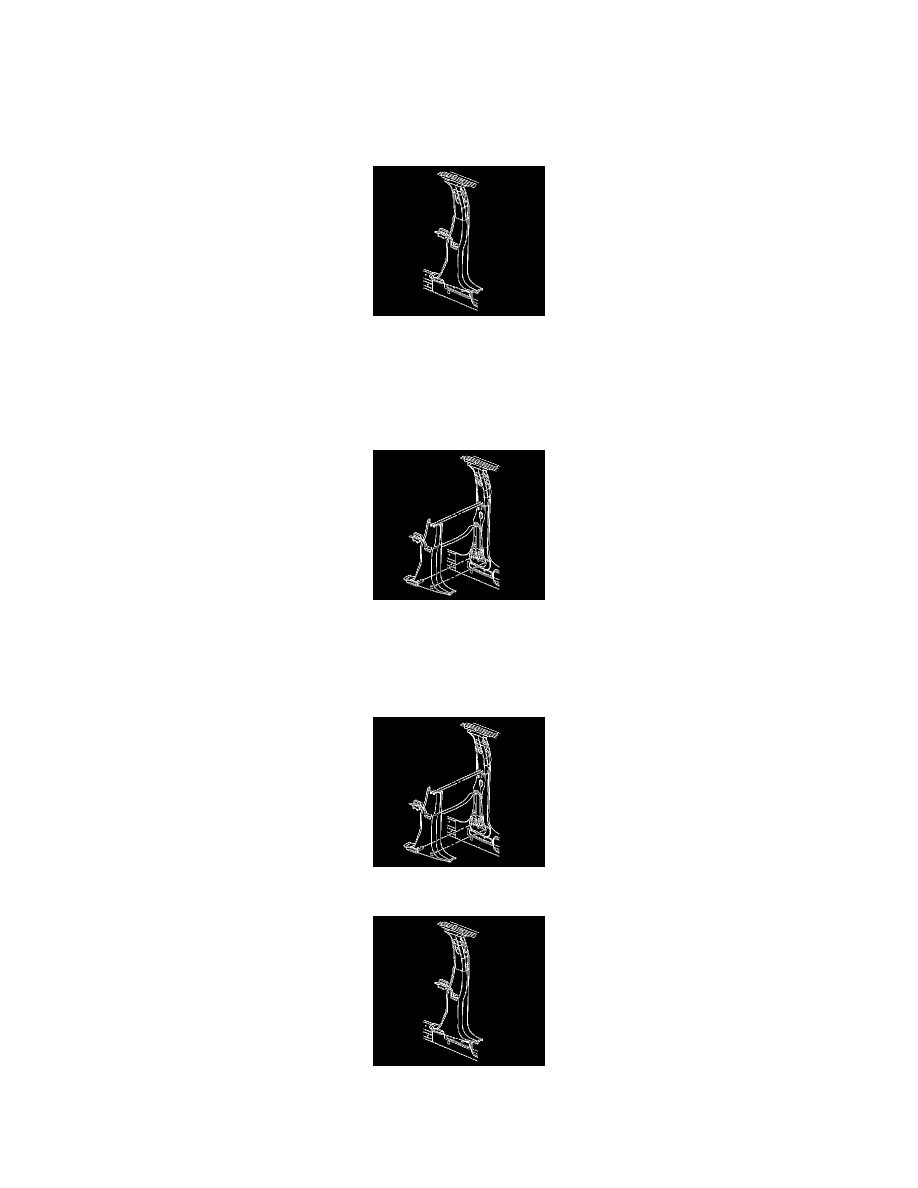
5. Remove the lower center pillar trim panel from the center pillar, by pulling the upper center pillar trim panel to release the push-in retainers.
6. Remove the front seat belt from the slot in the lower center pillar trim panel.
7. Remove the lower center pillar trim panel from the vehicle.
INSTALLATION PROCEDURE
1. Install the seat belt to the slot into the center lower trim panel.
2. Align the center lower trim panel to the center pillar.
3. Install the center lower trim panel push-in retainers, applying pressure at all the retainers locations until fully seated.
4. Install the seat belt escutcheon to the center lower trim panel, applying pressure at all the retainers locations until fully seated.
5. Install the upper seat belt guide loop attachment to the adjuster bracket.