
Rendezvous FWD V6-3.5L VIN L (2006)
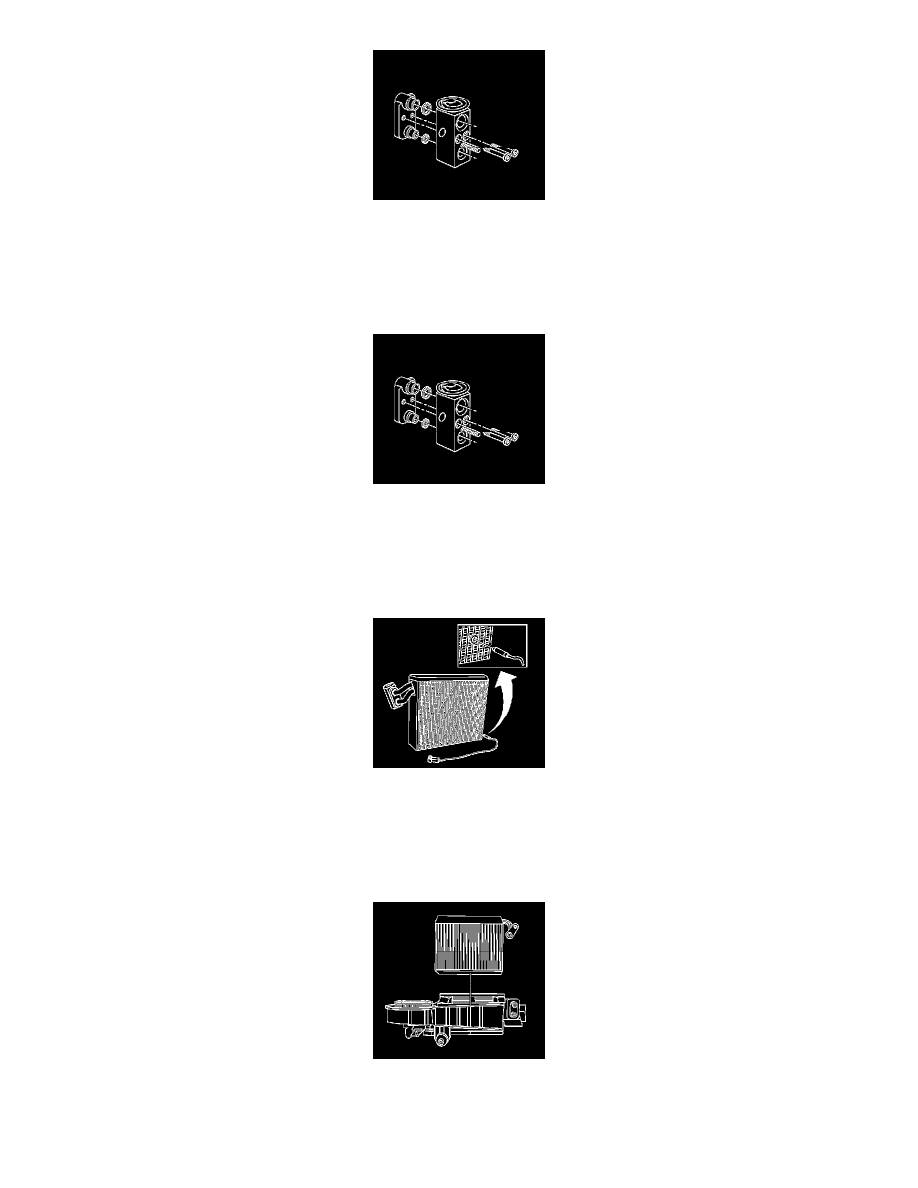
19. Remove the TXV mounting screws.
20. Remove the TXV from the evaporator core.
INSTALLATION PROCEDURE
1. If replacing the evaporator core, add the specified amount of PAG oil directly to the evaporator core. Refer to Refrigerant System Capacities.
2. Install the new sealing washers onto the evaporator line.
3. Install the TXV to the evaporator core.
4. Install the TXV mounting screws.
Tighten the screws to 3.2 N.m (28 lb in).
NOTE: Refer to Fastener Notice in Service Precautions.
5. The evaporator temperature sensor should be approximately 3.5 cm (1.4 in) from the side and 5.0 cm (2.0 in) from the bottom corner of the
evaporator core.
IMPORTANT: The evaporator temperature sensor must be located in the same position on the new evaporator core.
6. Install the evaporator temperature sensor.
7. Install the evaporator core into the upper HVAC module case half.
IMPORTANT: Align the evaporator temperature sensor wires with the opening in the upper HVAC module case. Improper alignment will pinch
and/or cut the sensor wires.