
Skylark L4-144 2.4L DOHC VIN T SFI (1997)
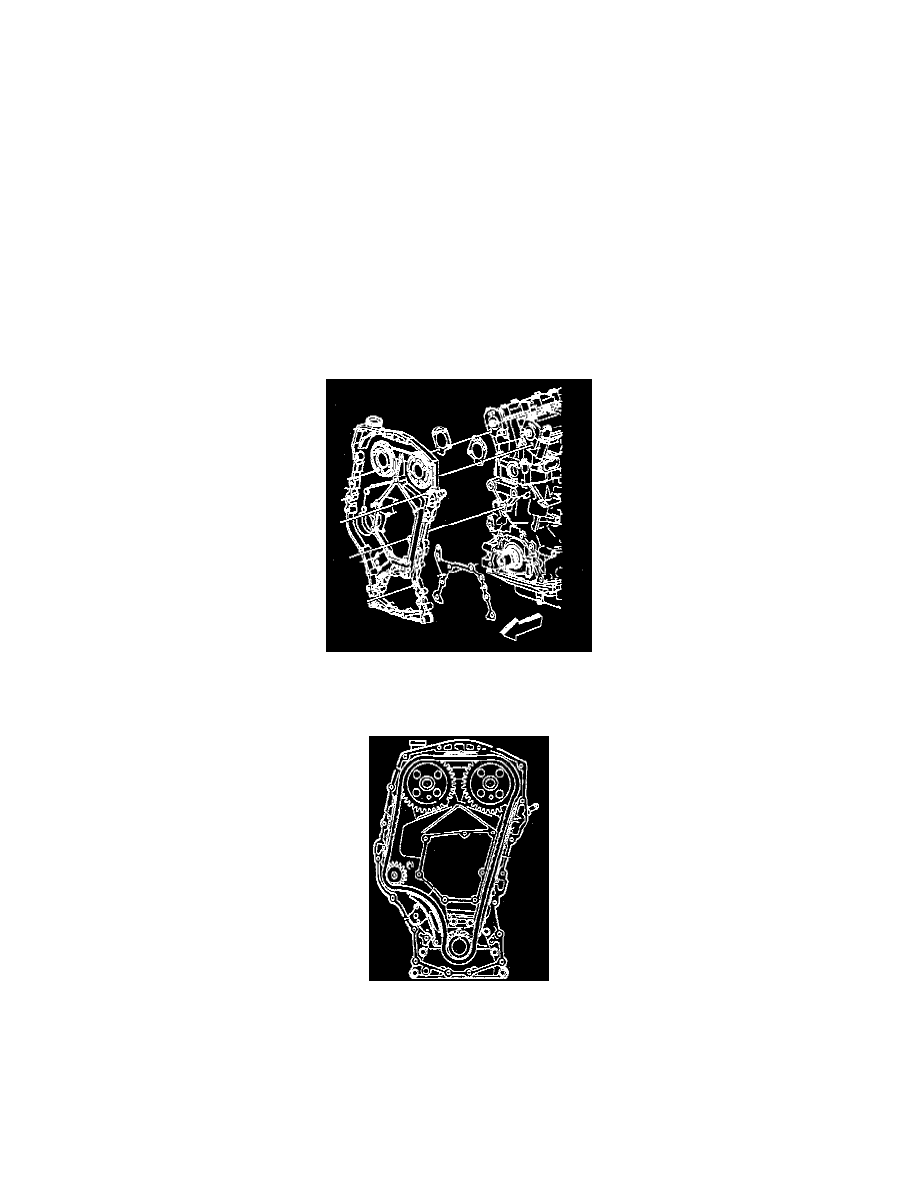
15. Remove the timing chain housing and the gaskets. It may be necessary to raise the engine slightly using an engine support.
16. Inspect the oil pan gasket silicone bead for the following conditions:
^
Cuts or nicks.
^
Deformation.
^
Separation from the aluminum carrier.
17. If any of the conditions exist, replace the pan gasket.
NOTE: Use only enough sealant to restore the silicone bead to its original dimension. Excess application of sealant may cause part misalignment
and oil leaks.
18. Inspect the silicone bead across the top of the aluminum carrier at the oil pan, in the cylinder block, and to the timing chain housing three way
joint. Repair a damaged bead using the silicone rubber sealant GM P/N 12345739 or the equivalent.
Installation
TOOL REQUIRED
^
J 38122 Crankshaft Balancer Holder
1. Prior to installing the timing chain housing, ensure that the alignment dowel pins are in the cylinder block and the timing chain housing. The dowel
pins ensure proper chain housing and the front cover location for correct front oil seal-to-crankshaft alignment.
2. Install the timing chain housing and the new gaskets. Gasket sealer is unnecessary.
NOTE: Hand tighten all chain housing bolts before tightening to specifications.
3. Install the chain housing to the camshaft housing bolts and hand tighten.
4. Raise and support the vehicle.
5. Install the timing chain housing block fasteners and hand tighten.
6. Install the oil pan to the timing chain housing bolts and hand tighten.