Skylark V6-173 2.8L VIN X 2-bbl (1984)

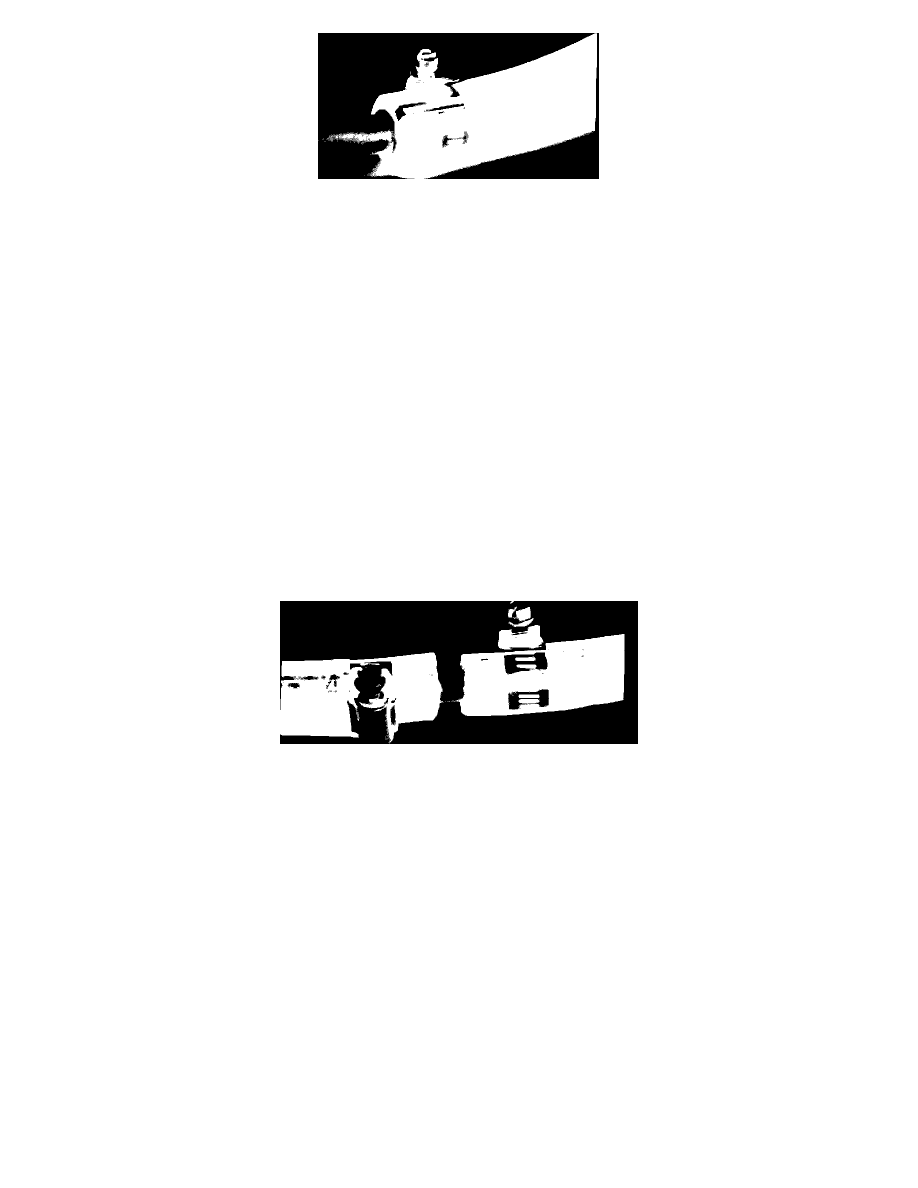
FIGURE 3 - INSTALLING NEW CLAMP ON A/C HOSE
6.
Install the special screw-type service clamp so that the locator lug is positioned on the hose end. See figure 3. Tighten clamp to 4.5 N-m (40
in.lbs.)
7.
Reinstall the hose assembly on the vehicle with new O-rings where used. A/C Compressor oil should be used to lubricate the O-rings.
8.
Partially charge the system and perform a leak test before completely recharging.
HOSE REPAIR
1.
Perform steps #1 of the Clamp Replacement Procedure.
2.
Using a fine tooth hacksaw, cut all the way through the metal band clamp and into the top layer of the hose on one end of the hose if only part of it
is being replaced or an both ends if the entire hose is being replaced.
3.
Pry the band open until it can be removed without damaging the fitting.
4.
If only part of the hose is being replaced;
a.
Cut the bad part away squarely.
b.
Use a new section of hose of the same inside diameter and cut it 13 mm (1/2") shorter than the removed section. See Table A for parts
applications.
FIGURE 4 - SPLICING A/C HOSES
c.
Install the proper size splicer fitting kit per the instructions, between the remaining section and new section of hose and install the other end
of the hose on the fitting. Align fittings so that there will be no twist in the hose when it is on the vehicle. See figure
4.
See Table A for parts applications.
d.
Install two service clamps at a splice and one at a fitting as in Step #6 of the Clamp Replacement procedure.
e.
Perform Steps #7 and #8 of the Clamp Replacement Procedure.
5.
If the entire section of hose is being replaced;
a.
Cut the old hose off of both fittings.
b.
Install a new section of hose of the same inside diameter and cut to the same length and install it on the fittings. Align fittings so that there
will be no twist in the hose when it is on the vehicle. See Table A for parts applications.
c.
Install a service clamp at each end as in Step #6 of the Clamp Replacement Procedure.
d.
Perform Steps #7 and #8 of the Clamp Replacement Procedure.
WARRANTY INFORMATION FOR CLAMP REPLACEMENT
Labor Operation Number and Hours
