
Cimarron V6-173 2.8L (1986)
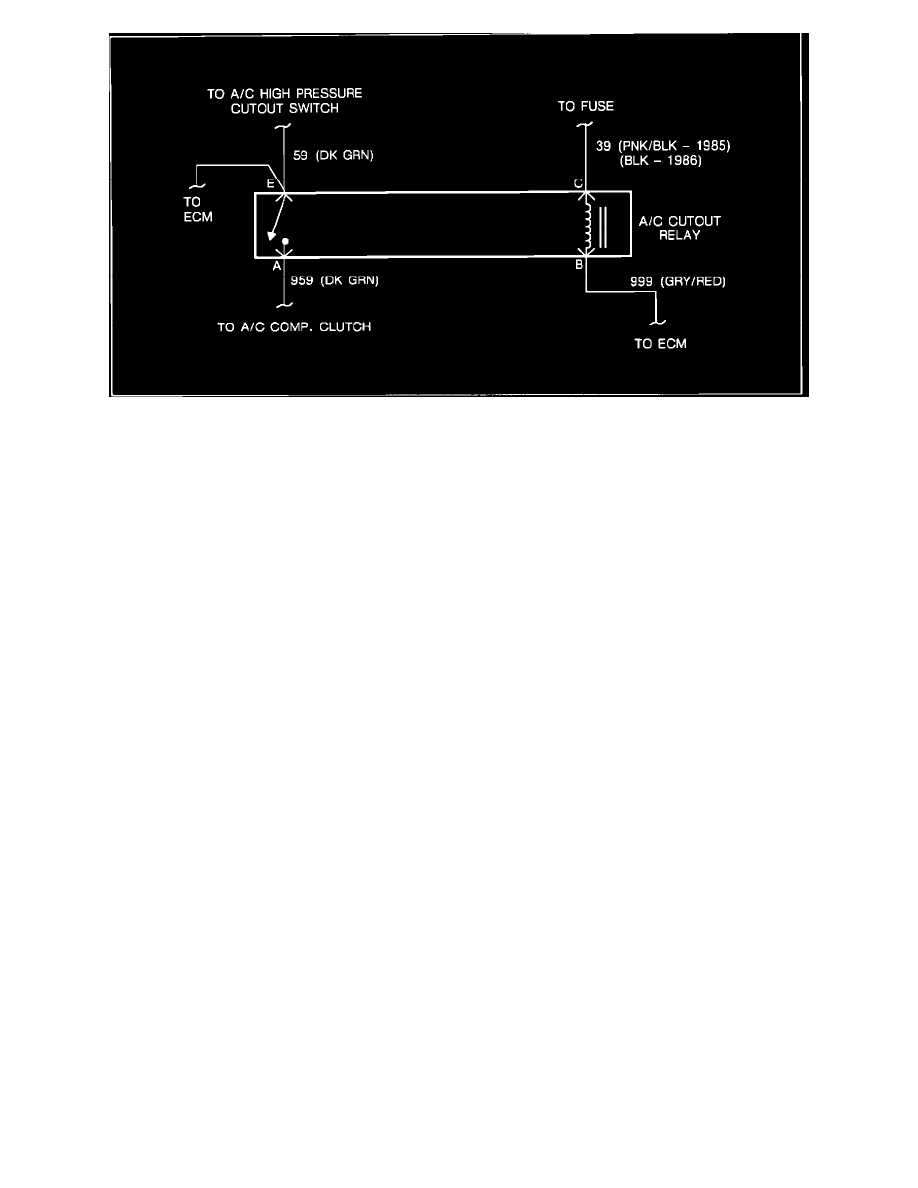
FIGURE 2 - 1985-1986 CIRCUIT DIAGRAM
4.
Interchange circuit 959/59, pin E (1983, 1985, 1986 dark green, 1984 green/white) and circuit 39, pin C (1983-1985 pink/black, 1986 pink) at the
relay connector using terminal removal tool, refer to Figures 1 and 2.
5.
Replace the A/C control head according to the following procedure:
A.
Remove the R.H. trim cover.
B.
Remove the three screws attaching the control assembly to instrument panel.
C.
Pull the control assembly out far enough to disconnect the electrical connector.
D.
Remove A/C control head.
6.
Reinstall relay connector and A/C cutout relay and reconnect negative battery cable.
For warranty purposes use Labor Operation D0362 at .4 hour with an add time of .4 hour for steps 1-4.