
CTS V6-3.2L VIN N (2003)
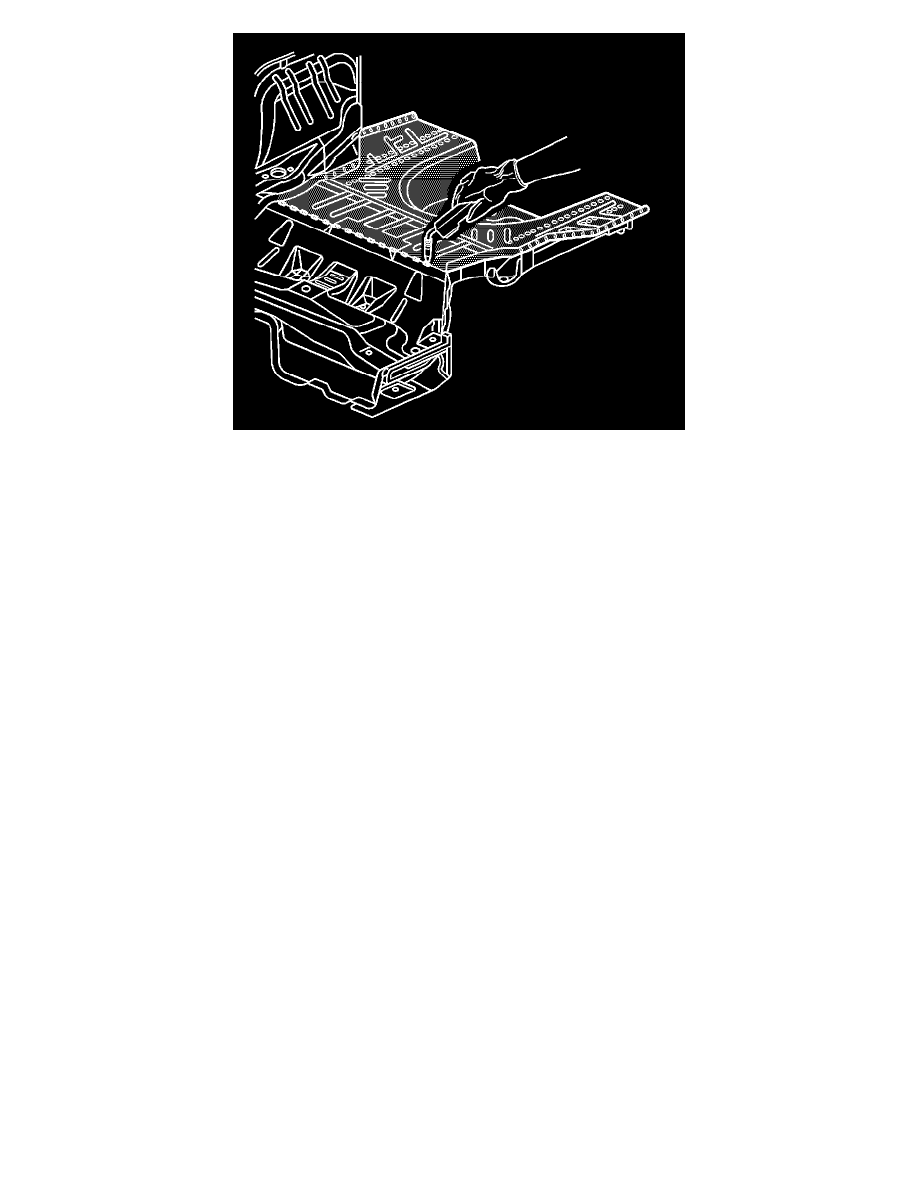
8. To create a solid weld along the front of the service part with a minimum of heat distortion , make a 25mm (1 in) stitch weld along the seam with
25mm (1 in) gaps between them. Then go back and complete the weld.
9. Clean and prepare all welded surfaces.
10. Prime with two-part catalyzed primer.
11. Apply sound deadening materials as necessary.
12. Paint the repaired area. Refer toBasecoat/Clearcoat Paint Systems (See: Paint, Striping and Decals/Paint/Application and ID/Basecoat/Clearcoat
Paint Systems) in Paint and Coatings.
13. Apply the sealers and anti-corrosion materials to the repair area, as necessary. Refer toAnti-Corrosion Treatment and Repair () in Paint and
Coatings.
14. Install all related panels and components.
15. Connect the battery ground (negative) cable. Refer toBattery Negative Cable Disconnect/Connect Procedure in Engine Electrical.
16. Enable the SIR system. Refer toSIR Disabling and Enabling Zones in SIR