
CTS V6-3.2L VIN N (2003)
Trunk / Liftgate Striker: Service and Repair
Lock Striker Replacement - Rear Compartment Lid
Removal Procedure
1. Remove the rear compartment sill plate. Refer toCompartment Sill Plate Replacement - Rear (See: Interior Moulding / Trim/Scuff Plate/Service
and Repair) .
2. Remove the rear fascia. Refer toFascia Replacement - Rear Bumper (See: Bumper/Rear Bumper/Rear Bumper Cover / Fascia/Service and Repair
) in Bumpers.
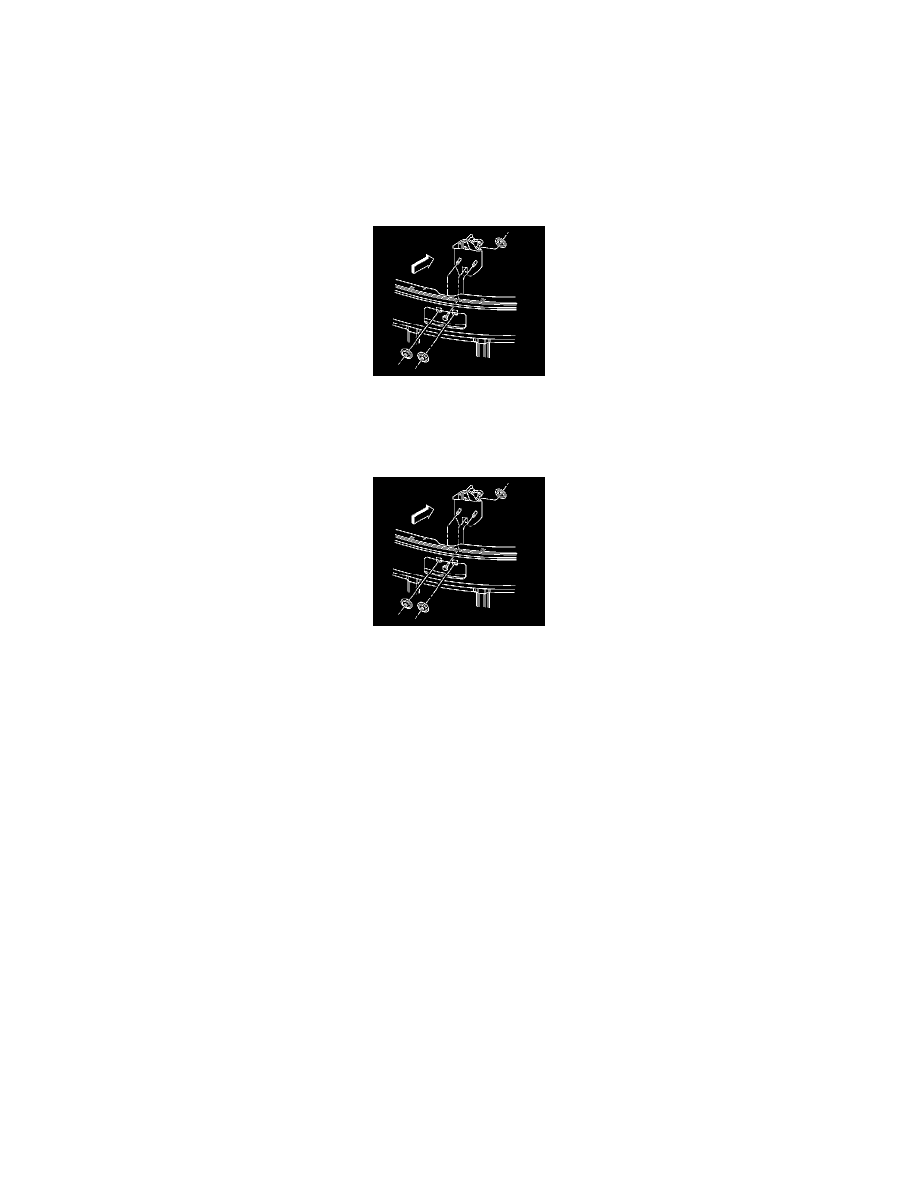
3. Remove the nuts securing the latch striker to the vehicle.
4. Remove the rear compartment latch striker.
Installation Procedure
1. Position the rear compartment latch striker to the vehicle.
2. Install the nuts in order to secure the latch striker to the vehicle.
Notice: Refer toFastener Notice in Cautions and Notices.
3. Adjust the rear compartment latch striker as necessary.
Tighten the latch striker fasteners to 9 Nm (80 lb in).
4. Install the rear fascia. Refer toFascia Replacement - Rear Bumper (See: Bumper/Rear Bumper/Rear Bumper Cover / Fascia/Service and Repair)
in Bumpers.
5. Install the rear compartment sill plate. Refer toCompartment Sill Plate Replacement - Rear (See: Interior Moulding / Trim/Scuff Plate/Service
and Repair) .