
DeVille d Elegance V8-4.6L VIN Y (1998)
Fluid Pick-Up: Service and Repair
REMOVAL PROCEDURE
1. Raise and support the vehicle. Refer to Vehicle Lifting Points.
2. Place a drain pan under the transaxle bottom pan in order to catch fluid.
3. Loosen the bottom pan bolts and drain any fluid in the pan.
IMPORTANT: Removing the bottom pan on the HYDRA-MATIC 4T80-E will only partially drain the transaxle fluid. The remaining fluid is
held in the side cover and in the torque converter.
Removing the drain plug in the case after the bottom pan removal will drain the fluid from the side cover. It is not necessary to drain the torque
converter during most service procedures.
4. Remove the bottom pan bolts.
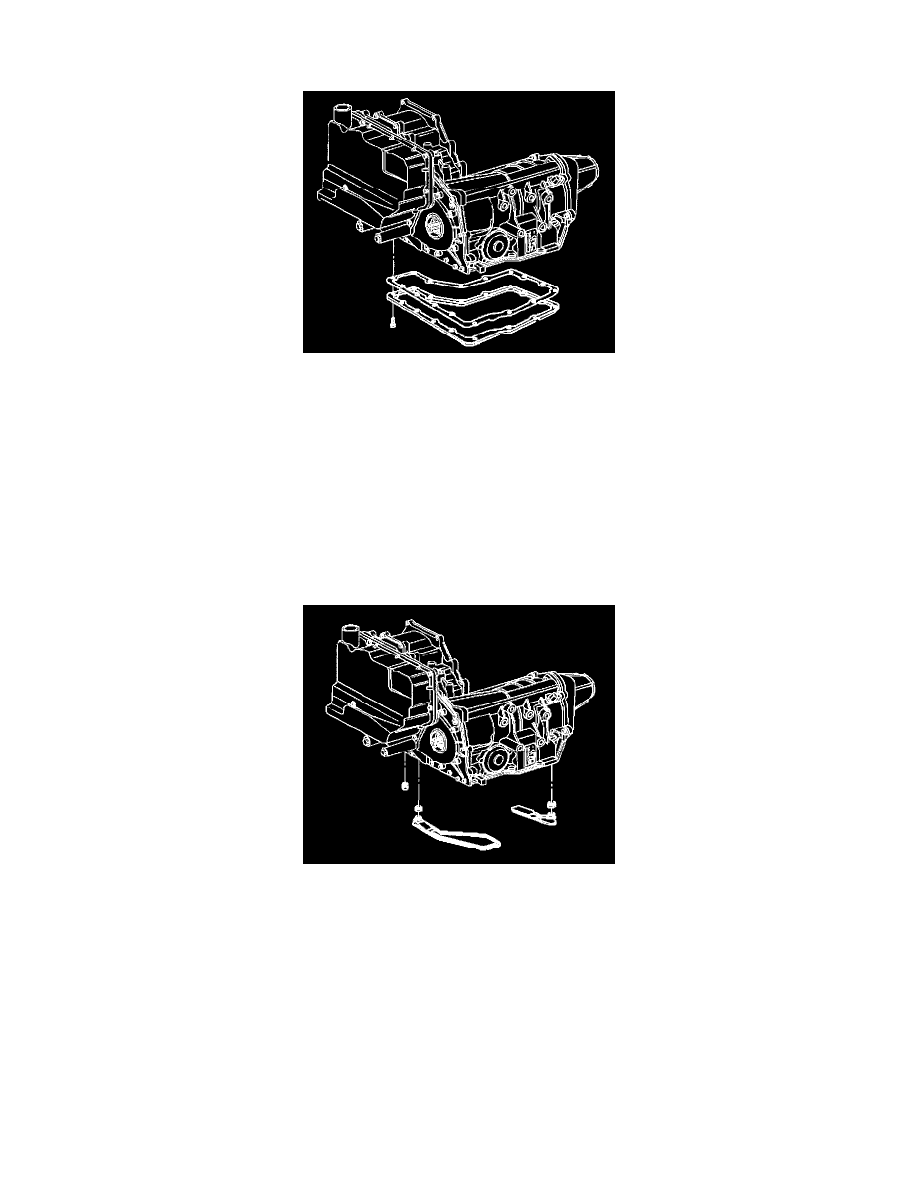
5. Remove the bottom pan.
6. Remove the gasket.
7. Remove the left and/or right scavenger screens.
8. Remove the seals. Use a small screwdriver to pry the seals from the case. Do not score or damage the case.
9. Inspect the bottom pan and the transaxle case for dents or nicks in the sealing surface. Replace them if they are damaged.
10. Inspect the bolts for damaged threads. Replace the bolts if they are damaged.
11. Clean and dry the bottom pan and the case sealing surfaces. The bottom pan and the case sealing surfaces must be clean and dry for proper sealing.
12. Clean and dry the bolts and the tapped holes in the case.
The bolts and the tapped holes in the case must be clean and dry in order to maintain the proper bolt torque.
INSTALLATION PROCEDURE