
DeVille d Elegance V8-4.6L VIN Y (1998)
1. Install the new left and right scavenger screens.
2. Install the new left and right scavenger seals.
3. Remove any residual transmission fluid from the following components:
^
The case Wipe any residual fluid from the outside of the case.
^
The bottom pan
^
The screws
Use a rubber tipped hose in order to dry the screws, if necessary. All of the screws must be completely free of transmission fluid upon
reinstallation.
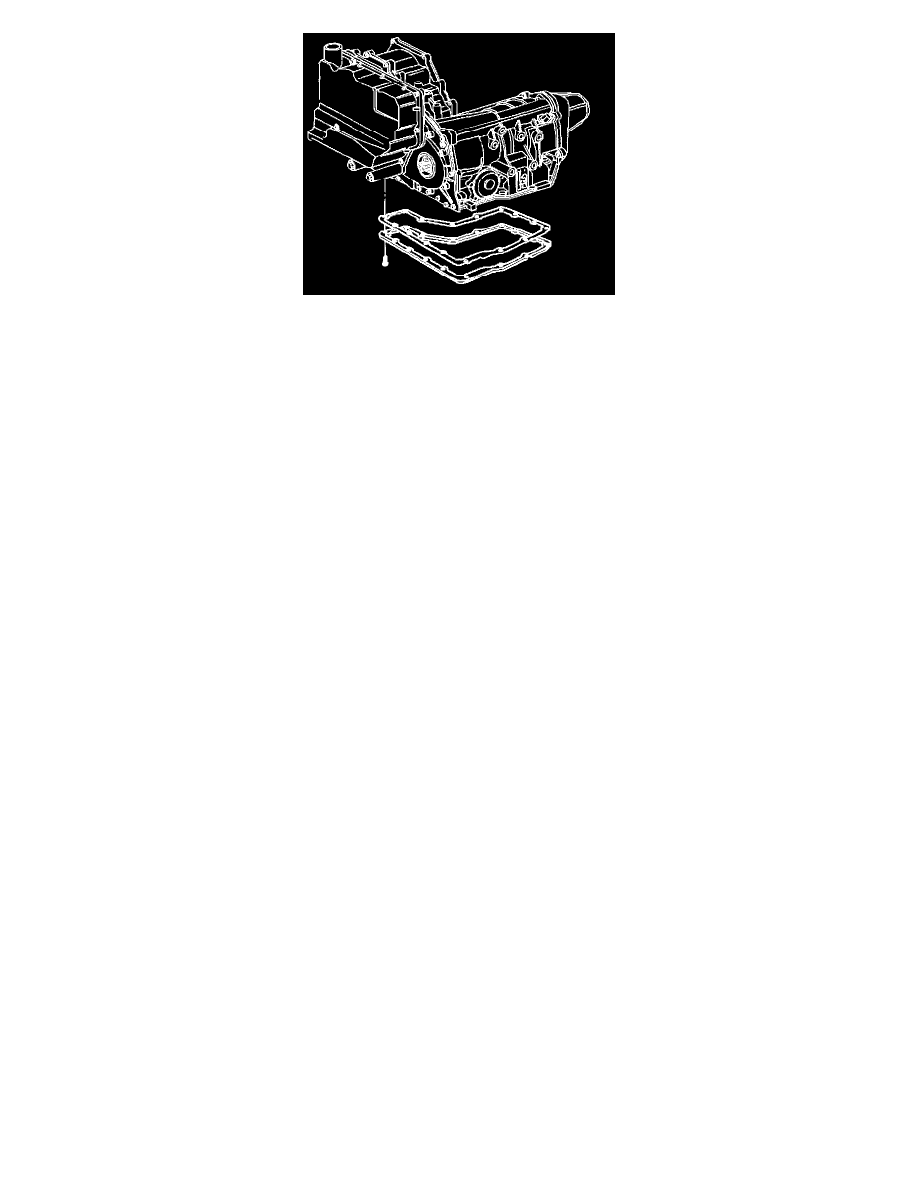
IMPORTANT: The bottom pan gasket is not reusable. Replace it with a new part after removing the bottom pan for any service.
4. Install the bottom pan with the new gasket.
5. Install the bolts. Tighten the bolts finger tight, and then to specification in proper sequence.
^
INITIAL: 3 Nm (27 inch lbs.)
^
INTERMEDIATE: 6 Nm (53 inch lbs.)
^
FINAL: 12 Nm (106 inch lbs.)
6. Lower the vehicle.
7. Add DEXRON (R) III transmission fluid as required. If a complete fluid change is necessary, reset the transaxle oil life indicator. Refer to
Electronic Component Description