
DeVille DHS V8-4.6L VIN Y (2000)
Important: Use Loctite(R) Blue GM P/N 12345382 or equivalent prior to the installing the fasteners.
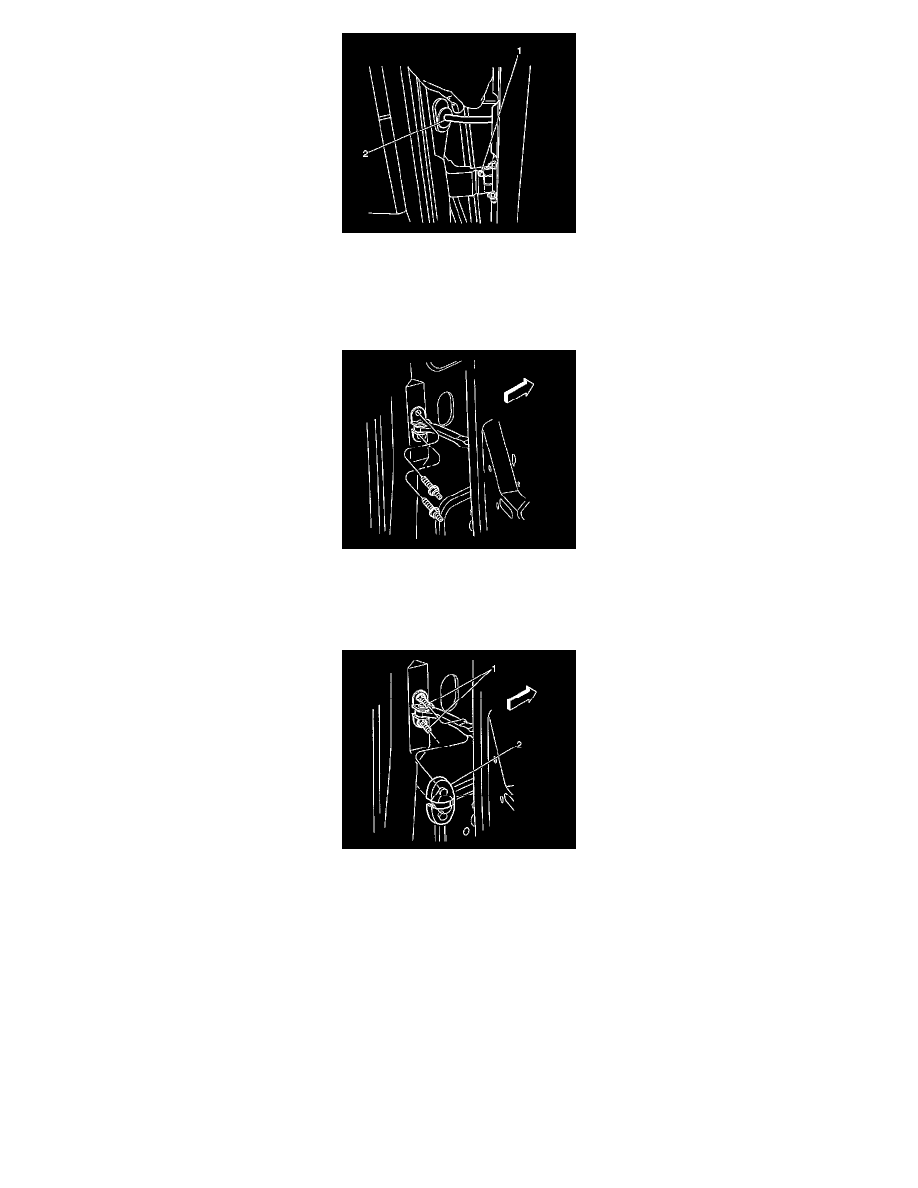
7. Install the intermediate door hinge fasteners (1).
Tighten the fasteners to 24 N.m (18 lb ft).
8. Position the check link arm to the pillar.
9. Install the check link studs to the pillar.
Tighten the check link studs to 9 N.m (80 lb in).
10. Install the check link cover (2) at the pillar.
11. Insert the door wire harness and conduit through the windshield pillar.
12. Pull outward slightly to fully seat the grommet.
13. Connect the door wire harness to the body wire harness.
14. Install the closeout/insulator panel. Refer to Instrument Panel Insulator Panel Replacement - Left Side (See: Interior Moulding / Trim/Dashboard /
Instrument Panel/Service and Repair) or Instrument Panel Insulator Panel Replacement - Right Side (See: Interior Moulding / Trim/Dashboard /
Instrument Panel/Service and Repair/Closeout/Insulator Panel Replacement - Right) in Instrument Panel, Gages and Console.
15. Adjust the door for proper alignment. Refer to Door Adjustment (See: Adjustments) .
16. Touch up any damage to the hinge, and the hinge fasteners with body color paint.