DeVille DHS V8-4.6L VIN Y (2000)

Front Door Latch: Service and Repair
Front Side Door Latch Replacement
Removal Procedure
1. Place the window in the full up position.
2. Remove the door trim panel. Refer to Front Side Door Trim Panel Replacement (Standard) (See: Front Door Panel/Service and Repair/Panel
Replacement) .
3. Remove the door module. Refer to Door Control Module Replacement.
4. Remove the water deflector. Refer to Front Side Door Water Deflector Replacement See: Front Door Panel/Service and Repair
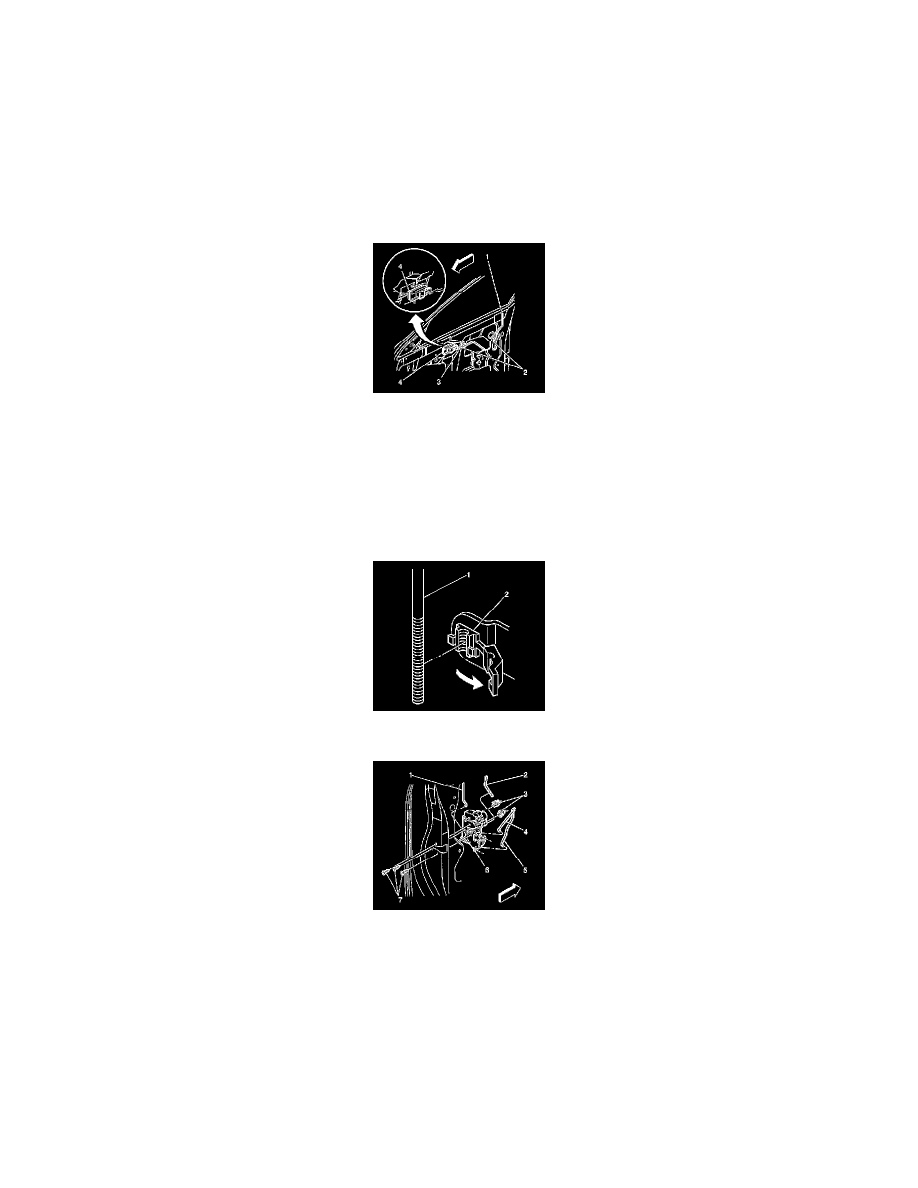
5. Remove the inside handle assembly (4) in the following order:
1. Carefully pry the front of the assembly (4) rearward.
2. Pull the front of the assembly (4) outward.
3. Slide the assembly (4) forward to remove.
6. Disconnect the handle rod (3) from the clip guide (2).
7. Disconnect the lock rod (1) from the clip guide (2).
8. Through the access hole of the inner panel, disconnect the outside door handle rod (1) from the door latch retainer clip (2).
9. Disconnect the inside lock rod (5) from the door latch.
10. Disconnect the outside lock rod (1) from the door latch (driver door only).
11. Remove the fasteners (7) from the door latch.
12. Remove the door latch assembly (6) from the door through the access hole of inner panel.
13. Disconnect the electrical connectors (3) from the door latch.
14. Disconnect the inside handle rod (4) from the door latch.
Installation Procedure
