
DeVille DTS V8-4.6L VIN 9 (2002)
Hood Latch: Service and Repair
Hood Latch Support Replacement
Hood Latch Support Replacement
Removal Procedure
1. Open the hood.
2. Remove the upper filler panel. Refer to Filler Panel Replacement - Upper (See: Cowl/Service and Repair/Filler Panel Replacement - Upper) .
3. Remove the night vision camera assembly, if equipped. Refer toNight Vision Camera Replacement See: Interior Moulding / Trim/Dashboard /
Instrument Panel/Service and Repair in Instrument Panel, Gages and Console.
4. Remove the hood latch. Refer to Hood Latch Replacement (See: Hood Latch Replacement) .
5. Remove the front bumper impact bar. Refer to Impact Bar Replacement - Front Bumper (See: Bumper/Front Bumper/Front Bumper
Reinforcement/Service and Repair/Impact Bar Replacement - Front Bumper) in Bumpers.
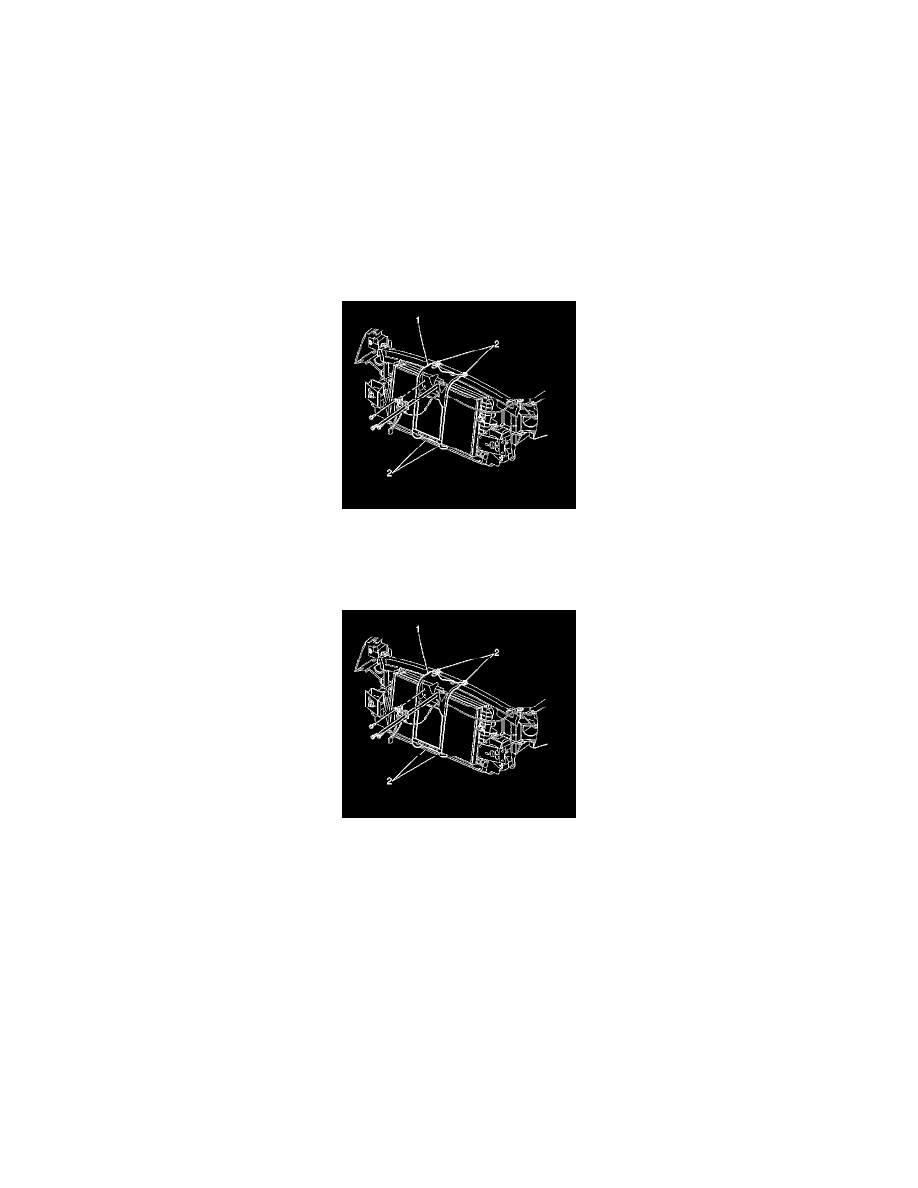
6. Remove the lower bolts (2) and the upper bolts (2) retaining the hood latch support (1) to the vehicle.
7. Remove the hood latch support (1) from the vehicle.
Installation Procedure
1. Install the hood latch support (1) to the vehicle.
Notice: Refer to Fastener Notice in Cautions and Notices.
2. Install the bolts (2) in order to retain the hood latch support (1) to the vehicle.
Tighten the retainer bolts to 9 N.m (80 lb in).
3. Install the hood latch. Refer to Hood Latch Adjustment (See: Adjustments) .
4. Install the upper filler panel. Refer to Filler Panel Replacement - Upper (See: Cowl/Service and Repair/Filler Panel Replacement - Upper)
5. Install the front bumper impact bar. Refer to Impact Bar Replacement - Front Bumper (See: Bumper/Front Bumper/Front Bumper
Reinforcement/Service and Repair/Impact Bar Replacement - Front Bumper) in Bumpers.
6. Install the night vision camera assembly, if equipped. Refer to Night Vision Camera Replacement See: Interior Moulding / Trim/Dashboard /
Instrument Panel/Service and Repair in Instrument Panel, Gages and Console.
7. Close the hood.