
DeVille DTS V8-4.6L VIN 9 (2002)
Trunk / Liftgate Weatherstrip: Service and Repair
Weatherstrip Replacement - Rear Compartment Opening
Removal Procedure
1. Open the rear compartment lid.
2. Remove the rear compartment sill plate. Refer to Compartment Sill Plate Replacement - Rear (See: Trunk / Liftgate Interior Trim Panel/Service
and Repair/Compartment Sill Plate Replacement - Rear) .
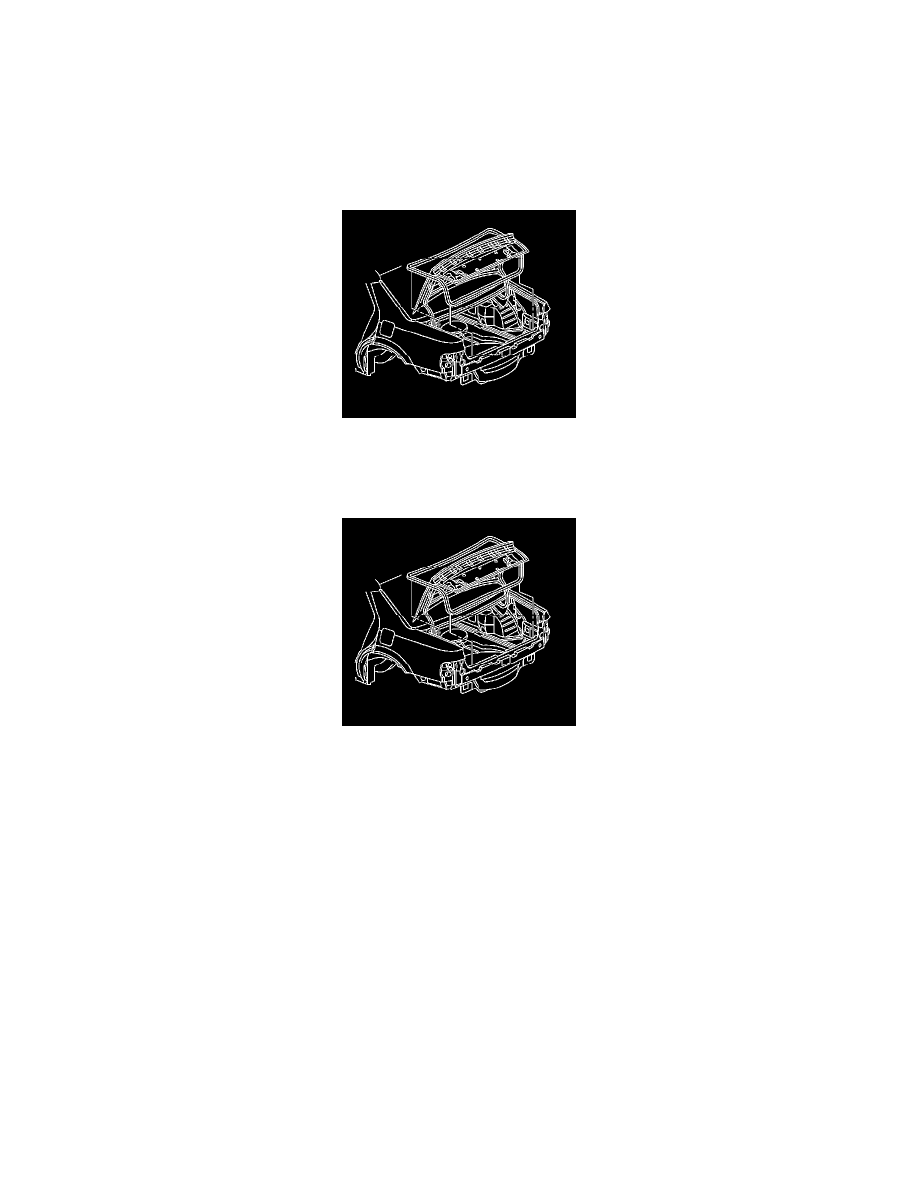
3. Remove the rear compartment opening weatherstrip from the rear compartment opening.
4. Lift the rear compartment opening weatherstrip over the rear compartment lid.
Installation Procedure
1. Position the rear compartment opening weatherstrip over the rear compartment lid.
2. Line up the paint dot on inner edge of the rear compartment opening weatherstrip with the front center of the rear compartment opening.
3. Press the rear compartment opening weatherstrip to the rear compartment opening.
4. Install rear compartment sill plate. Refer to Compartment Sill Plate Replacement - Rear (See: Trunk / Liftgate Interior Trim Panel/Service and
Repair/Compartment Sill Plate Replacement - Rear) .
5. Close the rear compartment lid.