
SRX RWD V8-4.6L VIN A (2006)
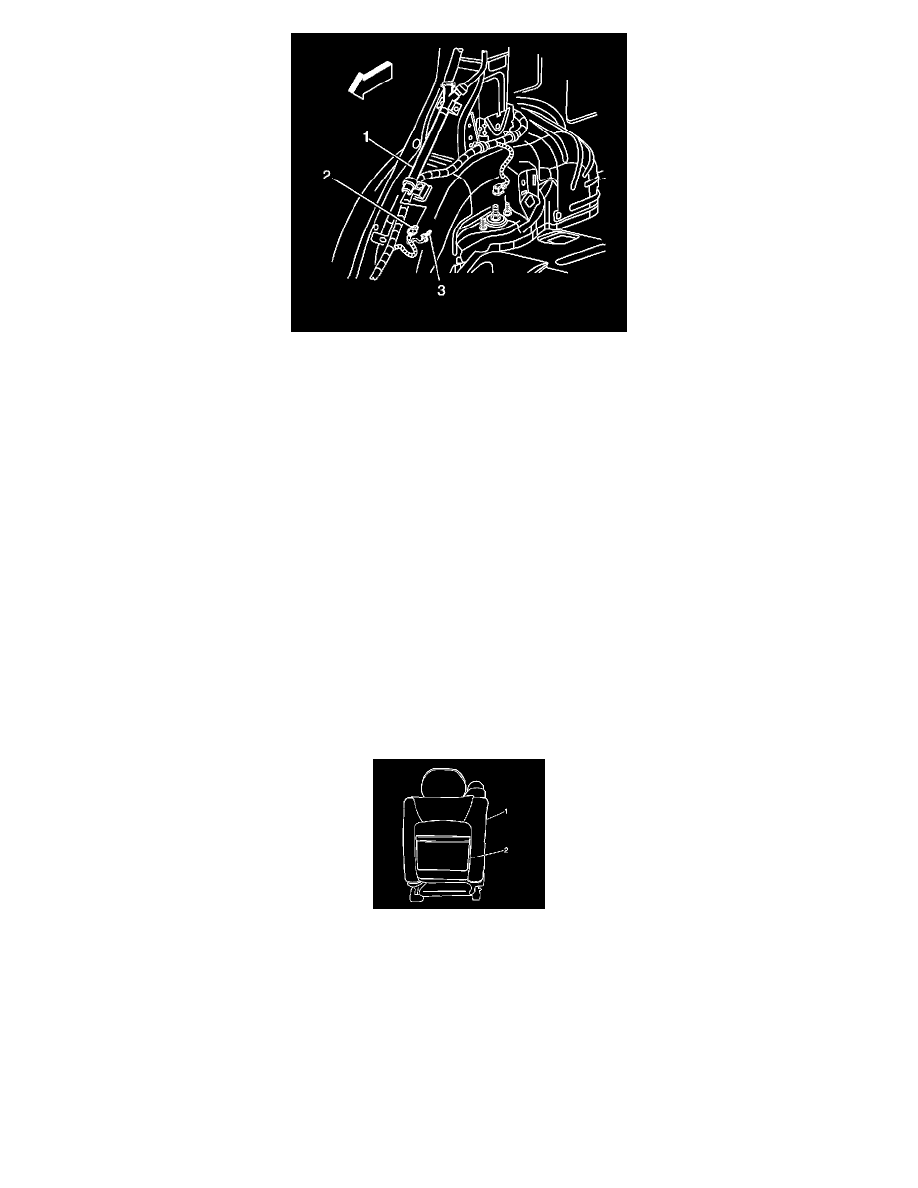
4. Install the roof rail module harness connector (3).
5. Install the CPA (2) to the roof rail module harness connector.
6. Install the windshield garnish molding.
7. Install the center pillar garnish moldings.
8. Install the side door opening garnish molding.
9. Enable the SIR system. Refer to SIR Disabling and Enabling Zone 2.
10. Fully deploy the module before disposal. If the module was replaced under warranty, fully deploy and dispose of the module after the required
retention period. Refer to Inflator Module Handling and Scrapping.
Inflatable Restraint Side Impact Module Replacement - Front
INFLATABLE RESTRAINT SIDE IMPACT MODULE REPLACEMENT - FRONT
REMOVAL PROCEDURE
1. Disable the SIR system. Refer to SIR Disabling and Enabling Zone 7 for driver's seat or SIR Disabling and Enabling Zone 9 for passenger seat.
CAUTION:
-
Refer to SIR Inflator Module Handling and Storage Caution in Service Precautions.
-
Following the deployment of a side impact air bag, inspect the following parts for damage. Replace these parts if necessary:
-
The seat cushion frame
-
The seat recliner, if equipped
-
The seat adjuster
-
The seat back frame
-
Failure to do so may cause future personal injury.
2. Move the seat to the full forward position.
IMPORTANT: Removal of the right or the left inflatable restraint side impact module uses the same procedure.
3. Remove the seat back panel cover (2) from the seat (1) by pulling out the top of the panel and lifting the bottom away from the seat to release the
hook retainers.