
Astro Van 2WD V6-4.3L VIN W (2001)
Cross-Member: Service and Repair
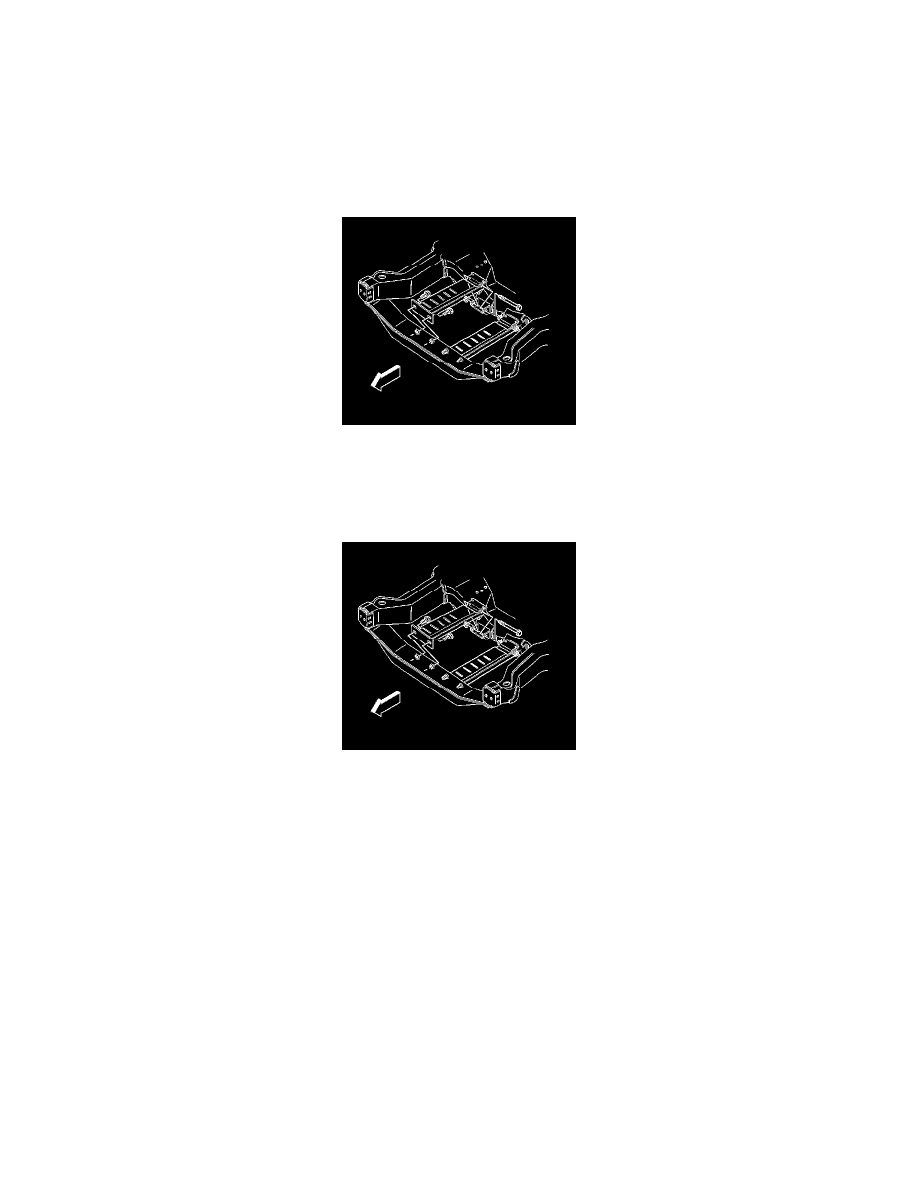
Front Crossmember Brace Replacement
Front Crossmember Brace Replacement
Removal Procedure
1. Raise and suitably support the vehicle. Refer to Lifting and Jacking the Vehicle (See: Maintenance/Vehicle Lifting/Service and Repair) in
General Information.
2. Remove the bolts that retain the forward edge of the crossmember brace to the frame.
3. Remove the bolts and the nuts that retain the rear edge of the crossmember brace to the frame.
4. Remove the crossmember brace from the frame.
Installation Procedure
1. Install the crossmember brace to the frame.
Notice: Refer to Fastener Notice in Cautions and Notices.
2. Install the bolts and the nuts in order to retain the rear edge of the crossmember brace to the frame.
Tighten the crossmember brace to the frame bolts and the nuts to 35 Nm (26 lb.ft.).
3. Install the bolts that retain the forward edge of the crossmember brace to the frame.
Tighten the crossmember brace to the frame bolts to 35 Nm (26 lb.ft.).
4. Lower the vehicle.