
Astro Van AWD V6-4.3L VIN X (2003)
Removal Procedure
1. Remove the retaining screws from the upper garnish molding.
2. Use J 38778 in order to release the molding retainers.
Installation Procedure
1. Align the fasteners with the slots in the body.
2. Press the panel firmly into position, ensuring that all fasteners are fully seated.
Notice: Refer to Fastener Notice in Cautions and Notices.
3. Install the retaining screws to the upper garnish molding.
Tighten the retaining screws to the upper garnish molding to 2 N.m (18 lb in).
Trim Panel Replacement - Body Side Front Lower
Trim Panel Replacement - Body Side Front Lower
Tools Required
J 38778 Door Trim Pad and Garnish Clip Remover
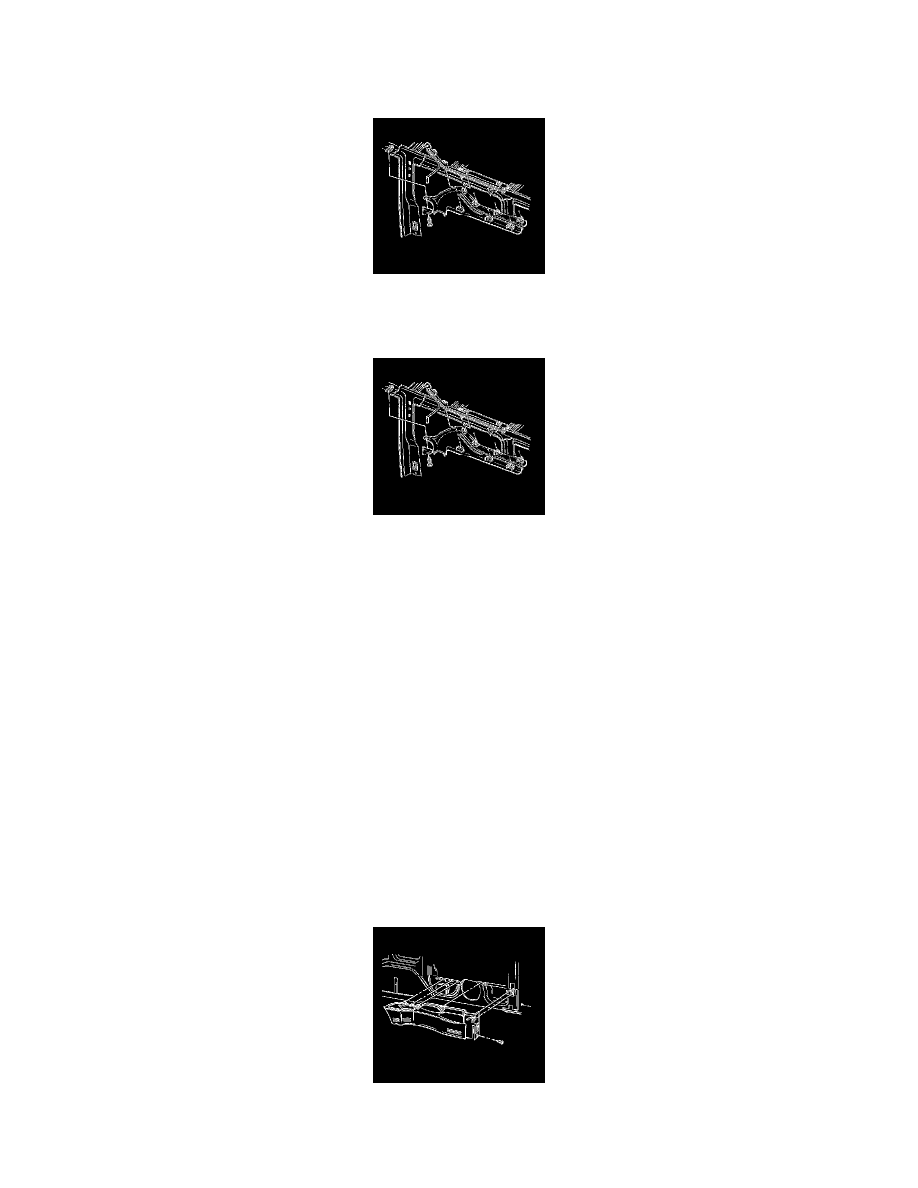
Removal Procedure
1. Remove the intermediate seat. Refer to Seat Replacement - Rear Bench (See: Seats/Service and Repair/Seat Replacement - Rear Bench) in Seats.
2. Remove the driver's door stepwell lamp cover retaining screw.
3. Remove the stepwell lamp assembly from the body side lower storage pocket.
4. Use the J 38778 in order to remove the body side front lower trim panel from the vehicle.
Installation Procedure