
C 2500 Suburban 2WD V8-8.1L VIN G (2001)
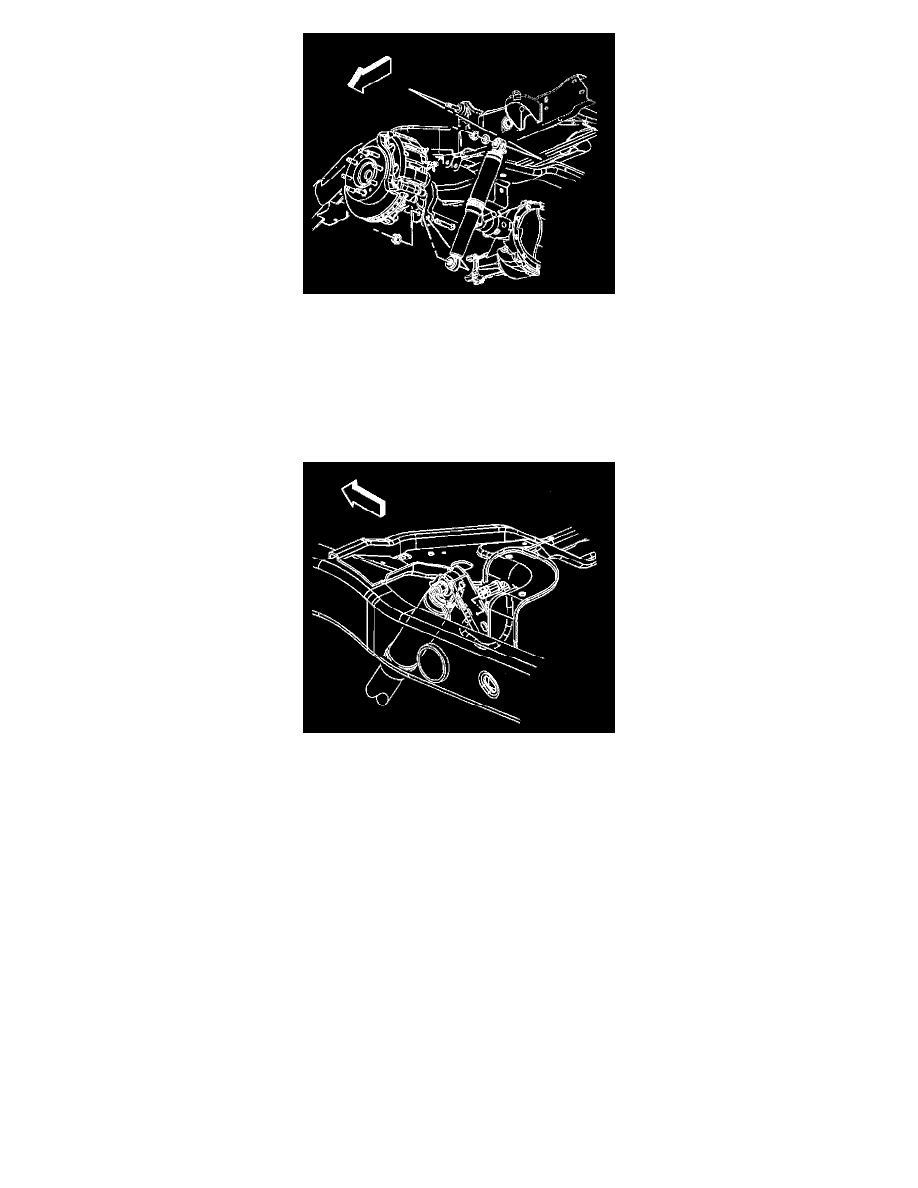
1. Install the shock absorber.
Notice: Refer to Fastener Notice in Service Precautions.
2. Install the upper shock absorber nut and bolt.
3. Install the lower shock absorber nut and bolt.
-
Tighten the nuts to 95 Nm (70 ft. lbs.).
4. Remove the rear axle support.
5. Connect the RTD sensor (if equipped). Refer to Rear Position Sensor Replacement - Electronic Suspension in Real Time Damping (RTD).
6. Connect the RTD electrical connector at the top of the right side shock (if equipped).
7. Connect the RTD electrical connector at the pigtail connector left side only (if equipped).
8. Remove the safety stands.
9. Lower the vehicle.
Shock Absorber Disposal
Caution: Gas charged shock absorbers contain high pressure gas. Do not remove the snap ring from inside the top of the tube. If the snap
ring is removed, the contents of the shock absorber will come out with extreme force which may result in personal injury.
Caution: To prevent personal injury, wear safety glasses when centerpunching and drilling the shock absorber. Use care not to puncture the shock
absorber tube with the centerpunch.