
Camaro V8-5.7L VIN G (1998)
18. Back the clamping nut out of the tool body. Disassemble the clamping nut and collet.
19. The flare is now ready for use.
20. Bend the new brake pipe in order to match the old pipe. Use a tube bender.
^
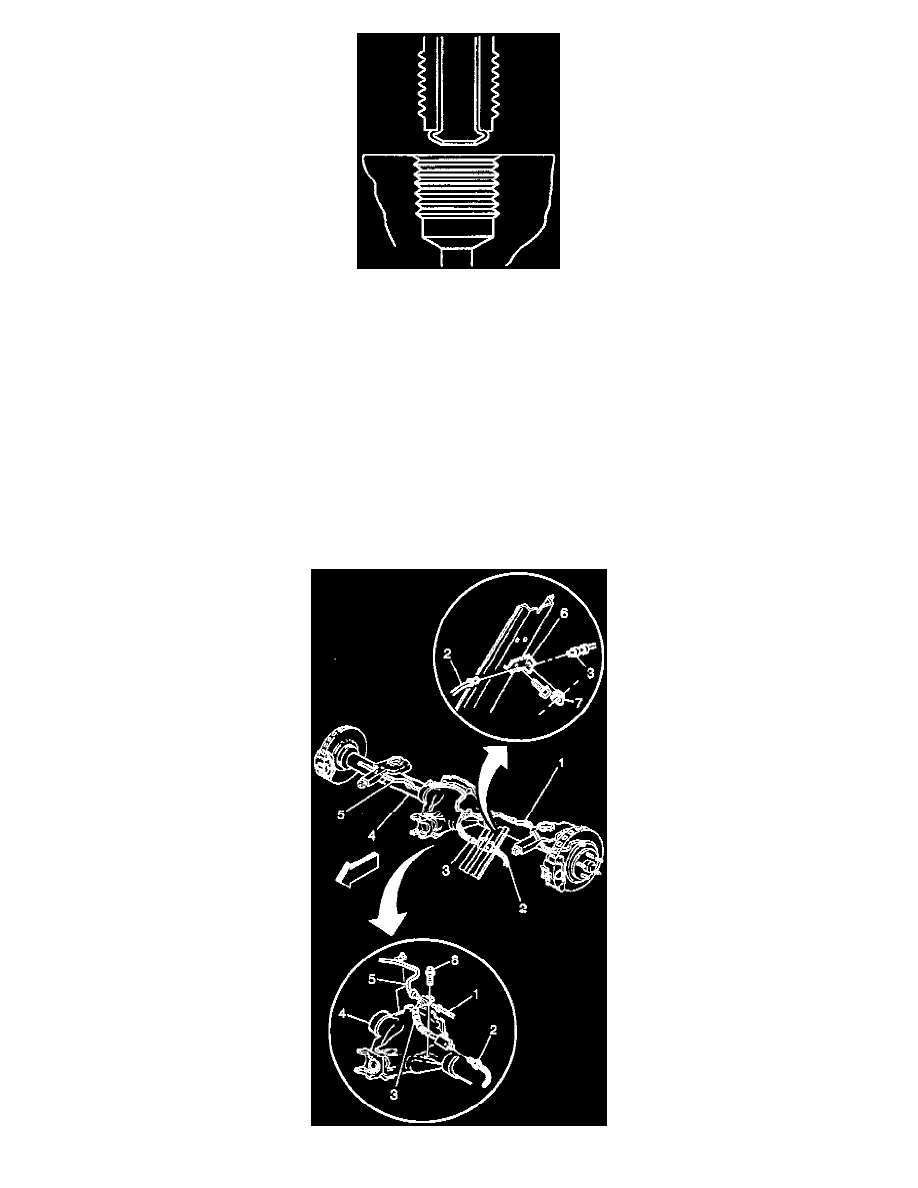
Maintain a minimum clearance of 19 mm (0.750 inch) from all moving components, unless the brake pipe is clipped to the component.
^
Maintain a minimum clearance of 13 mm (0.50 inch) from all vibrating components, unless the brake pipe is clipped to the component.
^
For armor wrapped pipe, contact is permissible if there is no relative movement between the pipe and the contact surface.
Pipe Replacement
BRAKE PIPE REPLACEMENT
^
Refer to Master Cylinder Description Master Cylinder Description for an illustration depicting the brake pipe layout and locations. Brake pipes
that are to be locally fabricated, should only be ISO flared, and not double lap flared. For more information on ISO flares, refer to ISO Flares
Replacement.
^
Rear brake front pipes (mid) should not be locally fabricated. These pipes should be ordered through your GM parts dealer.
Rear Brake Hose Replacement (Center, W/O Tractn CNTRL, Disc)