
Cavalier L4-2.2L VIN 4 (1998)
clamping force, and may damage the fastener. When you install fasteners, use the correct tightening sequence and specifications. Following these
instructions can help you avoid damage to parts and systems.
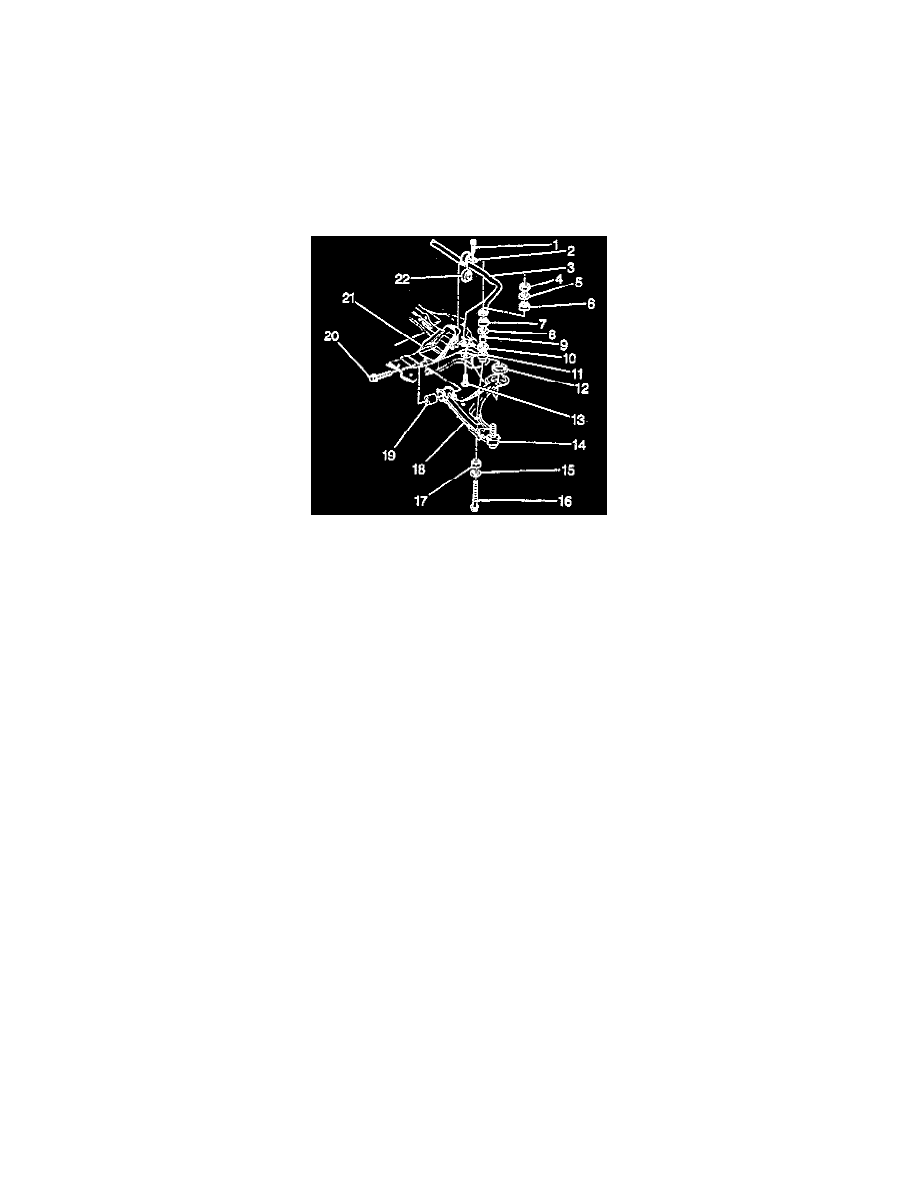
4. Install the ball joint nut (4).
Tighten
Tighten the ball joint nut to 55 Nm (41 ft. lbs.) minimum - 65 Nm (50 ft. lbs.) maximum.
Do not loosen the nut at any time during installation.
5. install the cotter pin (1).
6. Install the nut attaching the stabilizer link to the stabilizer shaft.
Tighten
Tighten the nut to 17 Nm (13 ft. lbs.).
7. Install the tire and wheel assemblies. Refer to WHEEL INSTALLATION in TIRES AND WHEELS.
8. Check the front wheel alignment. Refer to WHEEL ALIGNMENT SPECIFICATIONS in WHEEL ALIGNMENT.