
Corvette V8-5.7L VIN G (1997)
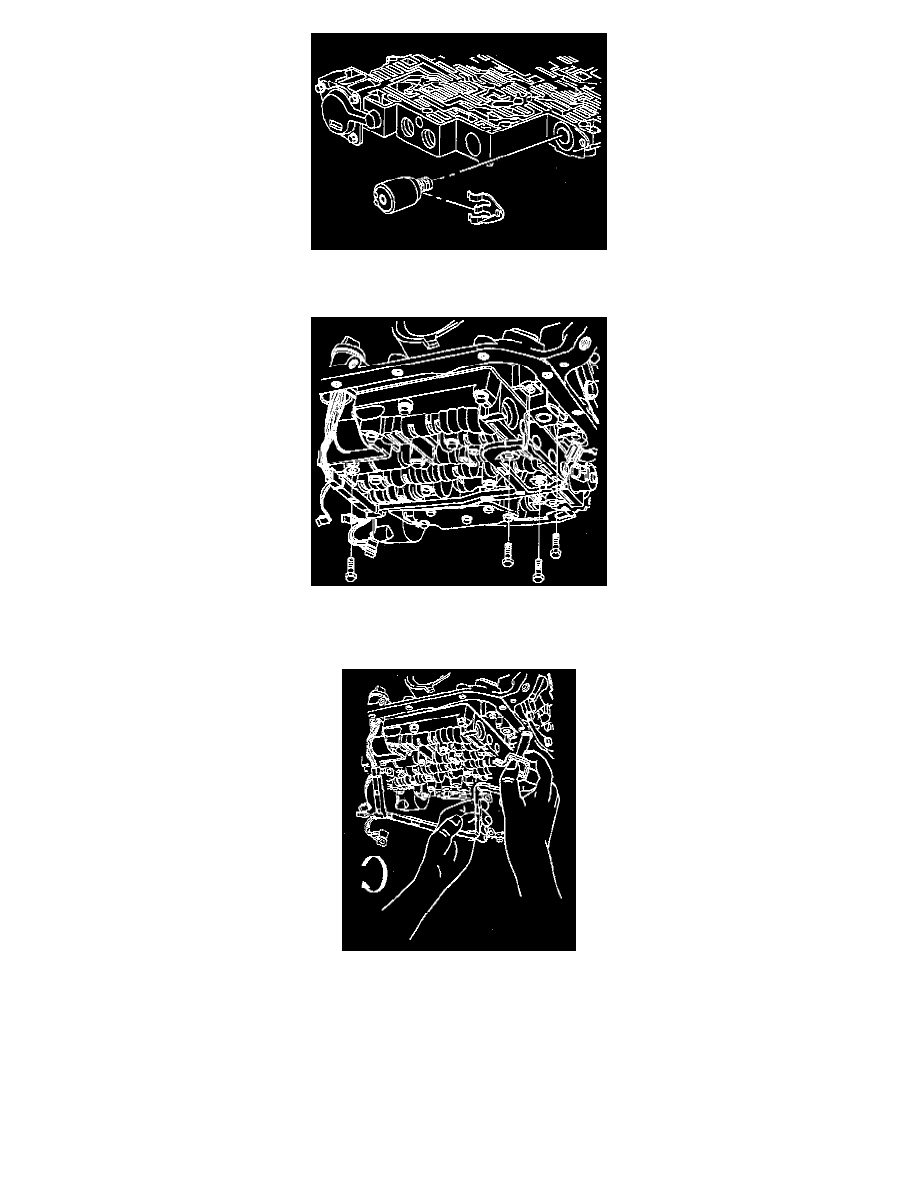
13. Remove the pressure control solenoid retainer.
14. Remove the pressure control solenoid from the control valve body.
15. Remove the TCC solenoid bolts and the wiring harness bolts.
16. Use the J 28458 to remove the pass-through electrical connector from the transmission case.
-
Use the small end of the J 28458 over the top of the connector.
-
Twist in order to release the four tabs.
-
Pull the harness connector down through the transmission case.
17. Remove the TCC solenoid with O-ring seal and the wiring harness from the transmission case.
INSTALLATION PROCEDURE
1. Install the wiring harness, the TCC solenoid and the O-ring seal.
2. Install the pass-through electrical connector to the transmission case.
3. Install the wiring harness bolts and the TCC solenoid bolts.
-
Tighten the transmission internal wiring harness retaining bolts to 11 Nm (97 inch lbs.).
-
Tighten the TCC solenoid retaining bolts to 11 Nm (97 inch lbs.).