
Corvette V8-5.7L VIN G (1997)
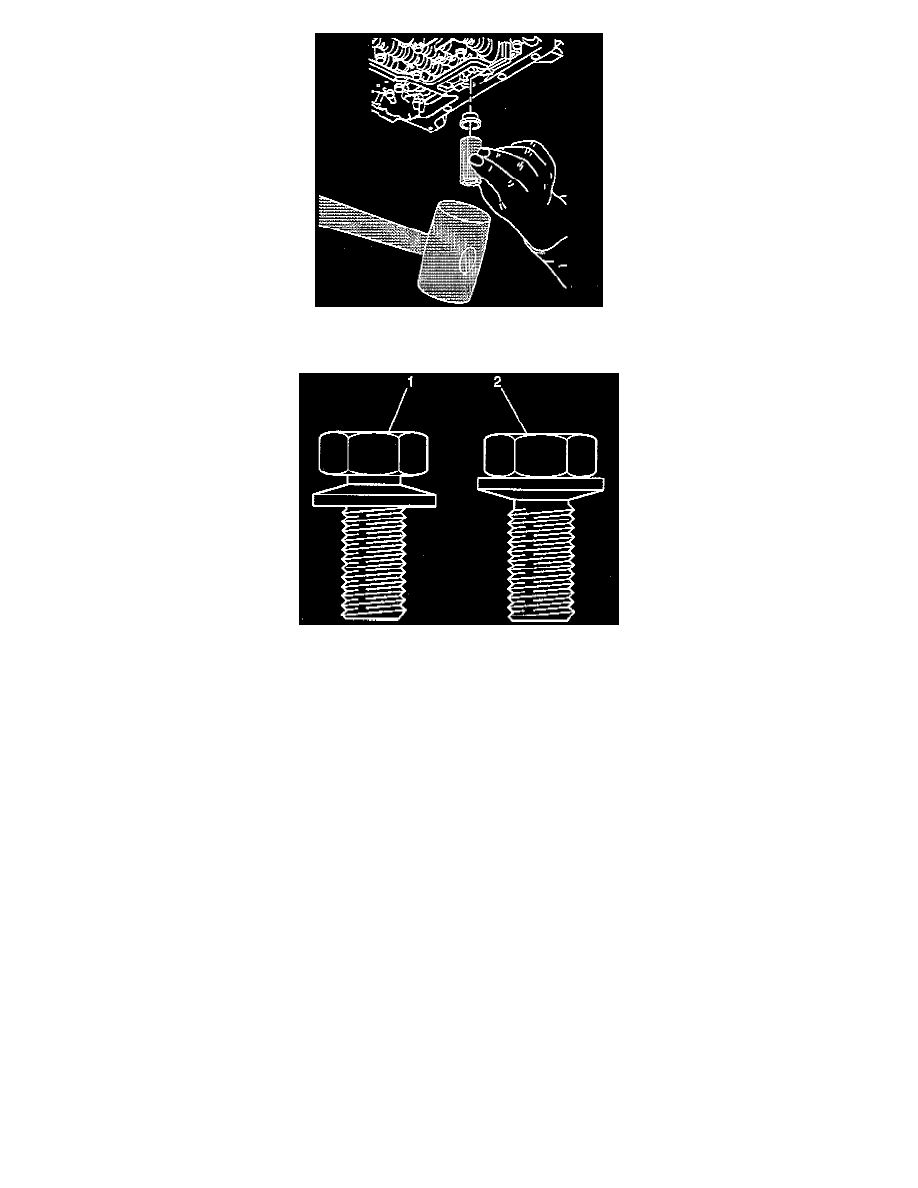
2. Install the new filter seal into the transmission case. Gently tap the seal into place using a suitable size socket.
3. Install the new oil filter into position as noted during removal.
4. Inspect the oil pan bolts and washers to determine if the conical washers are reversed.
-
Reuse the oil pan bolts and washers if the conical washers are NOT reversed (1).
-
Replace the oil pan bolts and washers if the conical washers are reversed (2).
5. Install the new oil pan gasket to the oil pan sealing surface.
6. Position the oil pan to the transmission case and support the oil pan.
7. Install the oil pan bolts.
-
Tighten the transmission oil pan bolts alternately and evenly to 11 Nm (97 inch lbs.).
NOTICE: Use the correct fastener in the correct location. Replacement fasteners must be the correct part number for that application. Fasteners
requiring replacement or fasteners requiring the use of thread locking compound or sealant are identified in the service procedure. Do not use
paints, lubricants, or corrosion inhibitors on fasteners or fastener joint surfaces unless specified. These coatings affect fastener torque and joint
clamping force and may damage the fastener. Use the correct tightening sequence and specifications when installing fasteners in order to avoid
damage to parts and systems.
8. Remove the transmission fluid check/fill plug.
9. Fill the transmission with DEXRON(R)-III automatic transmission fluid through the check/fill plug hole until fluid begins to pour out, then install
the check/fill plug hand-tight.
10. Complete filling the transmission with fluid to the proper level.
11. Inspect the oil pan gasket for leaks.