
Corvette V8-5.7L VIN G (1997)
Fluid Line/Hose: Service and Repair
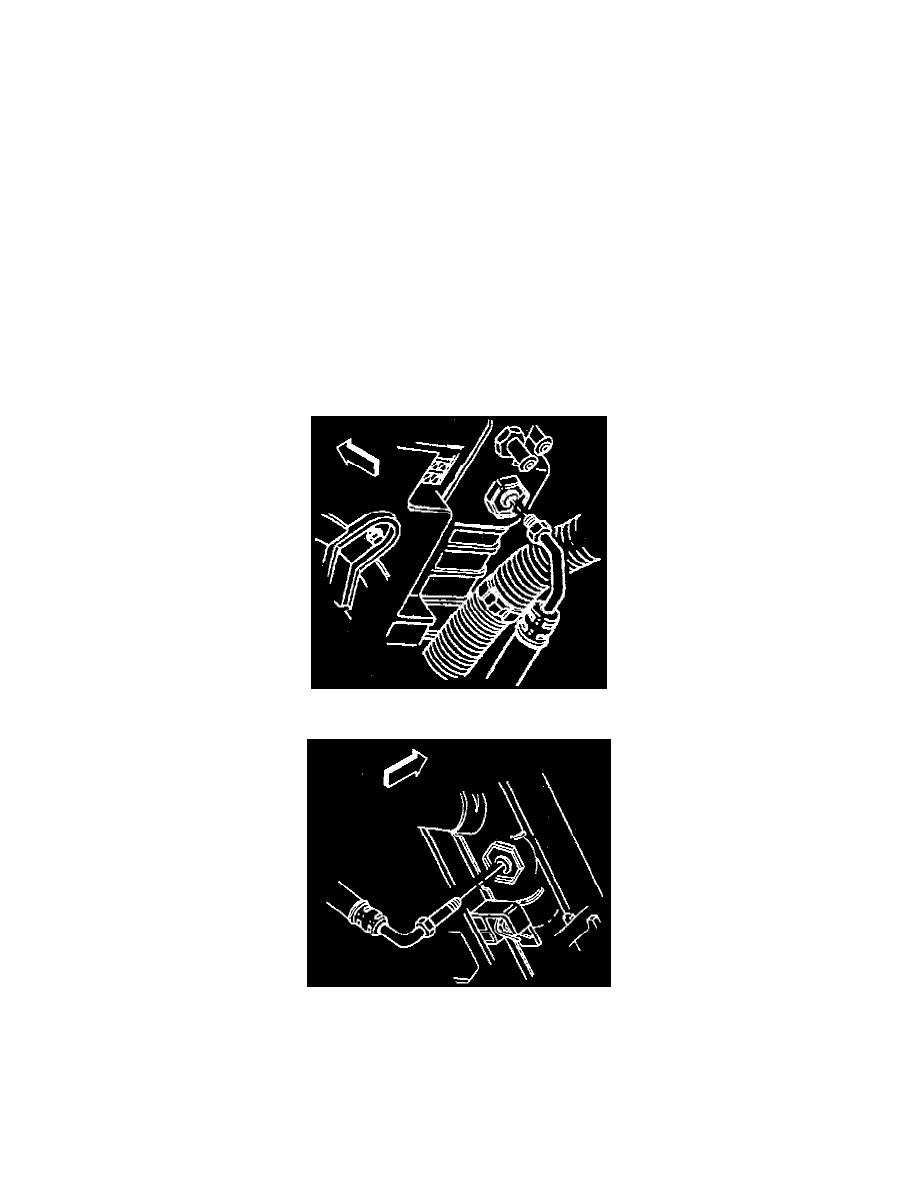
Oil Cooler Line Replacement (Front)
Removal Procedure
REMOVAL PROCEDURE
^
Tools Required:
-
J 41803 Engine Support Fixture
1. Position the front wheels straight ahead, then lock the steering column.
CAUTION: Disconnect the negative battery cable under the following circumstances:
-
When installing an electrical unit.
-
When a tool or equipment could easily come into contact with "live" exposed electrical terminals.
Failure to disconnect the negative battery terminal may result in personal injury or damage to the vehicle's components. Turn OFF the
vehicle ignition, unless instructed otherwise.
2. Disconnect the negative battery cable.
3. Raise and suitably support the vehicle.
4. Have a drain pan ready to catch fluid.
5. Disconnect the transmission oil cooler (TOC) front upper pipe fitting from the radiator, then cap the hose fitting.
6. Disconnect the TOC front lower pipe fitting from the radiator, then cap the hose fitting.
7. Drain the engine cooling system.
8. Lower the vehicle and leave it on the hoist.
9. Discharge the A/C system.
10. Disconnect the A/C compressor hose and the A/C evaporator hose from the A/C condenser, then cap or plug the hoses.
11. Remove the air intake duct and the upper radiator support.
12. Disconnect the inlet and outlet radiator hose clamps from the radiator.
13. Disconnect the inlet and outlet radiator hoses from the radiator.