Corvette V8-5.7L VIN G (1997)

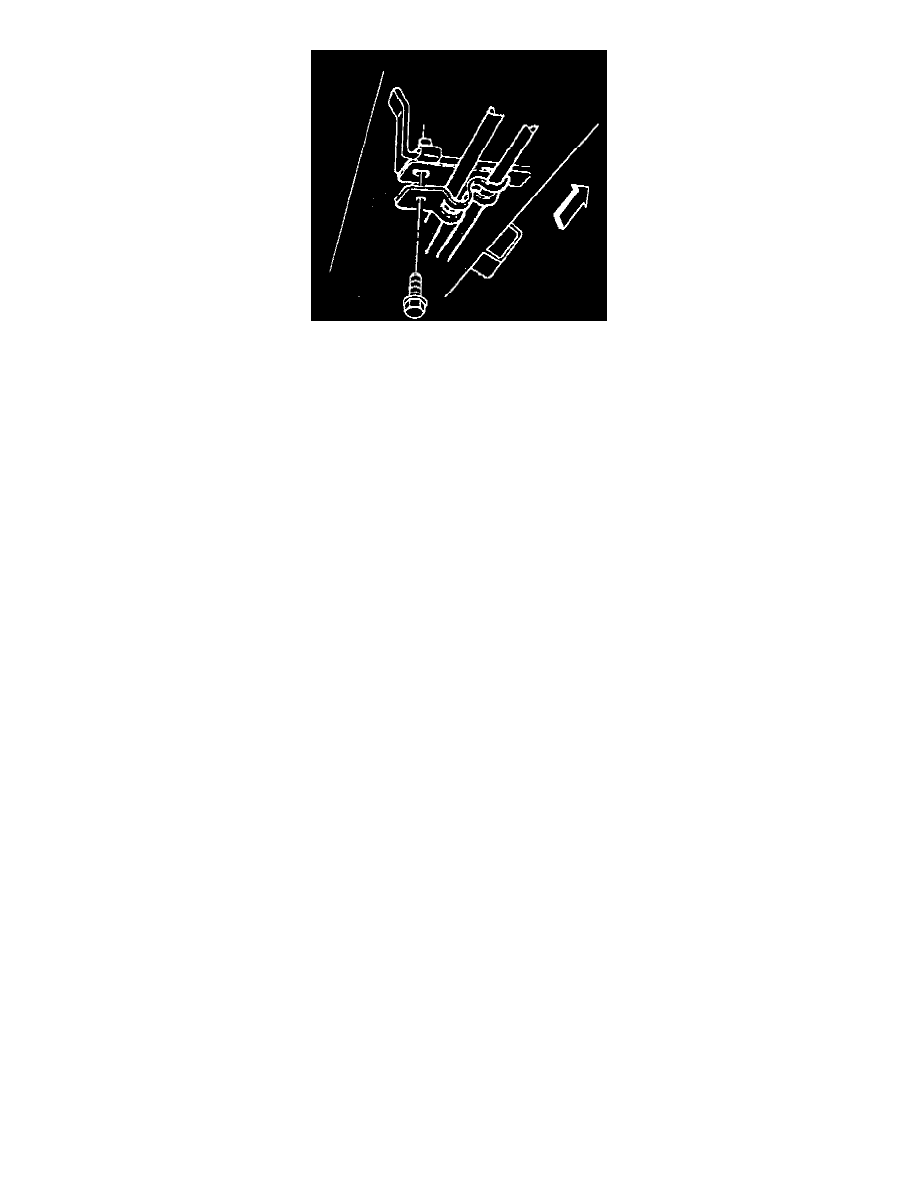
9. Remove the TOC rear pipe front and rear clamp bolts and clamps.
10. Remove the rear transmission oil cooler pipes.
INSTALLATION PROCEDURE
1. Install the TOC rear pipes into position.
2. Install the TOC rear pipe front and rear retaining clamps and bolts.
-
Tighten the transmission oil cooler rear pipe front and rear retaining clamp bolts to 12 Nm (106 inch lbs.).
NOTICE: Use the correct fastener in the correct location. Replacement fasteners must be the correct part number for that application. Fasteners
requiring replacement or fasteners requiring the use of thread locking compound or sealant are identified in the service procedure. Do not use
paints, lubricants, or corrosion inhibitors on fasteners or fastener joint surfaces unless specified. These coatings affect fastener torque and joint
clamping force and may damage the fastener. Use the correct tightening sequence and specifications when installing fasteners in order to avoid
damage to parts and systems.
3. Install the TOC rear pipe middle clip.
4. Install the TOC rear pipe rear clip.
5. HAND-START and HAND-TIGHTEN the TOC rear upper and lower pipe fittings to the transmission fittings.
-
Tighten the transmission oil cooler rear upper and lower pipe fittings to the transmission fittings to 27 Nm (20 ft. lbs.).
6. HAND-START and HAND-TIGHTEN the TOC rear upper and lower pipe fittings to the junction fittings at the engine flywheel housing.
-
Tighten the transmission oil cooler rear upper arid lower pipe fittings at the junction to 27 Nm (20 ft. lbs.).
7. Install the driveline tunnel closeout panel.
8. Install the RH muffler assembly.
9. Install the intermediate exhaust pipe.
10. Flush the transmission oil cooler and oil cooler pipes.
11. Check the transmission fluid level.
12. Lower the vehicle.
