Corvette V8-5.7L VIN G (1997)

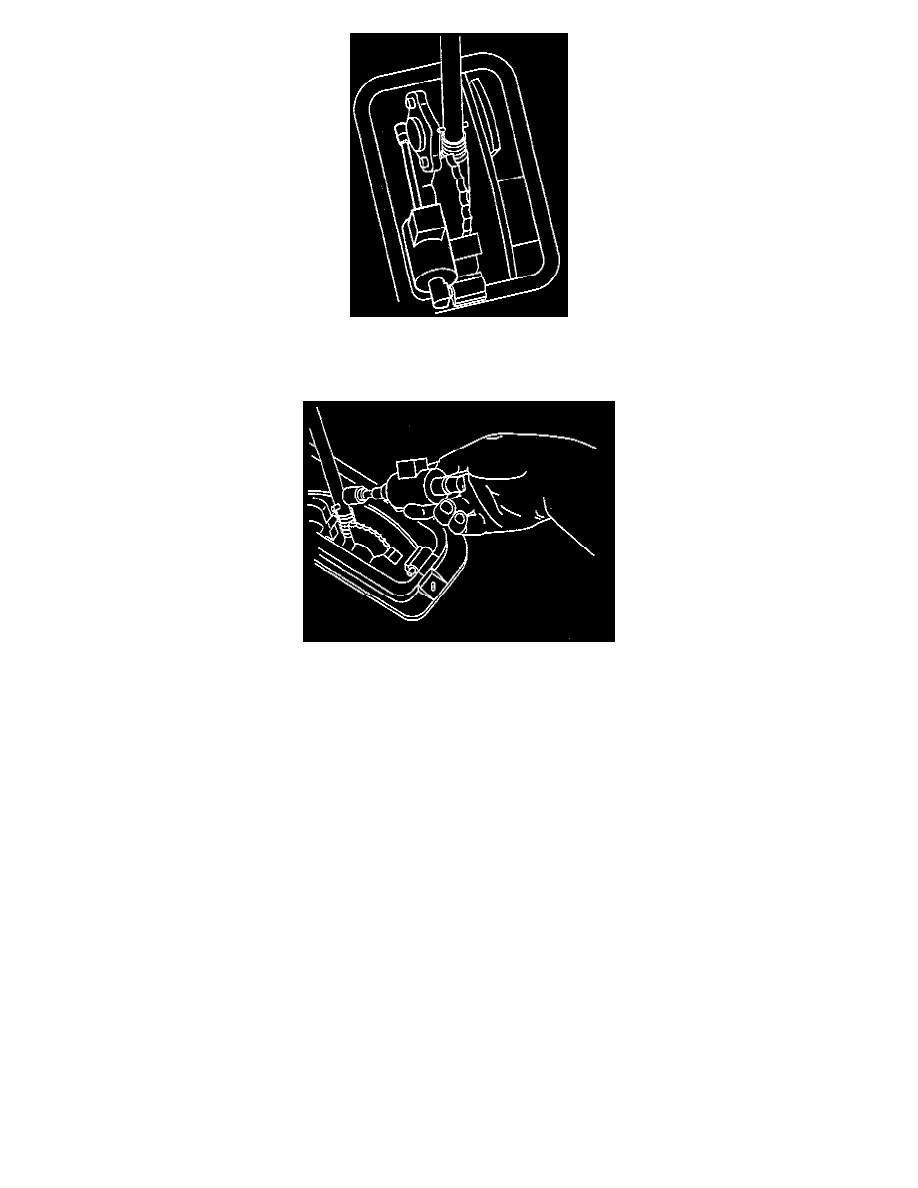
8. Allow the solenoid plunger to extend while positioning the plunger (with lower attachment) above the shift control pivot arm stud.
9. Carefully unsnap the remaining BTSI solenoid clip attachment. Rotate the solenoid body clockwise slightly while unsnapping the clip from the
bottom with a flat bladed screwdriver.
10. Remove the BTSI solenoid from the floor shift control.
INSTALLATION PROCEDURE
1. Insert the BTSI solenoid lower clip attachment just above the installed position on the shift control pivot arm.
2. Twist and press the BTSI solenoid upper clip attachment onto the pivot point. Begin to install the top of the upper clip attachment, then pivot the
attachment downward while pressing to secure.
3. Position the BTSI solenoid lower clip attachment onto the shift control pivot arm stud and push to secure.
4. Connect the BTSI solenoid electrical connector.
5. Install the shift control boot.
6. Connect the I/P wiring harness clip to the shift control.
7. Connect the floor shift control electrical connector.
8. Install the I/P accessory trim plate.
9. Install the console.
