
Corvette V8-5.7L VIN G (1997)
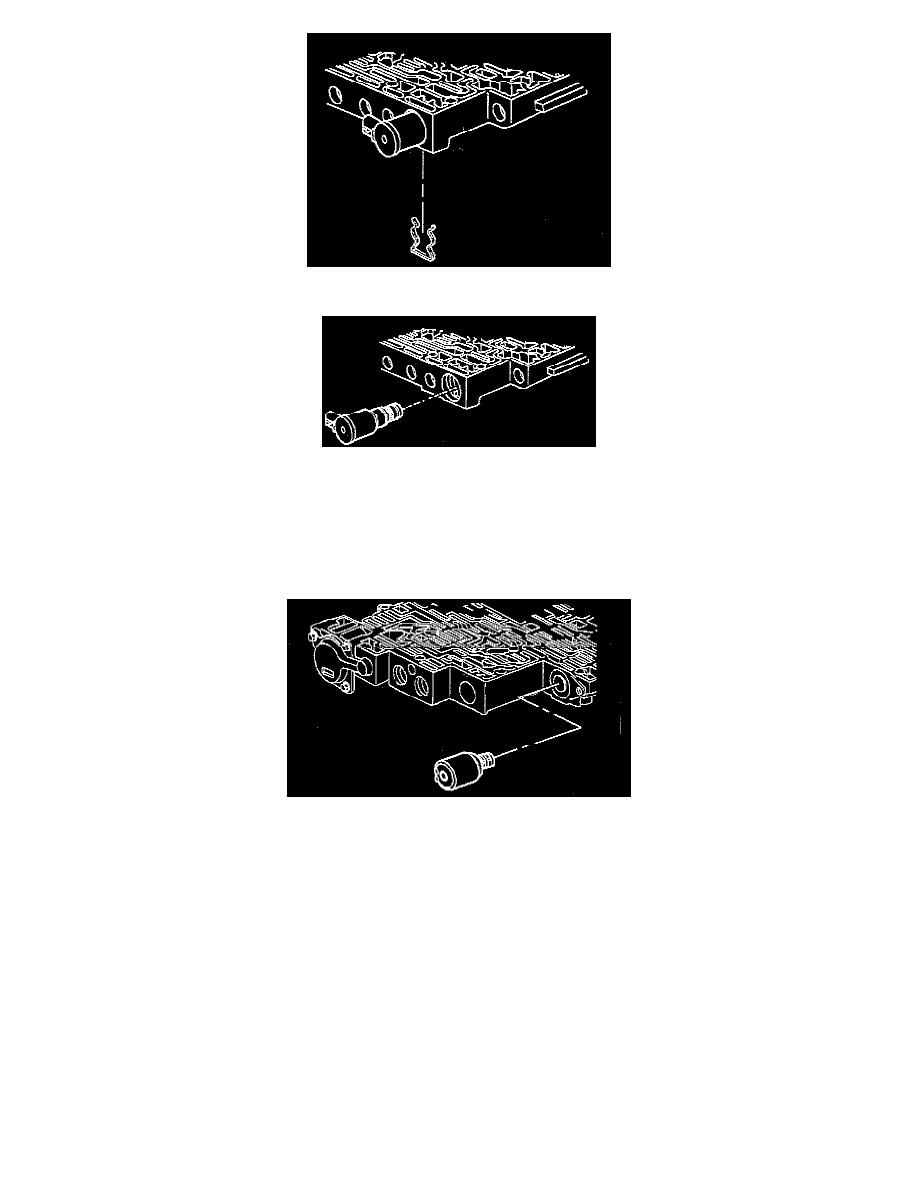
12. Remove the 3-2 control solenoid retainer.
13. Remove the 3-2 control solenoid.
INSTALLATION PROCEDURE
1. Install the 3-2 control solenoid.
2. Install the 3-2 control solenoid retainer.
3. Install the shift solenoids.
4. Install the shift solenoid retainers.
5. Install the pressure control solenoid. Ensure that the electrical tabs are facing outboard.
6. Install the pressure control solenoid retainer.
7. Install the pressure control solenoid retaining bolt.
-
Tighten the pressure control solenoid retaining bolt to 11 Nm (97 inch lbs.).
NOTICE: Use the correct fastener in the correct location. Replacement fasteners must be the correct part number for that application. Fasteners
requiring replacement or fasteners requiring the use of thread locking compound or sealant are identified in the service procedure. Do not use
paints, lubricants, or corrosion inhibitors on fasteners or fastener joint surfaces unless specified. These coatings affect fastener torque and joint
clamping force and may damage the fastener. Use the correct tightening sequence and specifications when installing fasteners in order to avoid
damage to parts and systems.
8. Connect the component electrical connectors.
9. Install the 1-2 accumulator inner and outer springs to the piston.
10. Install the 1-2 accumulator piston (with springs) to the accumulator cover. Ensure that the piston legs face toward the accumulator cover.
11. Install the 1-2 accumulator cover and bolts.
-
Tighten the 1-2 accumulator cover bolts to 11 Nm (97 inch lbs.).
12. Install the transmission oil pan and filter.
13. Lower the vehicle.