
Corvette V8-5.7L VIN G (1997)
-
Tighten the transaxle mount to bracket nuts to 59 Nm (43 ft. lbs.).
NOTICE: Use the correct fastener in the correct location. Replacement fasteners must be the correct part number for that application. Fasteners
requiring replacement or fasteners requiring the use of thread locking compound or sealant are identified in the service procedure. Do not use
paints, lubricants, or corrosion inhibitors on fasteners or fastener joint surfaces unless specified. These coatings affect fastener torque and joint
clamping force and may damage the fastener. Use the correct tightening sequence and specifications when installing fasteners in order to avoid
damage to parts and systems.
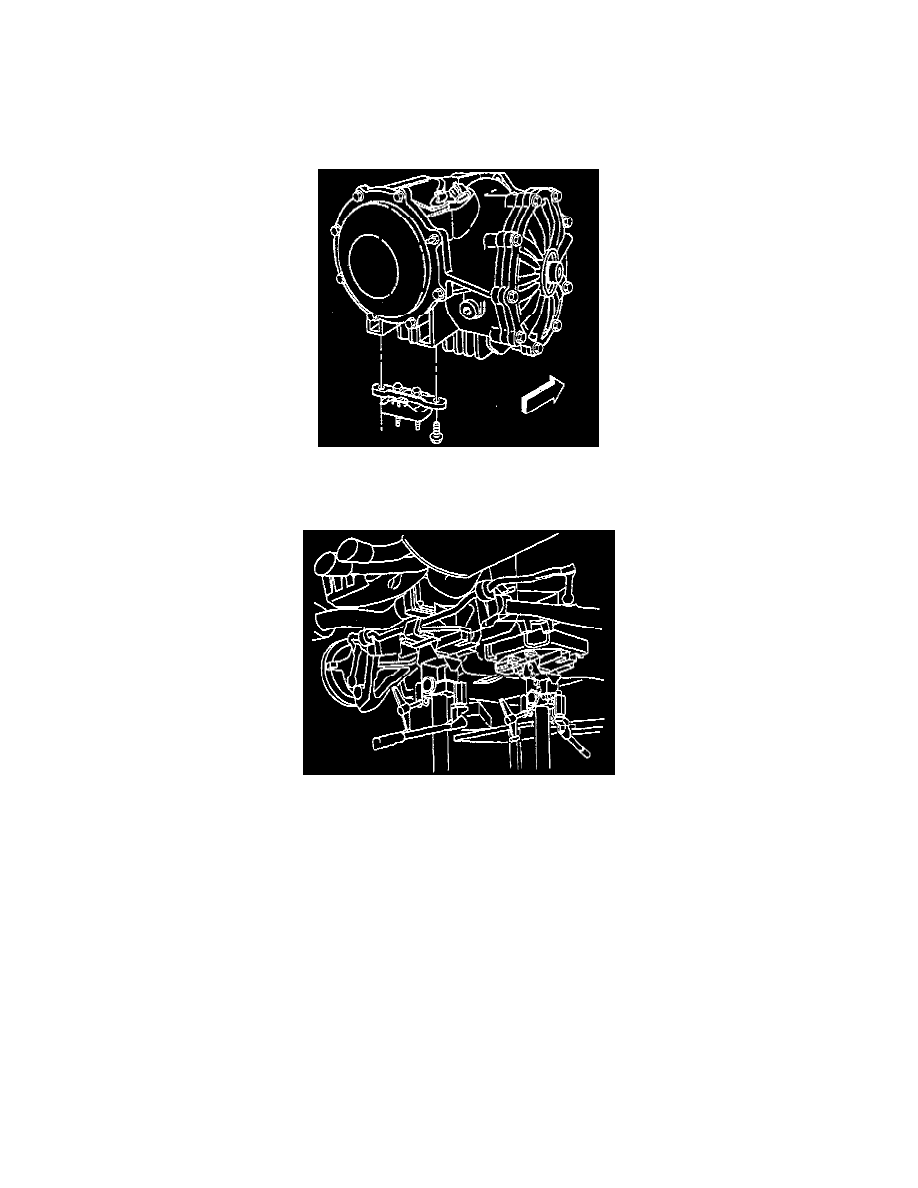
3. Install the transaxle mount with bracket to the differential.
4. Install the transaxle mount bracket to differential bolts.
-
Tighten the transaxle mount bracket to differential bolts to 50 Nm (37 ft. lbs.).
5. SLOWLY raise the rear suspension crossmember (still firmly attached to a transmission jack), to the vehicle frame rails. Guide the transaxle
mount studs into the slots in the rear crossmember.
6. BY HAND, install NEW rear suspension crossmember mounting nuts.
-
Tighten the rear suspension crossmember mounting nuts to 110 Nm (81 ft. lbs.).
7. Remove the transmission jack from the rear suspension crossmember.
8. Release the J 42055 from the transmission, then remove the J 42055 and transmission jack.