
Corvette V8-5.7L VIN G (1997)
9. Protect both hose coupling ends from dirt and damage.
10. Lower the vehicle (leave the vehicle on the hoist).
11. Remove the clutch master cylinder reservoir push-in fasteners.
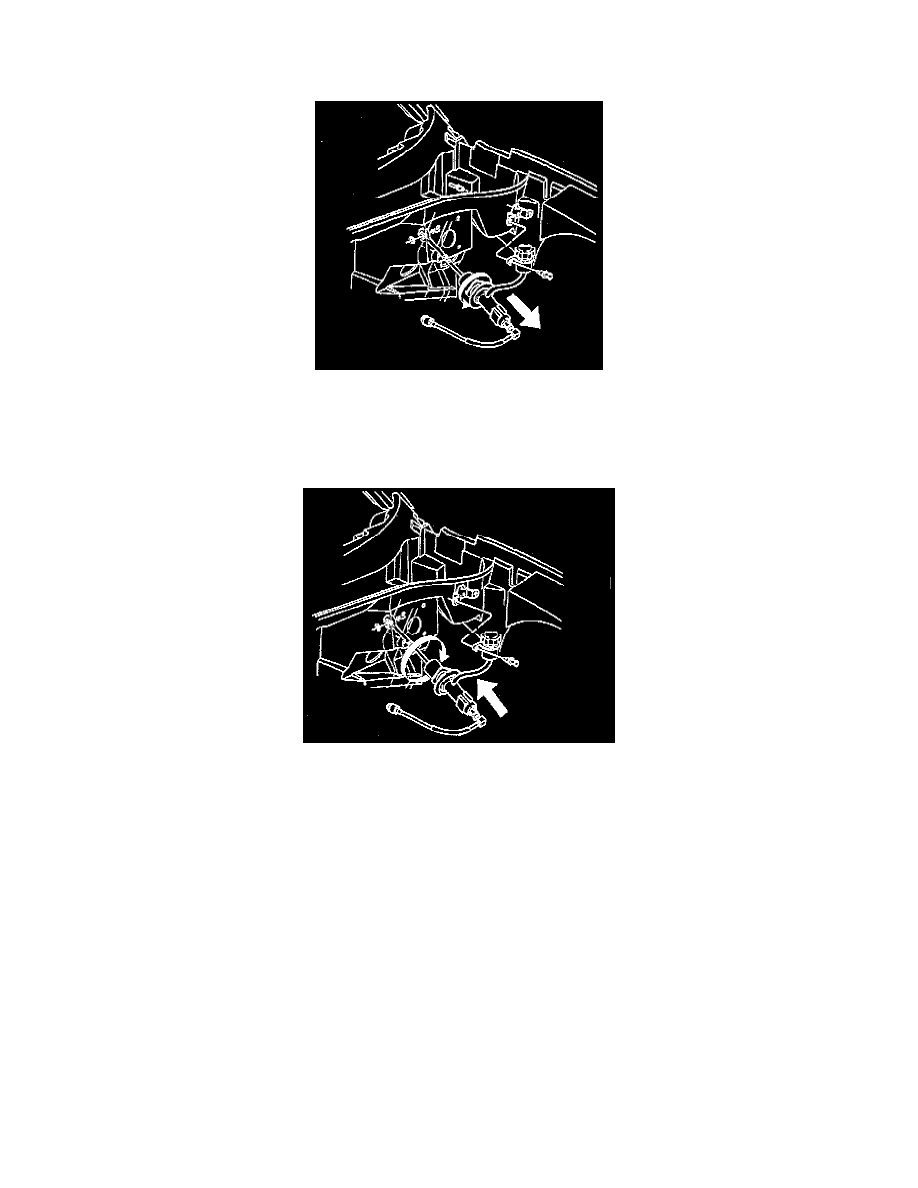
12. Rotate the clutch master cylinder counterclockwise 45°.
13. Release the clutch master cylinder from the dash panel.
14. Remove the clutch master cylinder (and reservoir) from the vehicle.
INSTALLATION PROCEDURE
1. Install the clutch master cylinder and the reservoir into position.
2. Install the clutch master cylinder to the dash panel.
-
Orientate the clutch master cylinder at a 45° angle.
-
Insert the clutch master cylinder into the dash panel.
-
Rotate the master cylinder clockwise to secure. DO NOT over-rotate the master cylinder
3. Install the clutch master cylinder reservoir into position.
4. Install the clutch master cylinder reservoir push-in fasteners.
5. Install the windshield washer solvent container.
6. Raise the vehicle.
Important: DO NOT rely on an audible click or a visual verification of the clutch hydraulic hose quick connect fitting connection.
7. Connect the clutch actuator cylinder hose to the clutch master cylinder hose. Push together the clutch hydraulic hose quick connect fittings, then
pull back on the fittings to verify engagement.
8. Check the clutch hydraulic hoses for twists or kinks.
9. Install the clutch actuator cylinder hose to the hose retaining clip (at the rear of the engine).
10. Lower the vehicle.
11. Install the clutch master cylinder rod to the clutch pedal.
12. Install the clutch master cylinder rod retainer.
13. Install the LH I/P lower insulator panel.
14. Connect the negative battery cable.
-
Tighten the negative battery cable bolt to 15 Nm (11 ft. lbs.).