
Corvette V8-5.7L VIN G (1997)
1. Inspect the clutch pressure plate and the clutch driven plate for wear or damage. Repair or replace as necessary.
2. Inspect the engine flywheel.
3. Adjust the clutch pressure plate, if necessary.
4. Install the clutch driven plate and clutch pressure plate to the engine flywheel.
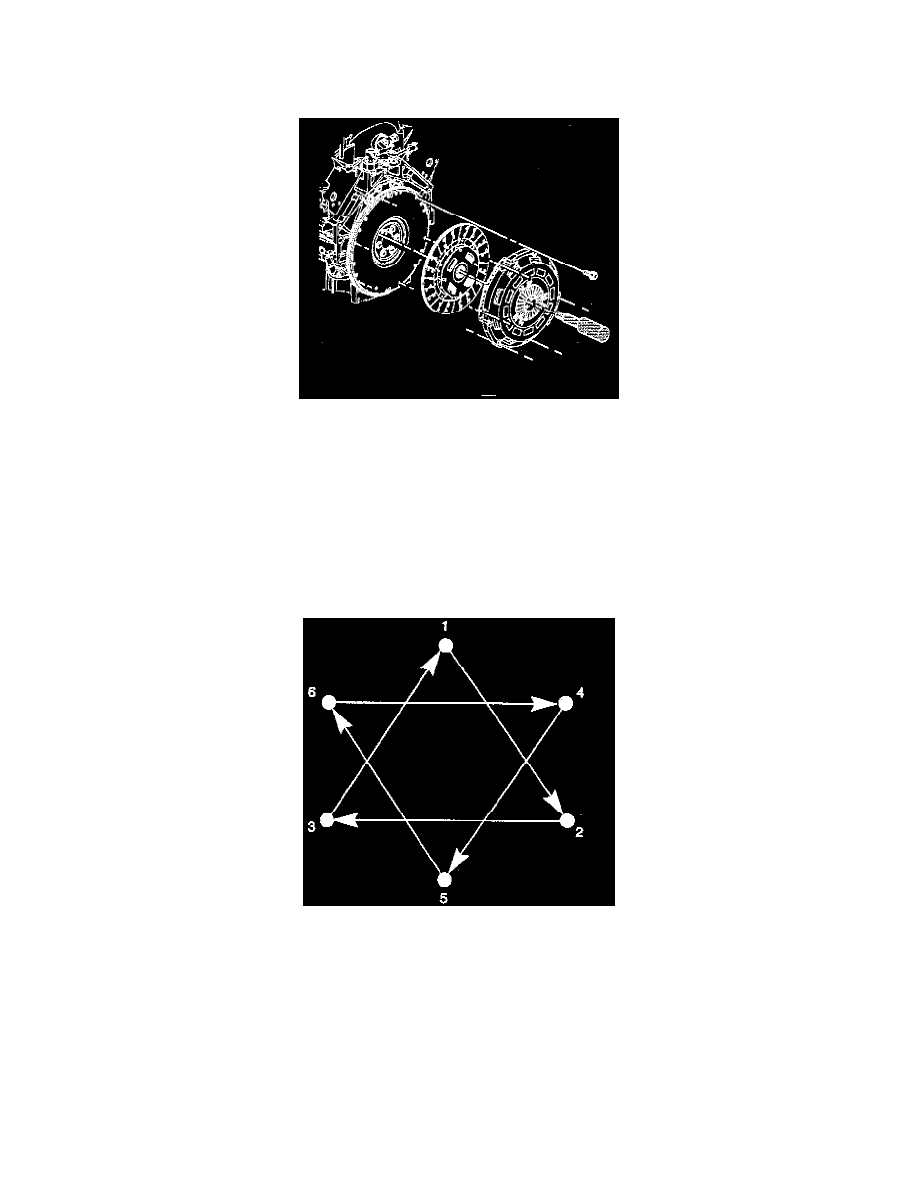
5. Install the visible clutch, pressure plate bolts finger-tight.
6. Rotate the engine flywheel.
7. Repeat steps 5 and 6 until all the bolts are installed finger-tight.
8. Using the J 38836, align the clutch driven plate to the pilot bearing.
NOTICE: Use the correct fastener in the correct location. Replacement fasteners must be the correct part number for that application. Fasteners
requiring replacement or fasteners requiring the use of thread locking compound or sealant are identified in the service procedure. Do not use
paints, lubricants, or corrosion inhibitors on fasteners or fastener joint surfaces unless specified. These coatings affect fastener torque and joint
clamping force and may damage the fastener. Use the correct tightening sequence and specifications when installing fasteners in order to avoid
damage to parts and systems.
9. Tighten the clutch pressure plate bolts in sequence and evenly over 3 increments with the fourth increment to 50 Nm 37 ft. lbs.).
10. Install the engine flywheel inspection cover.
11. Install the driveline support assembly and the transaxle.
12. Install the exhaust system.
13. Connect the negative battery cable.
-
Tighten the negative battery cable bolt to 15 Nm (11 ft. lbs.).
14. Lower the vehicle.