
Corvette V8-5.7L VIN G (1997)
20. Remove the seal from the axle shaft.
21. Remove the axle shaft from the bench vise.
Important: All traces of old grease and any contaminates must be removed.
22. Clean the following thoroughly with clean solvent:
-
The inner race.
-
The outer race.
-
The cage.
-
The balls.
-
The axle shaft exposed end.
23. Thoroughly air dry all the parts.
Assembly Procedure
NOTICE: Protect the drive axle seals from sharp tools and from the sharp edges of surrounding components. Any damage to the seals or clamps, will
result in the leaking of the joint lubricating grease from the inner and outer joints; and the entering of contaminates into the inner and outer joints. This
condition will lead to noisy drive axle operation, and eventually, the failure of the internal components.
^
Tools Required:
-
J 42572 Drive Axle Seal Clamp Pliers
1. Wrap a shop towel around the axle shaft.
2. Place the axle shaft horizontally in a bench vise.
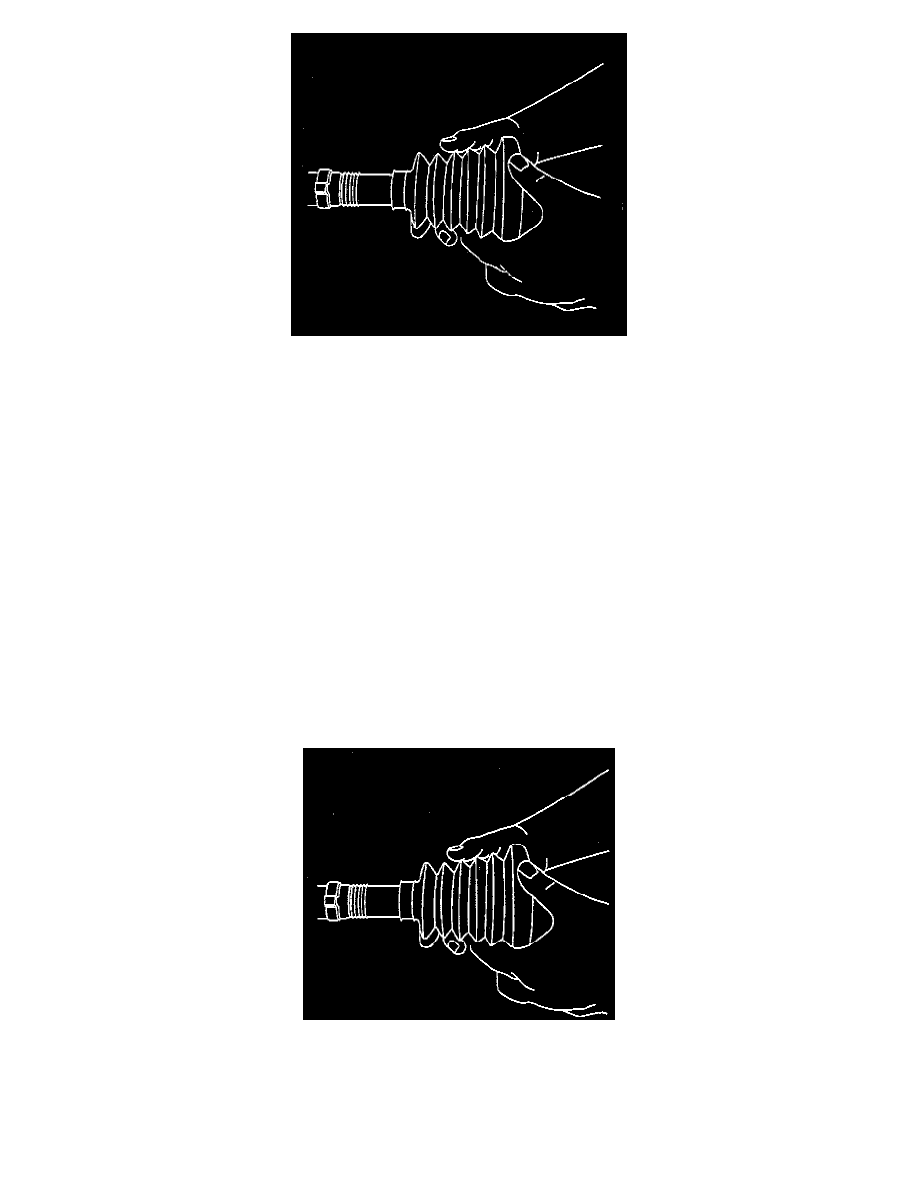
3. Install a new small seal retaining clamp onto the axle shaft.
4. Install the seal onto the axle shaft.