
Corvette V8-7.0L (2007)
59. Install the catalytic converters.
60. Install the rear tire and wheel assemblies.
61. Lower the vehicle.
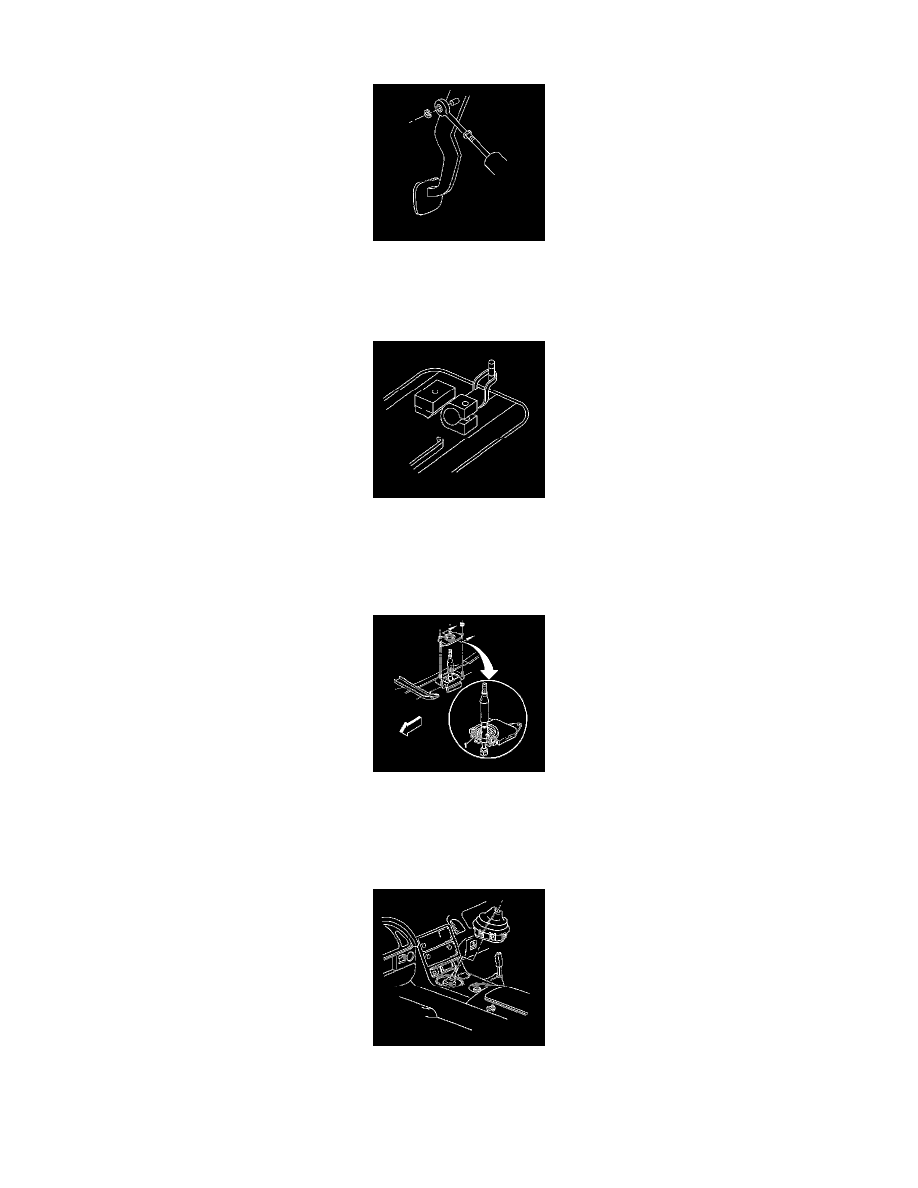
62. Connect the clutch master cylinder pushrod to the clutch pedal.
63. Install the clutch master cylinder pushrod retainer.
64. Install the left I/P lower insulator panel.
65. Grasp the transmission shift rod and pull up to break the masking tape installed earlier to maintain position during installation.
66. Stretch the rubber band, while still installed onto the transmission shift rod, over the rear stud on top of the driveline tunnel to aid in shift control
installation.
67. Install the shift control assembly.
68. Break and remove the rubber band.
69. Install the shift control closeout boot.
Ensure the closeout boot fully seats to the shift control lever seal and the base of the shift control assembly (1).
70. Install the shift control closeout boot retaining nuts.
Tighten the shift control closeout boot retaining nuts to 12 N.m (106 lb in).
71. Install the I/P accessory trim plate.
72. Install the shift control boot over the shift control lever.