
Corvette V8-7.0L VIN E (2006)
Constant Velocity Joint: Service and Repair
Wheel Drive Shaft Inner Joint and Seal Replacement
Wheel Drive Shaft Inner Joint and Seal Replacement
^
Tools Required
-
J 42572 Drive Axle Seal Clamp Pliers
-
J 46588 Axle Seal Crimp Tool
Removal Procedure
This procedure is to be performed only after the drive shaft has been removed from the vehicle.
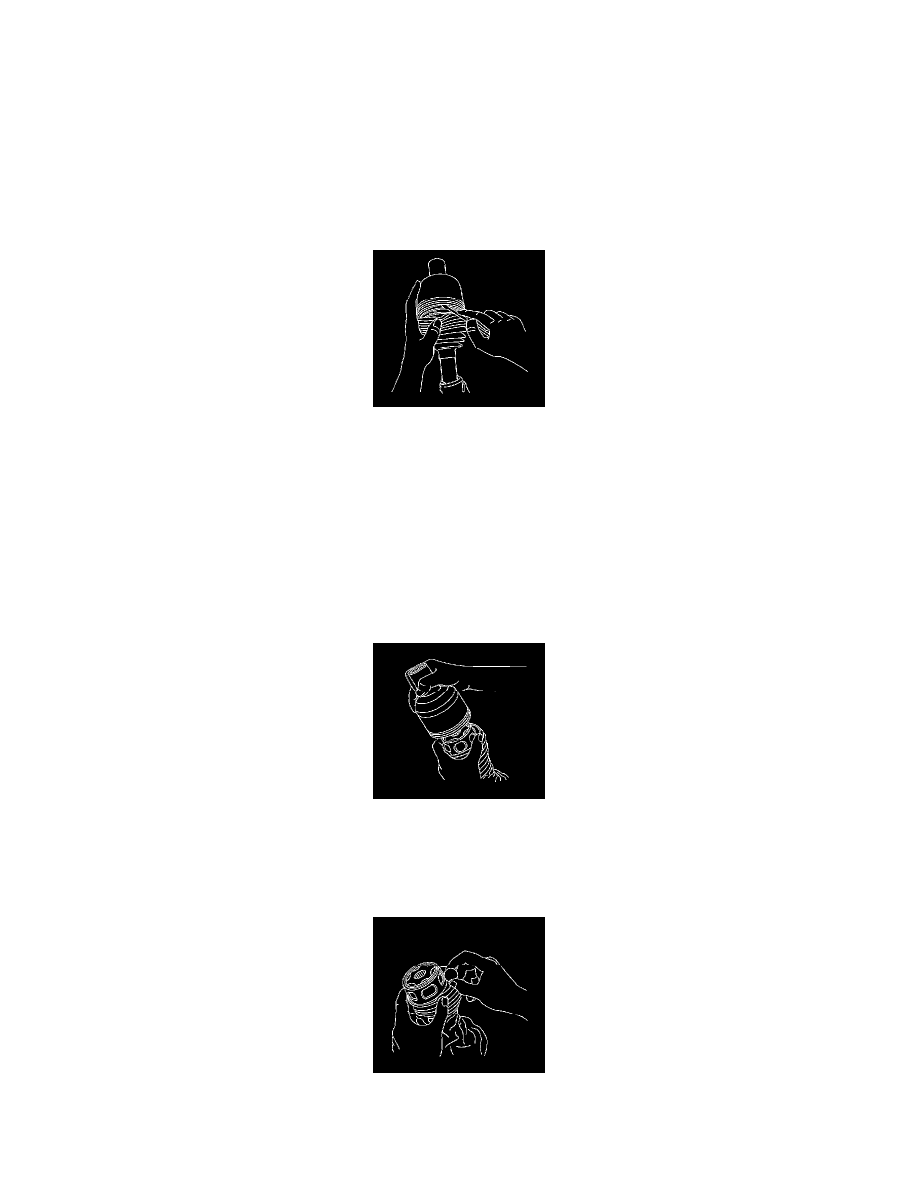
1. Wrap a shop towel around the axle shaft.
2. Place the wheel drive shaft horizontally in a bench vise.
3. Using J 46588, remove the large seal retaining clamp from the CV joint seal.
4. Remove the small seal retaining clamp from the joint seal. Use a side cutter or other suitable tool and discard the clamp.
5. Separate the seal from the joint outer race at the large diameter end.
6. Position the seal behind the joint face.
7. Position the wheel drive shaft vertically in the bench vise so the inner joint is up.
8. Slide the joint outer race down toward the vise.
9. Disengage the outer race retaining ring.
1. Insert a small flat-bladed screwdriver between the retaining ring and the outer race.
2. Remove the retaining ring from the outer race.
3. Position the retaining ring along the axle shaft away from the outer race.
10. Remove the outer race from the axle shaft.
1. Use the seal to catch any balls which are not retained by grease.
2. Lift the outer race off the axle shaft.
Important: The balls may fall out of the cage and inner race when the outer race is removed.
11. Remove any remaining balls from the cage and inner race. Remove any balls caught by the seal.