
Equinox AWD V6-3.4L (2008)
Oil Pan: Service and Repair
Oil Pan Replacement
Tools Required
J 39505 Torque Wrench Adapter
Removal Procedure
1. Disconnect the battery negative cable. Refer to Battery Negative Cable Disconnection and Connection .
2. Install the engine support fixture. Refer to Engine Support Fixture (See: Service and Repair/Removal and Replacement/Engine Support Fixture) .
3. Raise and support the vehicle. Refer to Lifting and Jacking the Vehicle .
4. Remove the air conditioning (A/C) compressor. Refer to Compressor Replacement (LNJ) Compressor Replacement (LY7) .
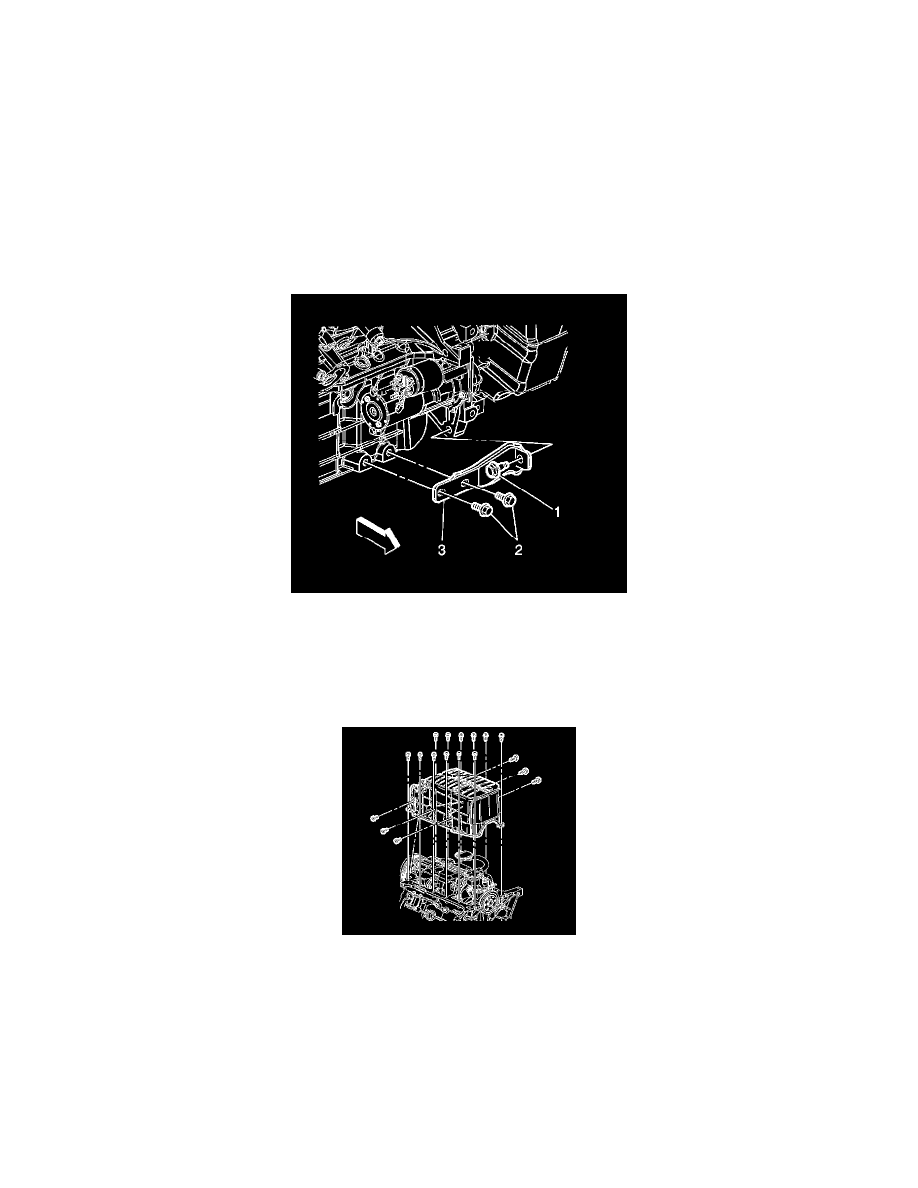
5. Remove the engine-to-transaxle brace bolts (1, 2).
6. Remove the engine-to-transaxle brace (3).
7. Remove the starter. Refer to Starter Motor Replacement (LNJ) Starter Motor Replacement (LY7) .
8. If equipped with all wheel drive (AWD), remove the transfer case . Refer to Transfer Case Replacement
9. If equipped with front wheel drive (FWD), remove the intermediate shaft. Refer to Intermediate Shaft Replacement .
10. Drain the engine oil and remove the oil filter. Refer to Engine Oil and Oil Filter Replacement (See: Engine Oil/Service and Repair) .
11. Remove the oil pan side bolts.
12. Remove the oil pan sealing surface bolts.
13. Remove the oil pan.
14. Clean the oil pan and the engine block gasket surface.
Installation Procedure