
Equinox AWD V6-3.4L (2008)
3. Remove the protective caps from the condenser, the evaporator outlet hose, and the TXV.
4. Install the new sealing washer to the liquid line.
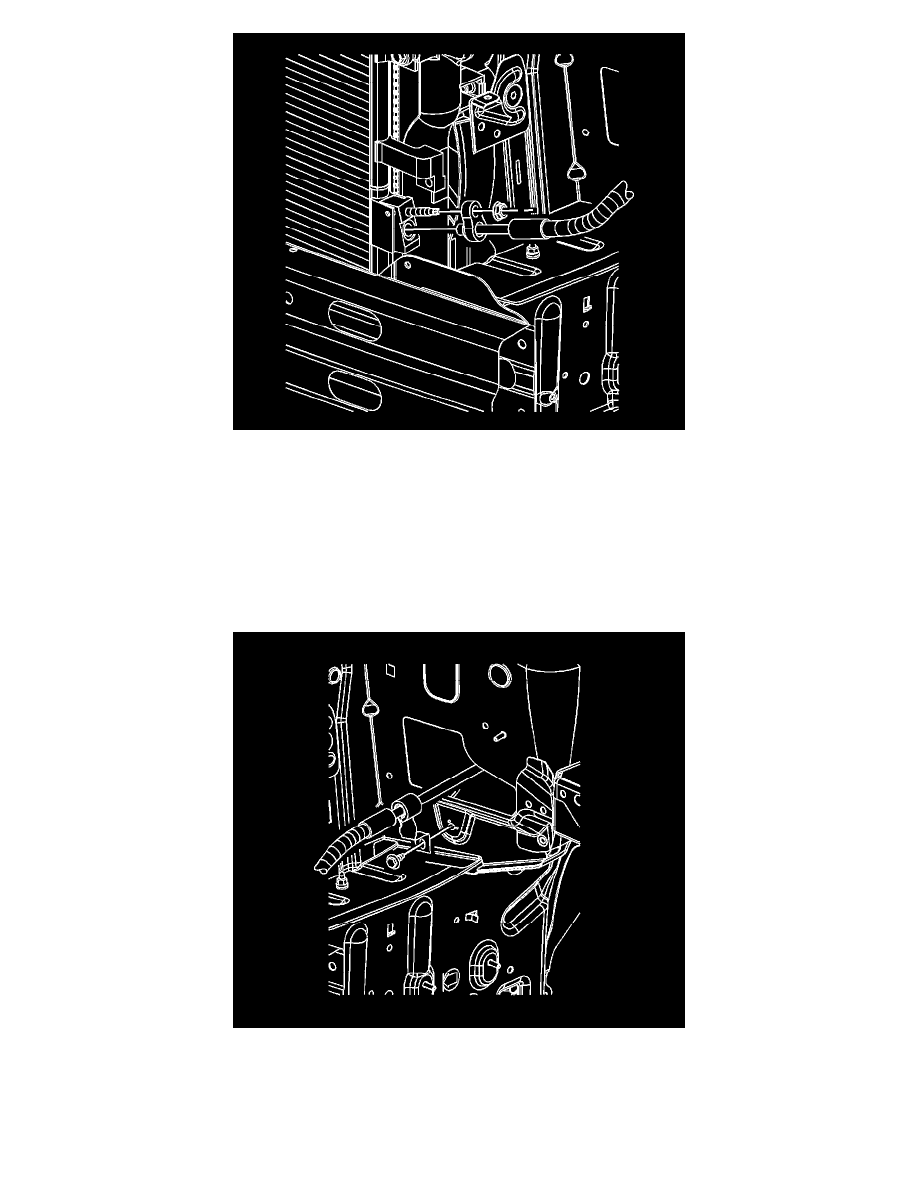
5. Route the condenser end of the liquid line into position.
6. Install the liquid line to the condenser.
Important: Use a large pair of pliers to hold the fitting while tightening the nut. Be careful not to twist the line.
7. Install the liquid line nut to the condenser.
Tighten the nut to 20 N.m (15 lb ft).
8. Install the bolt to retain the liquid line to the body.
Tighten the nut to 9 N.m (80 lb in).