
Express 2500 V8-6.6L DSL Turbo (2010)
Right
Caution: Refer to Fastener Caution (See: Service Precautions/Vehicle Damage Warnings/Fastener Caution).
5. Tighten the intake manifold bolts/nuts in the sequence shown to 25 Nm (18 lb ft).
6. Install the right fuel rail. Refer to Fuel Injection Fuel Rail Assembly Replacement - Bank 1 (See: Powertrain Management/Fuel Delivery and Air
Induction/Fuel Rail/Service and Repair/Fuel Injection Fuel Rail Assembly Replacement - Bank 1).
7. Install the center intake manifold. Refer to Center Intake Manifold Replacement (See: Center Intake Manifold Replacement).
VIN 6
Intake Manifold Replacement - Right Side (LMM)
Removal Procedure
1. Remove the center intake manifold. Refer to Center Intake Manifold Replacement (LMM) (See: Center Intake Manifold Replacement).
2. Remove the right fuel rail. Refer to Fuel Injection Fuel Rail Assembly Replacement - Bank 2 (See: Powertrain Management/Fuel Delivery and
Air Induction/Fuel Rail/Service and Repair/Fuel Injection Fuel Rail Assembly Replacement - Bank 2).
3. Remove the injection pump. Refer to Fuel Injection Pump Replacement (See: Powertrain Management/Fuel Delivery and Air Induction/Fuel
Pump/Service and Repair/Fuel Injection Pump Replacement).
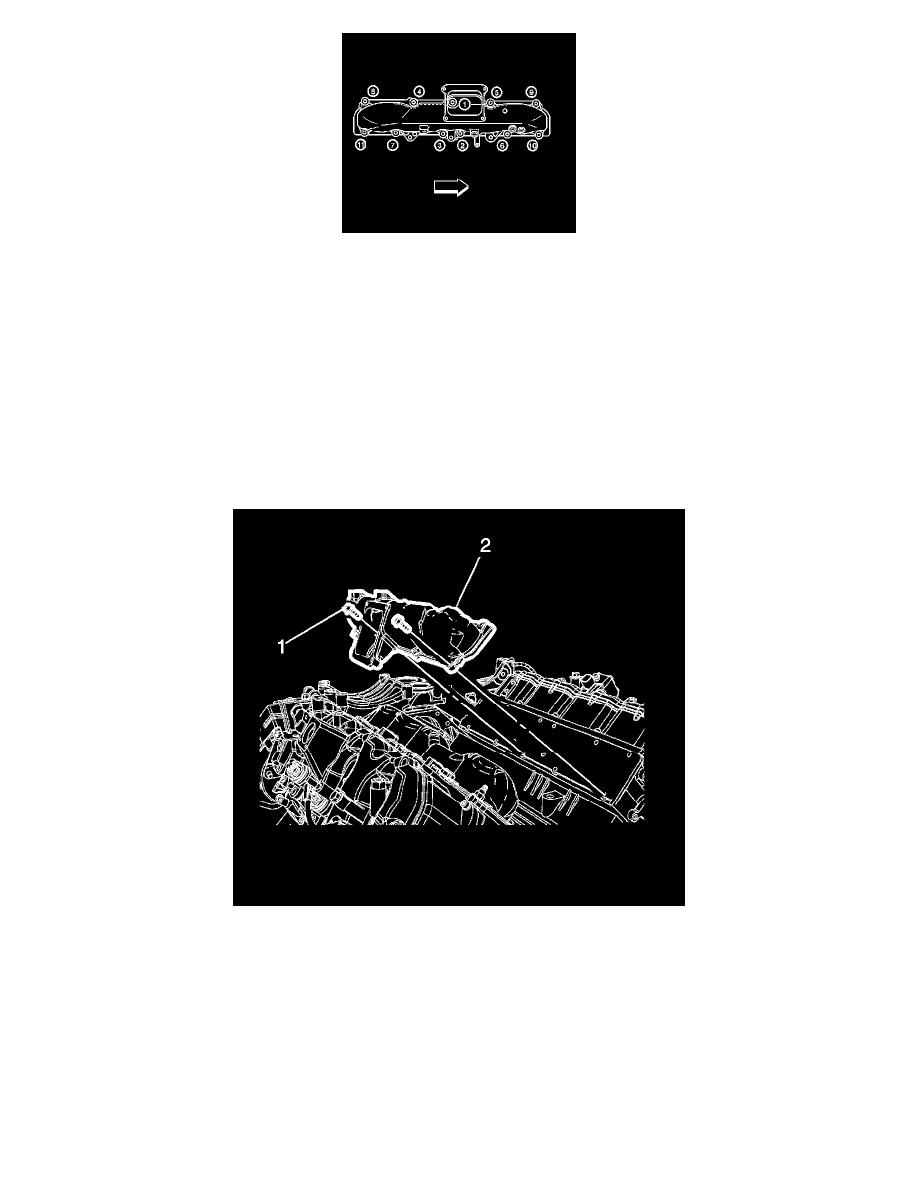
4. Remove the intake manifold bolts/nuts.
Note: The intake manifold uses sealer. Pry at the area by the fuel rail bolt holes in order to avoid damage to the sealing surfaces.
5. Remove the intake manifold.
6. To prevent entry of debris in the cylinder head tape the openings.
Installation Procedure