
K 1500 Suburban 4WD V8-6.5L DSL Turbo VIN F (1999)
Glow Plug: Service and Repair
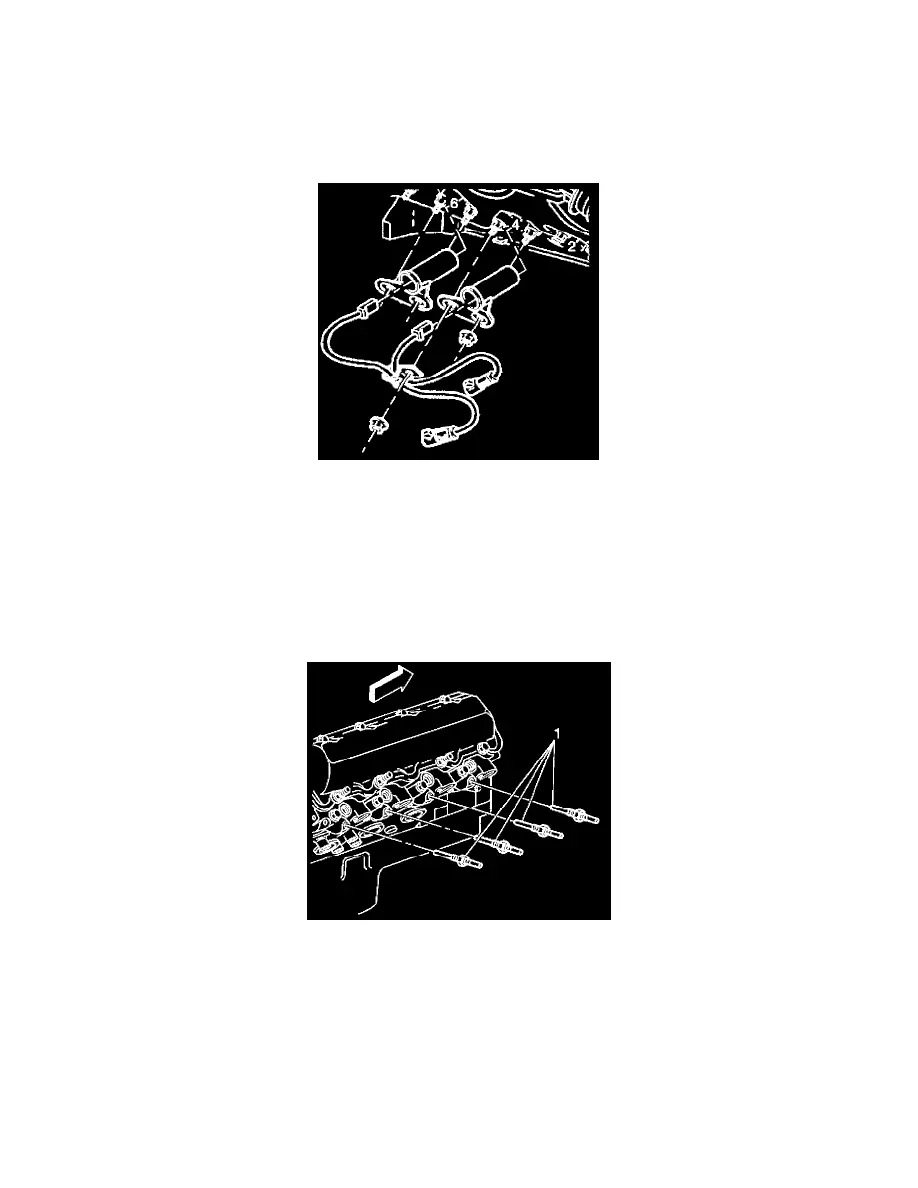
Glow Plug - Right Side
REMOVAL PROCEDURE
TOOLS REQUIRED
J 39083 Glow Plug Connector Remover and Installer
Right Side of Vehicle
1. Raise the vehicle.
2. Remove the right front tire.
3. Remove the splash shield from the right front wheel well.
4. Remove the lead wire from the glow plug in the 2 cylinder.
5. Remove the lead wires for glow plugs in cylinders 4 and 6 at the harness connectors.
6. Remove the heat shroud for the glow plug in cylinder 4.
7. Remove the heat shroud for cylinder 6.
^
Slide the shrouds back far enough to allow access for unplugging the wires at cylinder 4 and 6 glow plugs.
^
Use the J 39083 glow plug connector remover and installer in order to disconnect the glow plug wires.
8. Remove the glow plugs from cylinders 2, 4, and 6. If a glow plug is damaged during the removal procedure, refer to Damaged Glow Plug
Removal.
9. Disconnect the lead wire at the glow plug from cylinder 8 by reaching up from underneath the vehicle.
10. Remove the glow plug from cylinder 8. If the glow plug is damaged during the removal procedure, refer to Damaged Glow Plug Removal.
For easier access to glow plugs on cylinders 6 and 8, it may be necessary to remove the exhaust down pipe from turbocharger.
INSTALLATION PROCEDURE
NOTE: Refer to Fastener Notice in Cautions and Notices.