
Lumina V6-3.1L VIN J (2000)
Hose/Line HVAC: Service and Repair
Compressor Hose Assembly Replacement
REMOVAL PROCEDURE
1. Disconnect the negative battery cable.
2. Remove the air cleaner and duct assembly.
3. Recover the refrigerant. Refer to Refrigerant Recovery and Recharging.
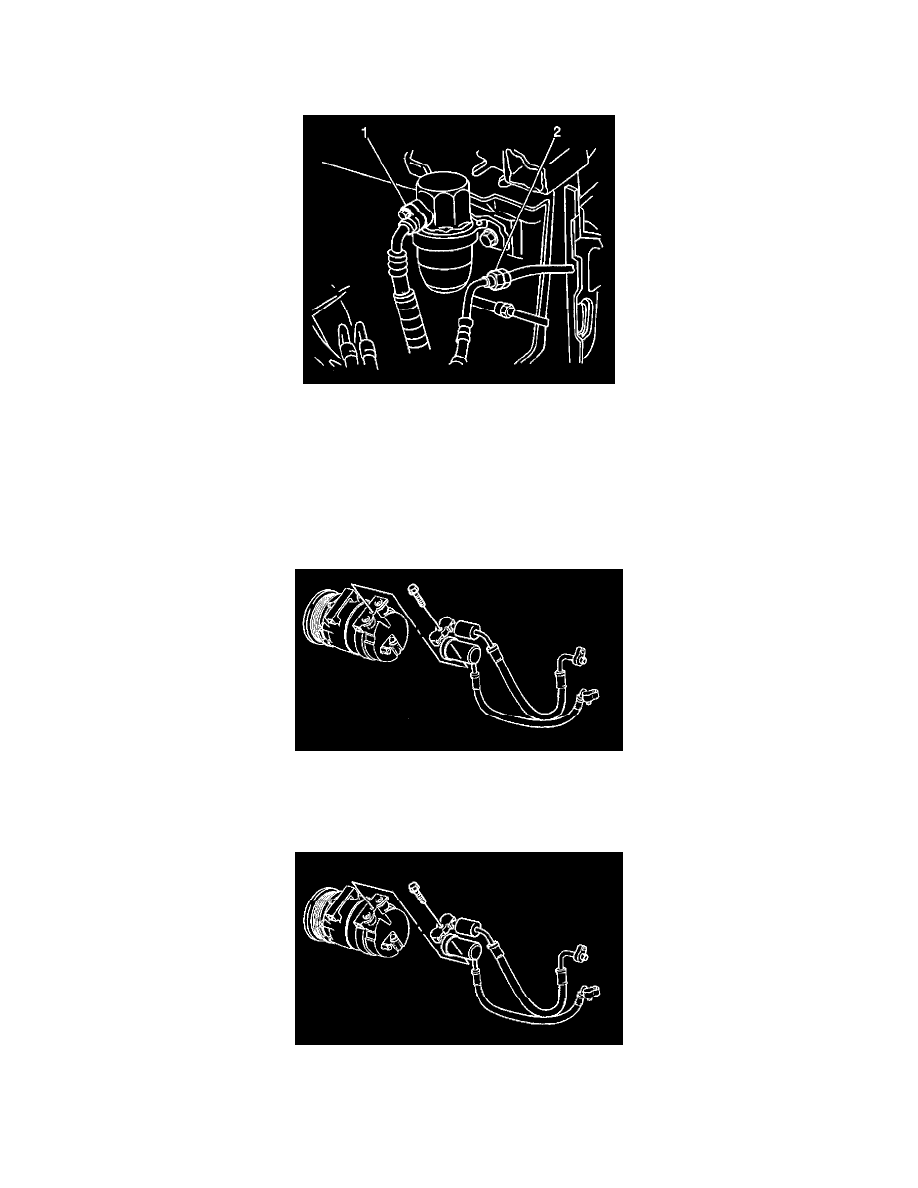
4. Remove the compressor hose line nut (1) from the accumulator and position the line aside.
5. Remove the compressor hose nut (2) from the condenser and position the line aside.
6. Raise and support the vehicle. Refer to Lifting and Jacking the Vehicle in General Information.
7. Remove the lower air deflector.
IMPORTANT: Remove and discard all the used O-rings and sealing washers.
8. Remove the compressor hose bolt at the compressor.
9. Remove the compressor hose assembly.
INSTALLATION PROCEDURE
1. Install the compressor hose assembly.
IMPORTANT: Lubricate the new O-rings and sealing washers with mineral base 525 viscosity refrigerant oil.
2. Install the new O-rings onto the compressor hose assembly.