
Malibu L4-2.4L (2010)
1. Install the positive battery cable.
2. Raise and the vehicle.
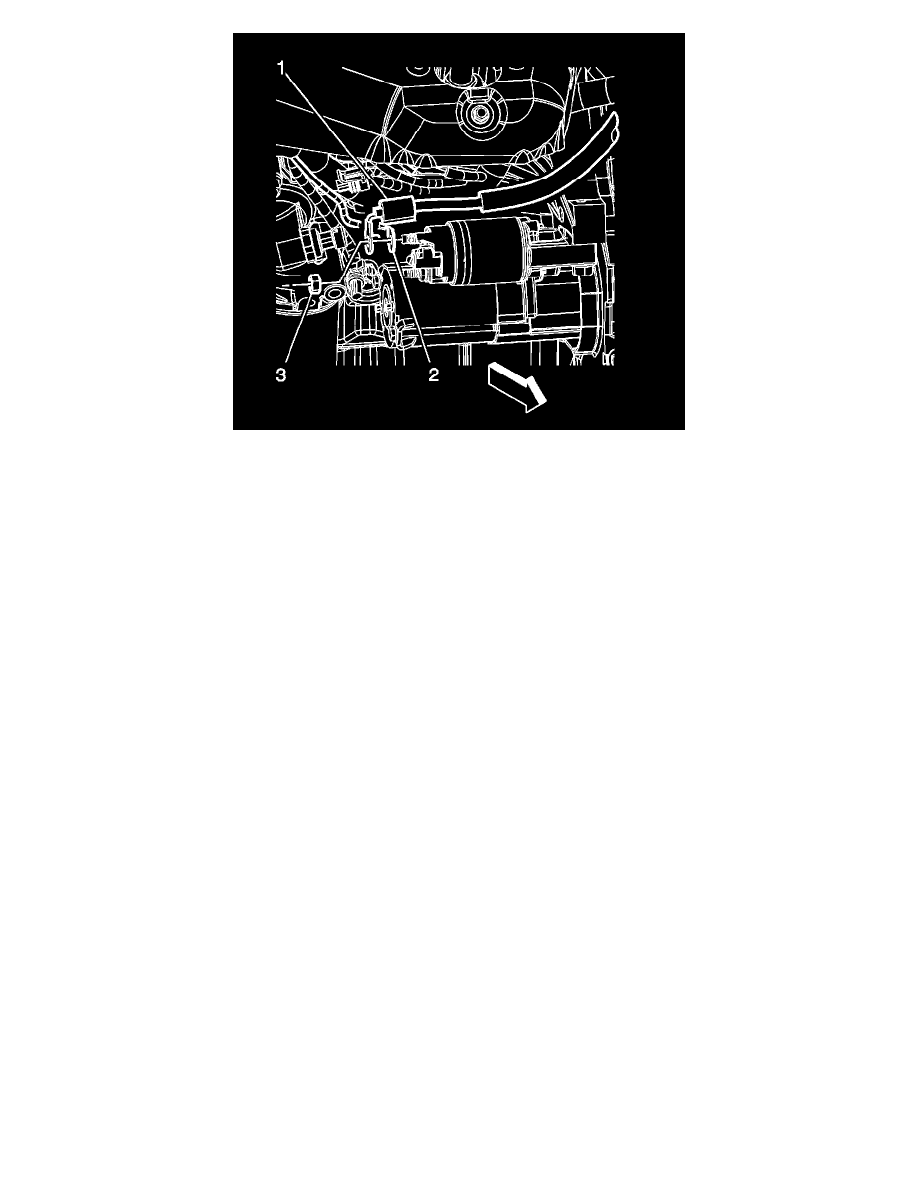
3. Install the positive battery cable (1) to the starter solenoid.
Caution: Refer to Fastener Caution (See: Service Precautions/Vehicle Damage Warnings/Fastener Caution).
4. Install the positive battery cable nut (3) to the starter solenoid. Tighten the nut to 10 Nm (89 lb in).
5. Lower the vehicle.
6. Install the positive battery cable to the junction block and tighten the positive battery cable bolt. Tighten the bolt to 10 Nm (89 lb in).
7. Install the positive battery cable clip (4) to the battery tray.
8. Install tape in order to secure the negative battery cable to the positive battery cable.
9. Position the positive battery cable to the battery.
10. Tighten the positive battery cable bolt to 17 Nm (13 lb ft).
11. Connect the negative battery cable. Refer to Battery Negative Cable Disconnection and Connection (See: Negative/Service and Repair/Battery
Negative Cable Disconnection and Connection).