
Metro L3-061 1.0L VIN 6 TBI (1998)
Hose/Line HVAC: Service and Repair
Suction Hose
Removal Procedure
1. Discharge and recover the refrigerant.
2. Remove the air cleaner from the vehicle.
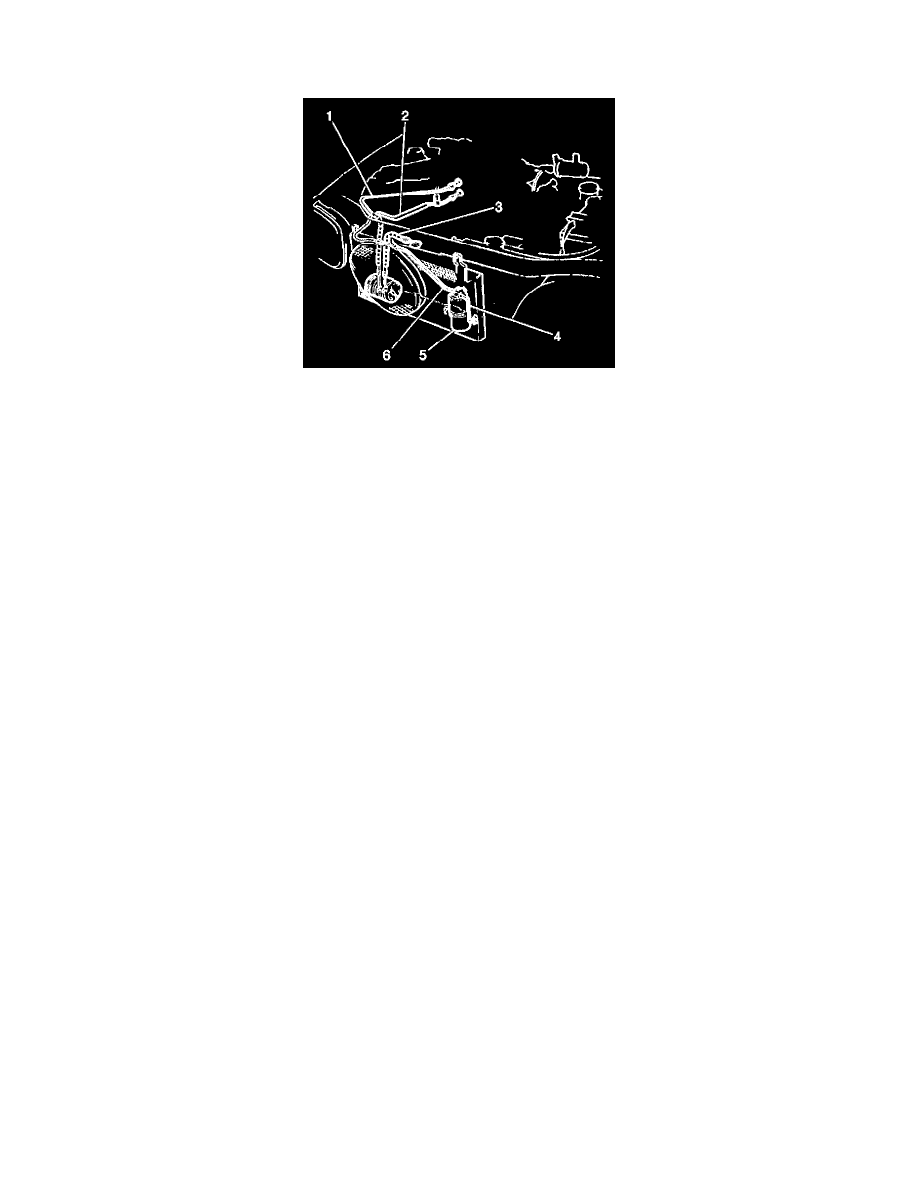
3. The 1.3L has a 2-piece suction pipe assembly. Replace either piece, or both as necessary. Remove the bolt and the compressor suction pipe (1)
from the compressor.
4. Disconnect the pipe fitting located to the left of the radiator (1.3L only).
5. Remove the compressor suction pipe at the evaporator bulkhead fitting.
6. Remove the bracket(s) and the suction pipe from the vehicle.
Installation Procedure
1. Coat new O-rings with mineral base 525 viscosity refrigerant oil.
2. Install the O-rings to the suction pipe.
3. Install the compressor suction pipe (1) to the vehicle.
4. Install the compressor suction pipe at the evaporator bulkhead fitting.
5. Connect the pipe fitting located to the left of the radiator (1.3L only).
6. Install the pipe at the compressor fitting with 1 bolt.
Tighten
Tighten the compressor pipe fitting bolt to 9.8 N.m (86.74 lb in).
7. Secure the compressor suction pipe at the support bracket(s).
8. Install the air cleaner to the vehicle.
9. Evacuate and recharge the air conditioning (A/C) system.
10. Operate the A/C system and inspect for refrigerant leaks.