Monte Carlo V6-3.8L SC VIN 1 (2004)

Important: Support the front door trim panel until the power mirror switch and/or power window switch is removed.
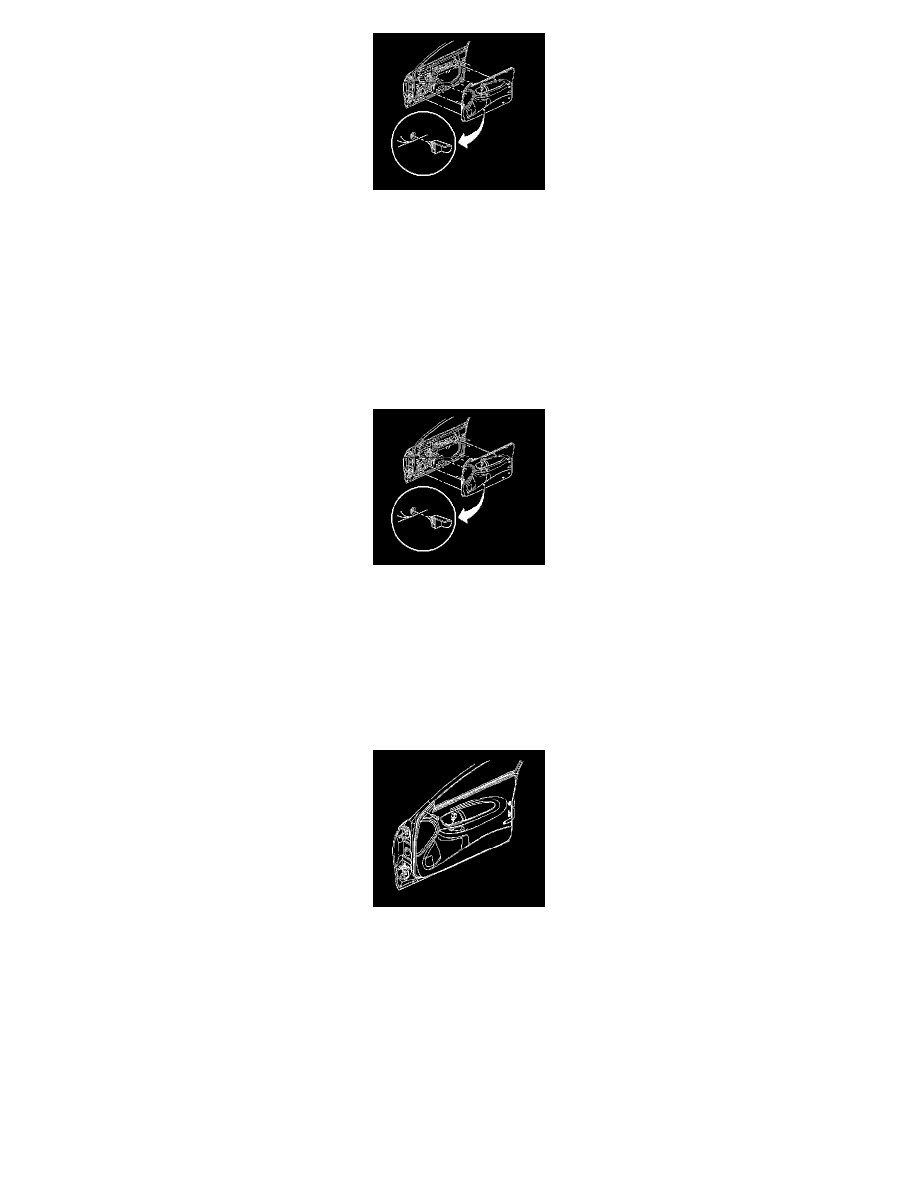
4. Remove the front door trim panel from the front door inner panel using the J 38778 in order to disengage the fasteners from the door inner panel.
5. Disconnect and reposition the electrical connectors from the front door panel.
6. Remove the front door trim panel from the vehicle.
Installation Procedure
Important: Before installing the front door trim panel to the front door inner panel, the old trim panel retainers MUST be discarded and
replaced with NEW trim panel retainers.
1. Install the new trim panel retainers to the front door trim panel.
2. Route the door lock electrical connector through the handle bezel opening.
3. Connect and reposition the electrical connectors to the front door panel.
4. Align the front door trim panel to the front door inner panel, guiding the front door handle through the trim panel.
5. Install the upper edge of the front door trim panel to the top of the inner door panel, firmly pressing down until the trim panel edge seats in the
retainer clips.
6. Align the locator pins on the front door trim panel to the front door inner panel.
7. Install the front door trim panel by firmly pressing the retainer clips until the clips are fully seated around the perimeter of the trim panel.
Notice: Refer to Fastener Notice in Service Precautions.
8. Install the screw to the upper door trim panel.
Tighten the screw to the upper door trim panel to 2 N.m (18 lb in).
