
Prizm L4-108 1.8L DOHC VIN 8 MFI (1998)
4. Use the following steps in order to connect the overflow hose to the radiator filler neck:
4.1
Position the hose over the filler neck flares.
4.2
Use a hose clamp in order to secure the hose. Use the following steps in order to connect the radiator inlet hose to the radiator:
5. Use the following steps in order to connect the radiator inlet hose to the radiator:
5.1
Position the hose over the radiator flares.
5.2
Use a hose clamp in order to secure the hose.
6. Reconnect the cooling fan electrical connectors.
7. Raise the vehicle. Support the vehicle
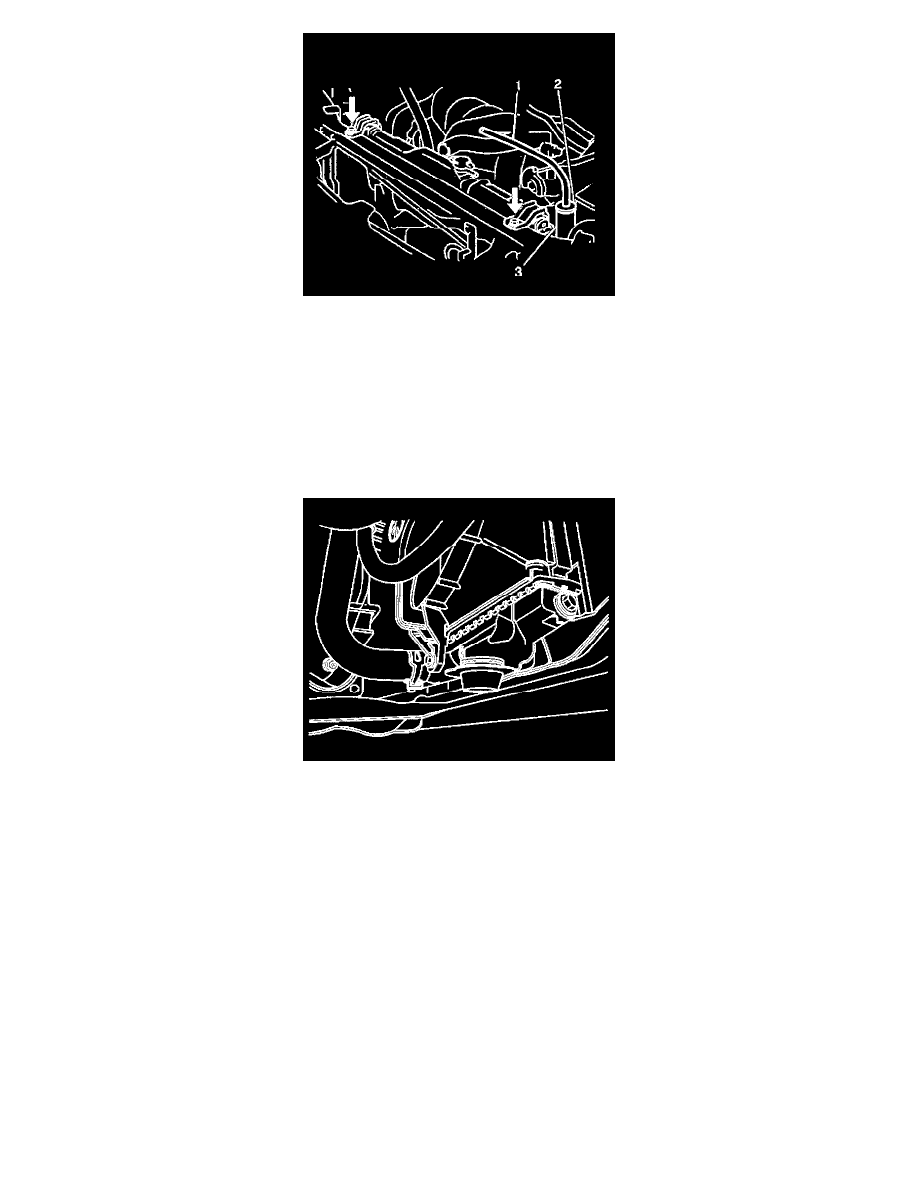
8. Install the transmission fluid cooler hoses (2) to the radiator, on vehicles with automatic transmission.
9. Use hose clamps in order to secure the hoses.
10. Connect the radiator outlet hose to the radiator.
11. Position the hose over the radiator flares. Use a hose clamp in order to secure the hose.
12. Install the right and left engine splash shields.
13. Lower the vehicle.
14. Use an approved coolant in order to fill the radiator.
15. Install the radiator cap to the radiator.
16. Inspect the transmission fluid level, on vehicles with automatic transmission.