
Prizm L4-108 1.8L DOHC VIN 8 MFI (1998)
Band Apply Servo: Service and Repair
REMOVAL PROCEDURE
1. Remove the 2nd coast brake servo snap ring from the transaxle.
2. Remove the 2nd coast brake servo cover from the transaxle.
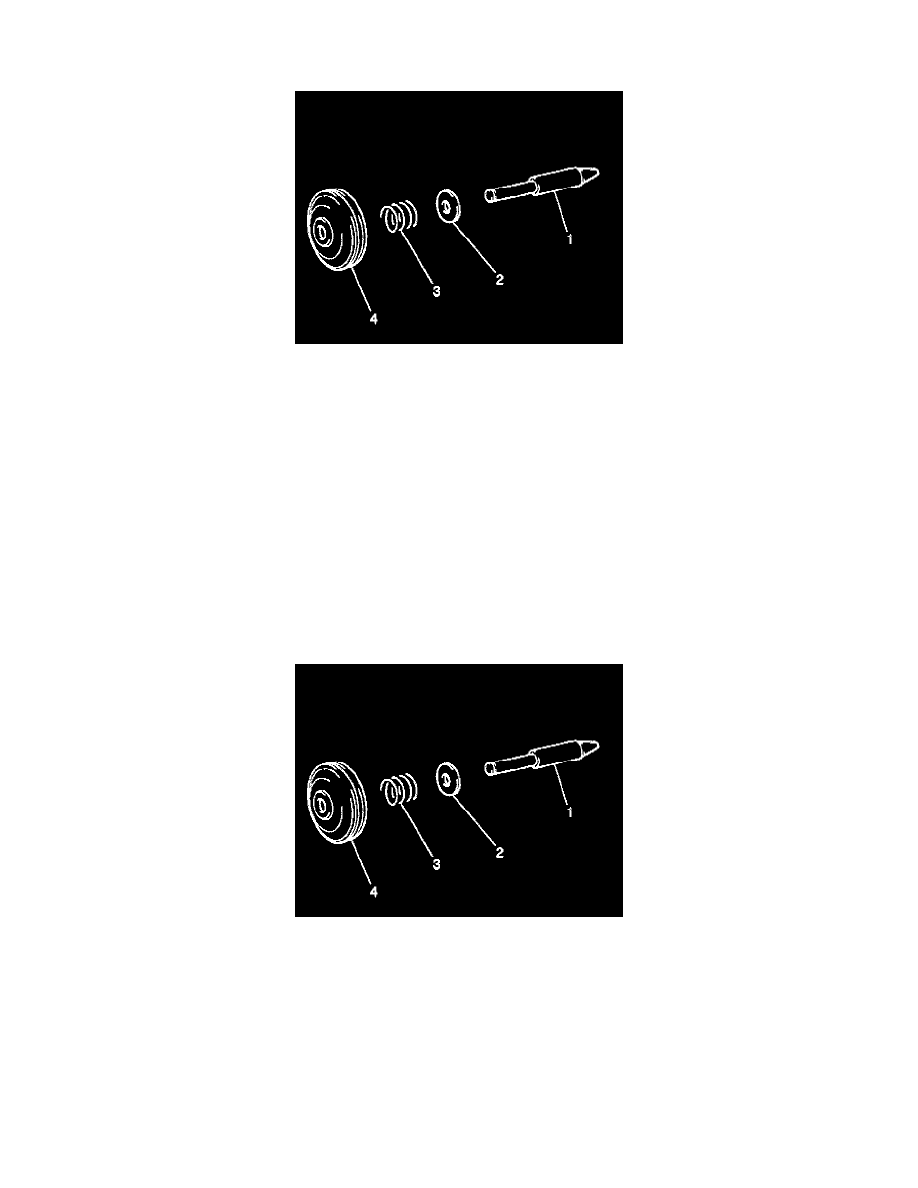
3. Remove the piston rod (1) from the transaxle.
4. Remove the 2nd coast brake piston (4) and the outer spring (3) from the piston rod (1).
5. Clean all servo components with solvent and dry thoroughly.
6. Inspect the servo bore for minor nicks, scars or other damage.
^
Remove minor nicks or scars with ultra-fine emery cloth.
^
Replace transaxle case if deep nicks or scars are found.
7. Inspect all servo components for minor nicks, scars or other damage.
^
Remove minor nicks or scars with ultra-fine emery cloth.
^
Replace transaxle case if deep nicks or scars are found.
INSTALLATION PROCEDURE
^
Tools Required
-
J 36850 Transjel(R) Transmission Assembly Lubricant
1. Apply J 36850 to the 2nd coast brake servo piston seal.
2. Install the 2nd coast brake outer spring (3) and the piston (4) into the piston rod (1).
3. Install the piston rod into the transaxle.
4. Apply J 36850 to the 2nd coast brake servo cover seals.
5. Install the 2nd coast brake servo cover into the transaxle.
6. Install the 2nd coast brake servo snap ring into the transaxle.
7. Inspect the transaxle fluid level and refill the transaxle as necessary. Refer to "Transmission Fluid Checking Procedure".