
Tracker 2WD L4-1.6L VIN 6 (2000)
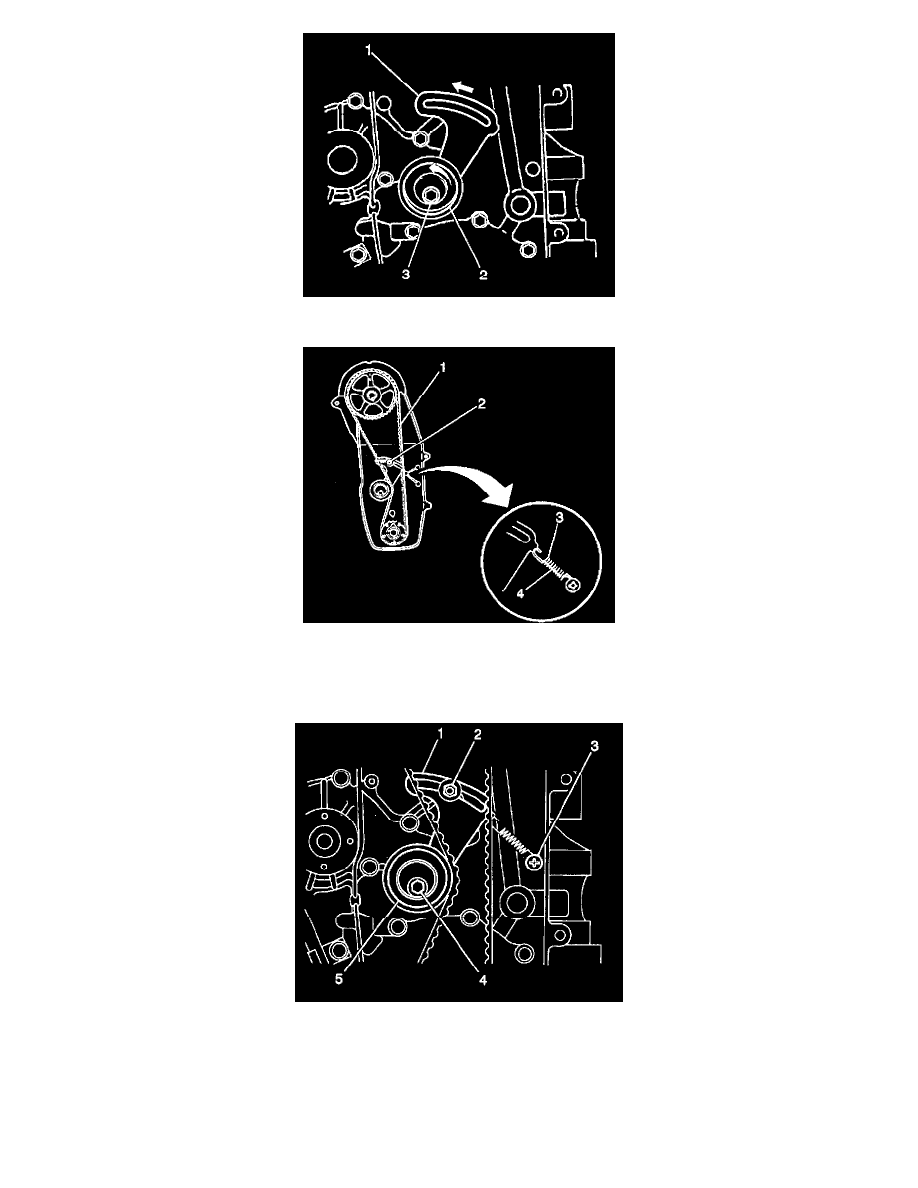
1. Push the timing belt tensioner plate up for the timing belt installation.
2. Install the timing belt (1) onto the camshaft and the crankshaft timing belt gears.
3. Inspect the timing marks on the cylinder head cover and the camshaft timing belt gear for alignment as well as the timing marks on the oil pump
housing and the crankshaft timing belt gear. If these two sets of timing marks are not properly aligned, remove the timing belt and align both sets
of marks as previously outlined in this procedure.
4. Install the timing belt tensioner spring to the timing belt tensioner plate (1).
5. Rotate the crankshaft two complete revolutions to remove any slack from the timing belt and to properly seat the timing belt.
Important: When all of the slack has been removed from the timing belt, inspect both sets of the timing marks to ensure that they are properly
aligned. If the timing marks are not aligned, remove the timing belt and align both sets of marks as previously outlined in this procedure.
6. After the timing belt has been rotated and seated, tighten the timing belt tensioner stud.