
Tracker 2WD L4-1.6L VIN 6 (2000)
22. If using the short method, cut the tip of the applicator nozzle in order to provide an bead approximately 6.0 mm (1/4 in).
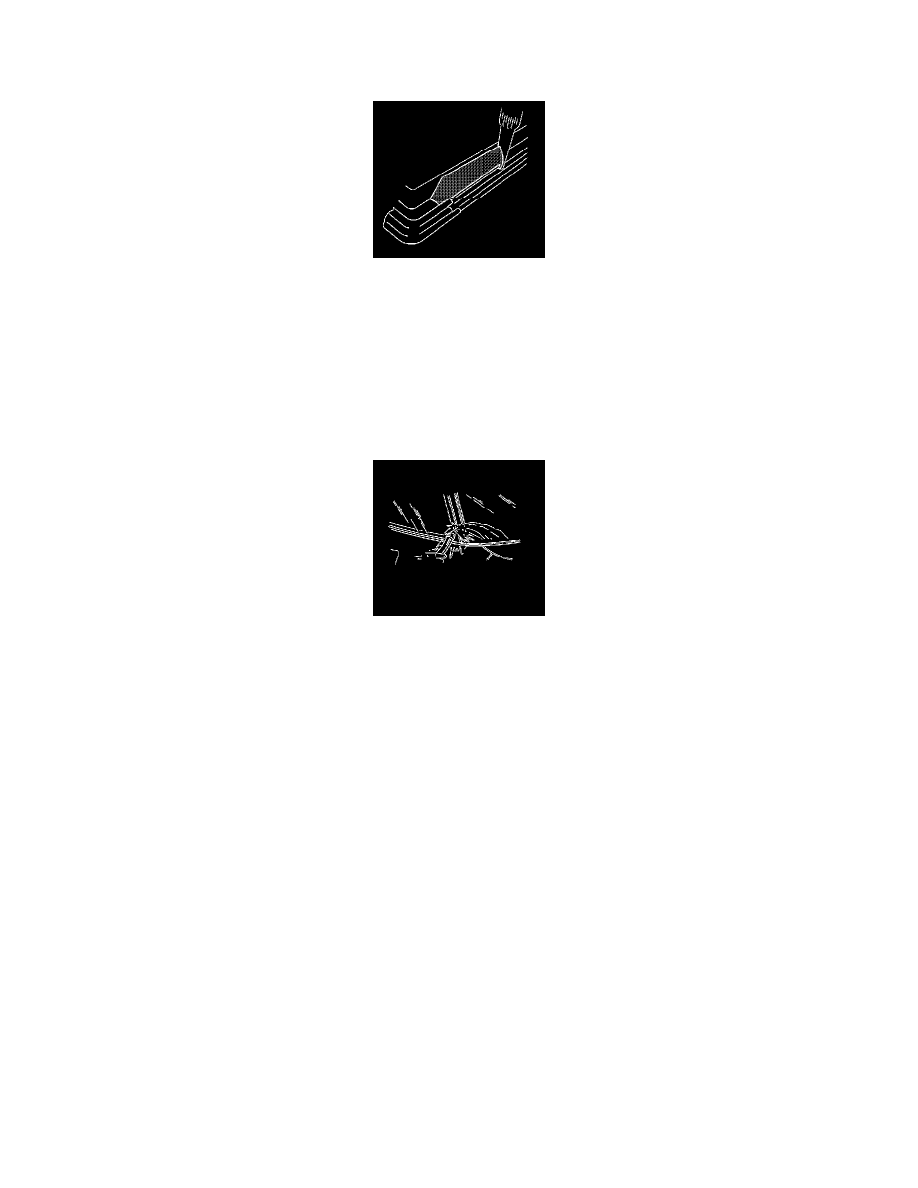
23. If using the extended method, cut the applicator nozzle in order to provide a bead approximately 10.5 mm (0.14 in) wide and 10.5 mm (0.14 in)
high.
24. Use a cartridge-type caulking gun, apply a smooth continuous bead of new urethane adhesive around the edge of the rear door window where the
primer was applied.
25. When using the short method, apply the urethane adhesive to the existing bead of urethane adhesive on the body.
26. When using the extended method, use the edge of the rear door window or the inside edge of the reveal molding as a guide for the nozzle in order
to apply the urethane adhesive to the inner surface of the rear door window.
27. With the aid of an assistant, use the suction cups in order to install the rear door window into the opening.
28. Align the tape on the rear door window and the body.
29. Press the rear door window (2) firmly into place in order to wet-out and seat the urethane adhesive.
30. Tape the rear door window in places to the body in order to minimize movement until the urethane adhesive cures.
31. Clean any excess urethane adhesive from the body.
Important: Do not direct a hard stream of high pressure water at the fresh urethane adhesive.
32. Use a soft spray of warm water in order to immediately water test the rear door window.
33. Inspect the rear door window for leaks.
34. If you have found any leaks, use a plastic paddle in order to apply extra urethane at the leak point.
35. Retest the rear door window for leaks.
36. The following conditions must be maintained to properly cure the urethane.
1. Allow the vehicle to remain at room temperature 21°C (70°F) at 30 percent relative humidity.
Caution: Refer to Repair Material Curing Caution in Cautions and Notices.
2. Allow a minimum of 6 hours for the moisture curing urethane adhesive.
3. Allow a minimum of 1 hour to 1 1/2 hours for the chemical curing urethane adhesive.
4. Partially lower a door window in order to prevent pressure buildups when closing doors before the urethane adhesive cures.
5. Do not drive the vehicle until the urethane adhesive is fully cured. Refer to the above curing times.
6. Do not use compressed air in order to dry the urethane adhesive.
37. Install the plastic retainers to the rear door hinge cover. Replace with new retainers as needed.
38. Connect the rear window defogger electrical connectors.
39. Install the rear window wiper arm, if equipped. Refer to Rear Window Wiper Arm Replacement.
40. Install the rear door hinge cover to the vehicle. Ensure that the plastic retainers are fully engaged.
41. Install the spare tire and wheel assembly to the spare wheel carrier. Refer to Spare Tire Replacement
42. Remove the protective coverings and tape from the vehicle.