
Tracker 4WD V6-2.5L VIN 4 (2001)
Rear Door Striker: Service and Repair
Rear Side Door Lock Striker Replacement
Rear Side Door Lock Striker Replacement
Removal Procedure
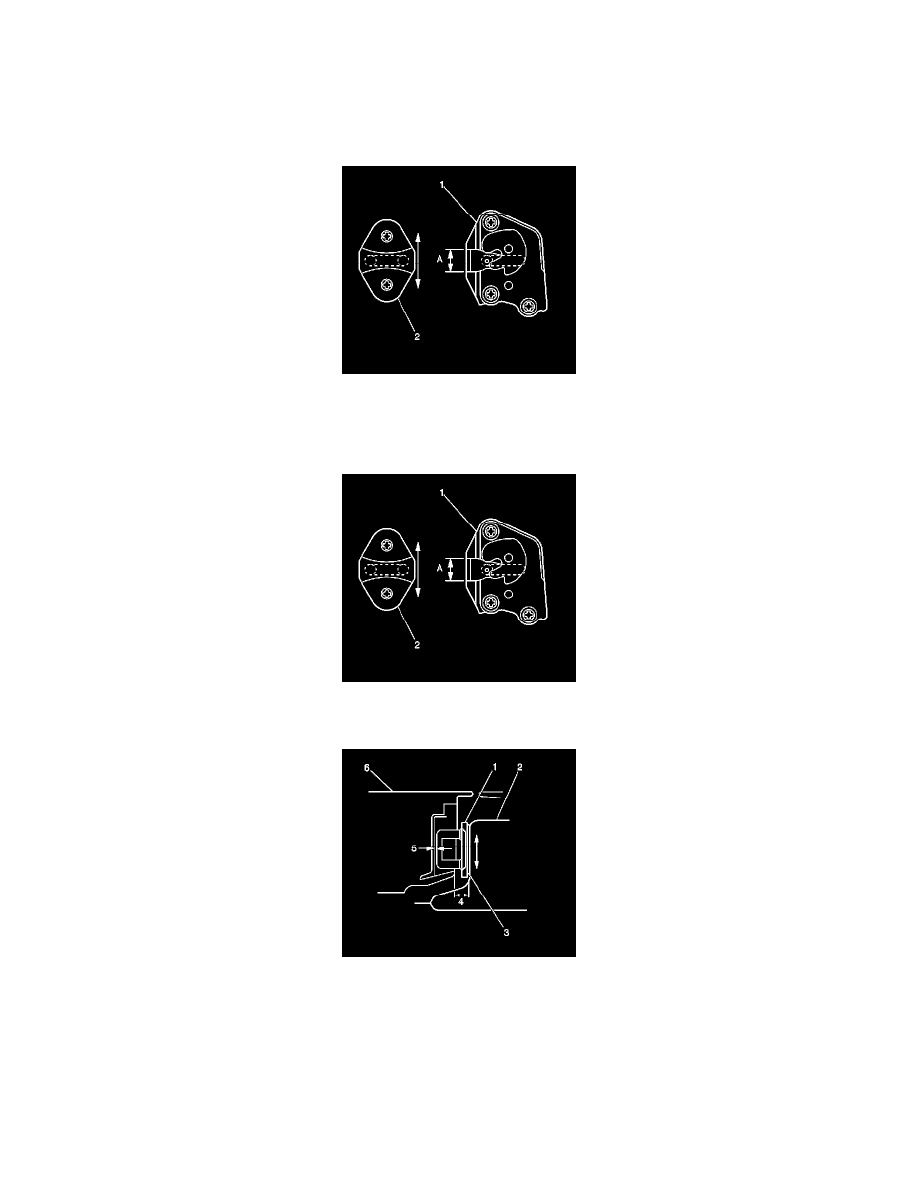
1. Mark the position of the rear side door lock striker (2) on the door jamb for ease of installation.
2. Remove 2 screws and the rear side door lock striker (2) from the door jamb.
Installation Procedure
1. Install the rear side door lock striker (2) to the door jamb. Secure the striker with the 2 screws.
2. Adjust the rear side door lock striker vertical measurement so that the striker (2) shaft aligns with the center of the rear side door lock (1).
3. Adjust the door lock striker to rear side door distance (4) to 10.9-12.9 mm (0.43-0.5 in) by installing or removing shims (3) as necessary.
Adjust the door lock striker to the door lock distance (5) to 3.4-5.4 mm (0.13-0.21 in) by installing or removing shims (3) as necessary.
4. Keeping the door lock striker (1) level, move the striker sideways on the door jamb (2) in order to adjust the door (6) flushness with the quarter
panel. Refer to Door Adjustment Specifications (See: Specifications/Door Adjustment Specifications) .