
Tracker 4WD V6-2.5L VIN 4 (2001)
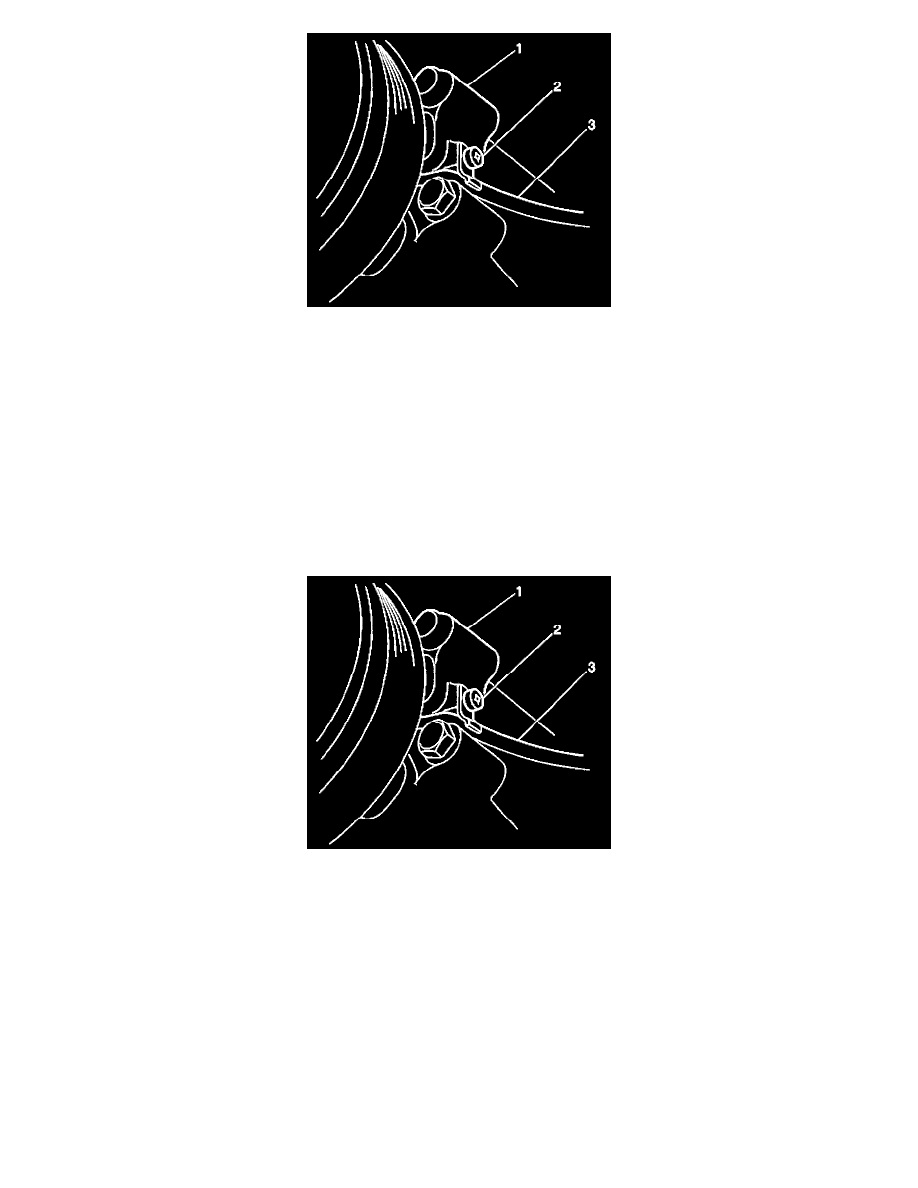
6. Remove 1 screw (2) and the clutch coil wire retainer.
7. Remove the clutch coil snap ring using the snap ring pliers.
8. Remove the clutch coil from the compressor.
9. Inspect the following parts for excessive wear and scoring:
^
The pressure plate
^
The clutch pulley
^
Replace parts as necessary
10. Measure the clutch coil resistance using the J 39200. Measure the resistance between the clutch coil wire connector and the compressor case.
11. Replace the clutch coil if the resistance is not within specifications.
Clutch Coil Resistance
4.0-6.0 Ohms at 20°C (68°F)
INSTALLATION PROCEDURE
1. Install the clutch coil to the compressor. Secure the clutch coil with the snap ring.
NOTE: Refer to Fastener Notice in Service Precautions.
2. Install the clutch coil wire retainer to the compressor. Secure with 1 screw (2).
Tighten
Tighten the clutch coil wire retainer bolt to 2-2.5 N.m (17.7-22.12 lb in).