
Concorde V6-3.2L VIN J (2000)
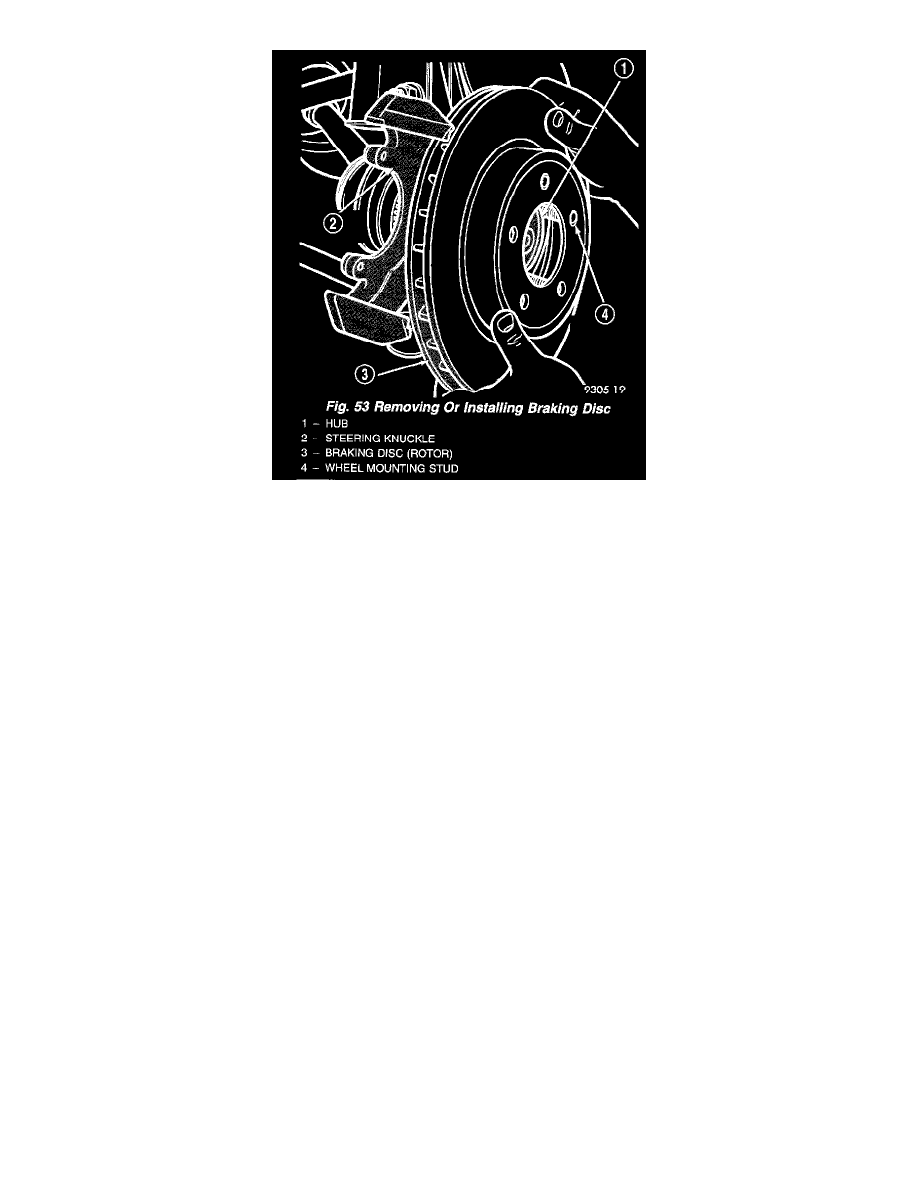
2. If removed, install rotor on hub.
NOTE: Make sure shoe retractor clips are in position between the shoe backing plates on each end of shoes before caliper installation.
3. Carefully position caliper and brake shoe assemblies over rotor using the reversed required removal procedure .
4. Install the banjo bolt connecting the flex hose to the caliper. One washer should be installed on each side of the flex hose fitting before installing
the banjo bolt. Tighten banjo bolt to a torque of 48 Nm (35 ft. lbs.).
CAUTION: When being installed, extreme caution should be taken not to crossthread the caliper guide pin bolts.
5. Install the caliper guide pin bolts. Tighten guide pin bolts to a torque of 22 Nm (192 inch lbs.).
6. Install the wheel and tire assembly.
7. Tighten the wheel mounting stud nuts in proper sequence until all nuts are torqued to half specification. Then repeat the tightening sequence to the
full specified torque of 129 Nm (95 ft. lbs.).
8. Remove jackstands or lower hoist. Before moving vehicle, pump the brake pedal several times to insure the vehicle has a firm brake pedal to
adequately stop vehicle.
WARNING: Before moving vehicle after performing any service to the vehicle brake system, be sure to obtain a firm brake pedal.
9. Road test the vehicle and make several stops to wear off any foreign material on the brakes and to seat the brake shoe linings.
Rear
NOTE: Before proceeding with this procedure, review service warnings and cautions found at Brakes, Service Precautions.
REMOVAL
1. Raise vehicle on jackstands or centered on a hoist.
2. Remove rear wheel and tire assemblies from vehicle.