PT Cruiser L4-2.4L (2008)

Evaporator Core: Service and Repair
Removal
REMOVAL
NOTE: The HVAC housing assembly must be removed from vehicle and disassembled for service of the A/C evaporator.
NOTE: LHD model with A/C shown in illustrations. RHD and heater-only model similar.
1. Remove the HVAC housing assembly and place it on a workbench See: Housing Assembly HVAC/Service and Repair/Removal and
Replacement/HVAC Housing - Removal.
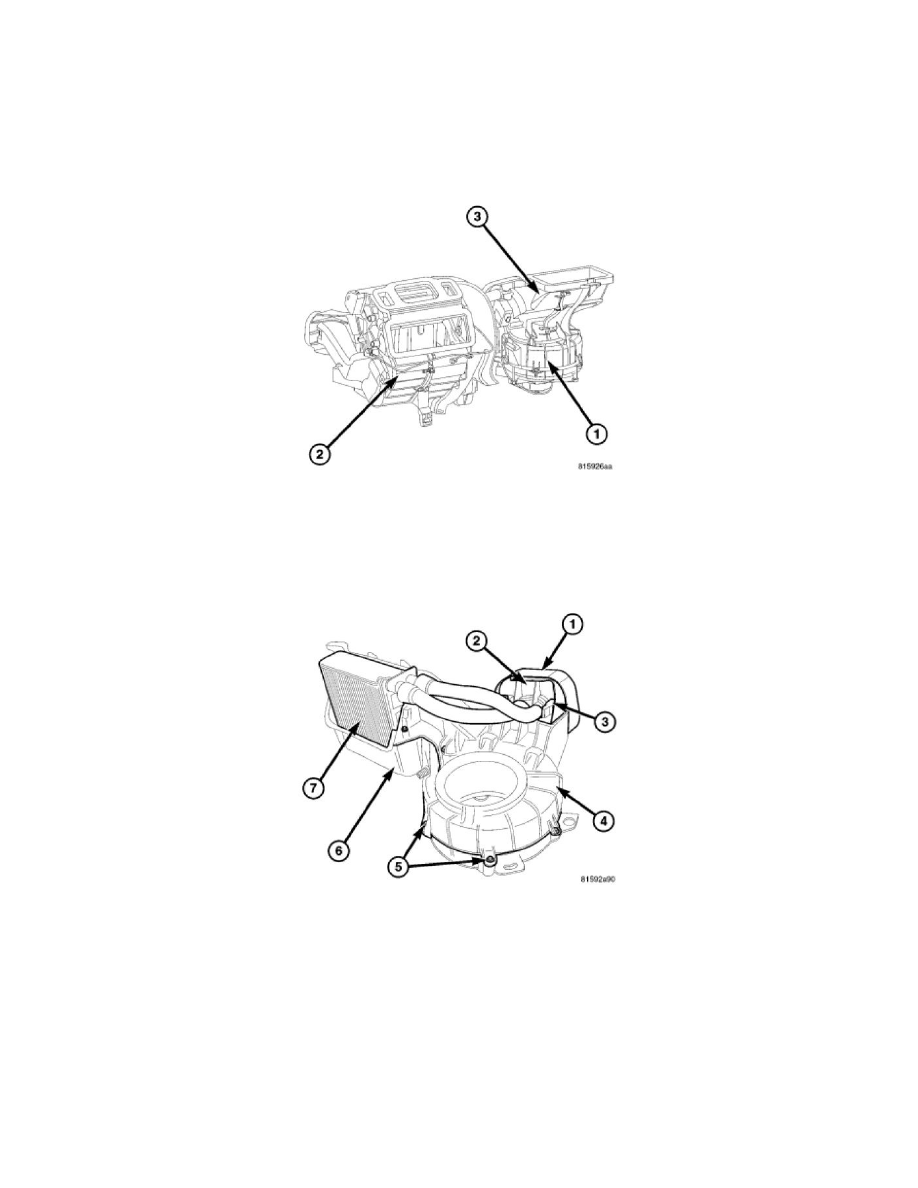
2. Remove the air distribution housing (2) from the HVAC housing (1) See: Housing Assembly HVAC/Service and Repair/Removal and
Replacement/HVAC Housing - Removal.
3. Remove the air inlet housing (3) from the HVAC housing See: Housing Assembly HVAC/Service and Repair/Removal and Replacement/HVAC
Housing - Removal.
NOTE: If the foam seal for the flange is deformed or damaged, it must be replaced.
4. Remove the foam seal (1) from the flange (2) located on the upper half of the HVAC housing (4).
5. Remove the two screws (3) that secure the flange to the HVAC housing and remove the flange.
NOTE: If the foam insulator for the A/C evaporator or its tubes is deformed or damaged, it must be replaced.
6. Carefully lift the A/C evaporator and tubes (7) out of the lower half of the HVAC housing (6).
