
PT Cruiser L4-2.4L Turbo VIN G (2004)
Vacuum Brake Booster: Service and Repair
Removal and Installation (Right Hand Drive)
REMOVAL- RHD
NOTE: Before proceeding, Refer to Service Precautions.
1. Remove the air cleaner cover and hose to the throttle body.
2. Remove the air cleaner housing by pulling straight up.
3. Disconnect negative (ground) cable from the battery and isolate the cable.
4. Unlatch the power distribution center, lift it up, and move it to the side.
5. Using a R-134a refrigerant recovery machine, remove the refrigerant from the A/C system.
6. Disconnect the refrigerant lines at their midline connection block just above the upper engine torque strut. Position the refrigerant lines out of the
way and cap all openings to prevent contamination.
7. Remove the master cylinder.
8. Inside the vehicle, remove the silencer pad below the knee blocker.
9. Fold down and remove the knee blocker.
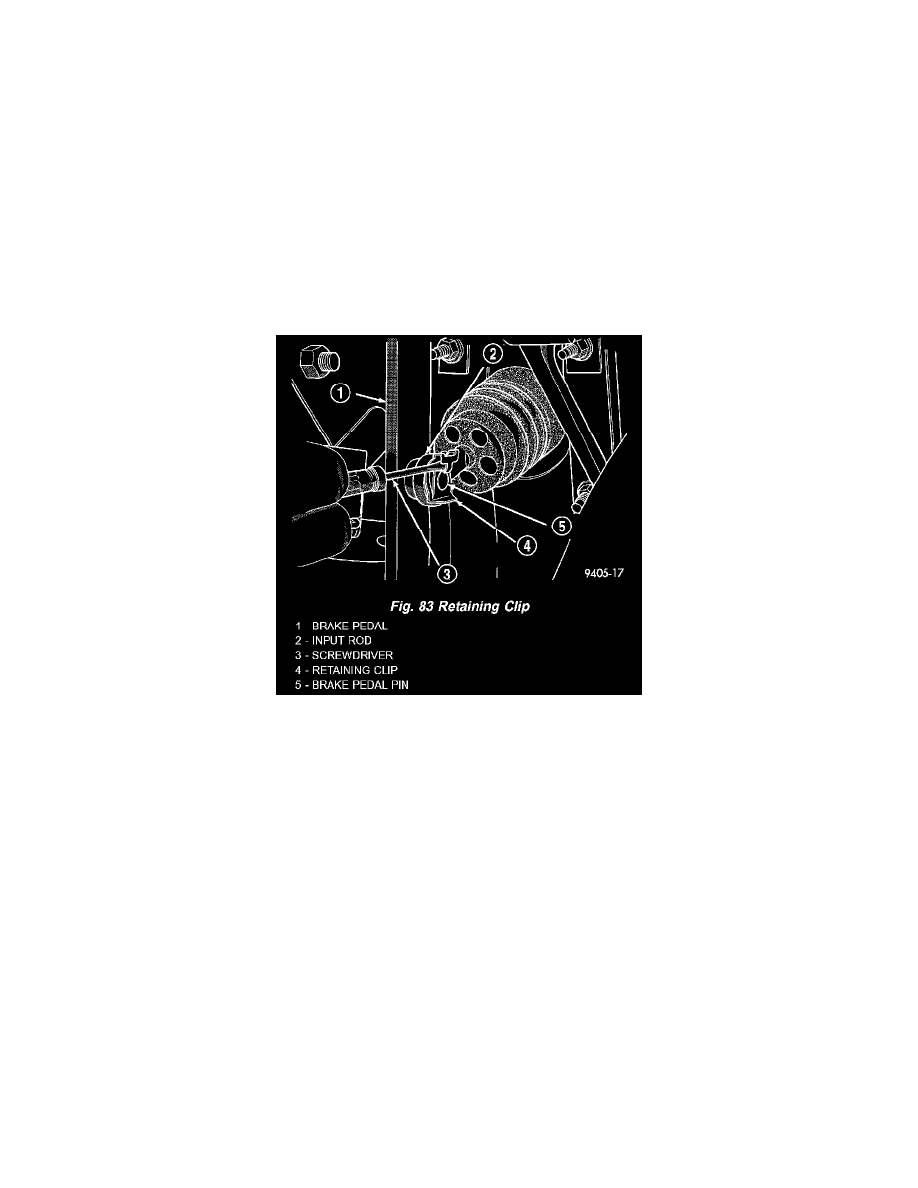
10. Locate the brake pedal-to-power brake booster input rod attachment under the instrument panel. Position a small screwdriver under the center tang
of the retaining clip, then rotate the screwdriver enough to allow the retaining clip tang to pass over the end of the brake pedal pin. Remove the
clip.
CAUTION: Discard the used retaining clip, it is not to be reused. Replace the clip with a new one on reassembly.
11. Remove the four nuts attaching the power brake booster to the instrument panel. The nuts are accessible from under the instrument panel in the
area of the brake pedal bracket.
12. Slide the power brake booster forward until mounting studs clear the dash panel, then remove it from engine compartment by carefully positioning
booster lip past edge of engine cover. Use care to prevent breaking valve cover.
INSTALLATION- RHD
1. Install the brake booster on the dash panel using the reverse of how it was removed. Be certain dash seal is installed on booster studs prior to
installation.
2. Under the instrument panel, install the four power brake booster mounting nuts. Tighten the nuts to a torque of 34 Nm (25 ft. lbs.).
3. Using Mopar Lubriplate, or an equivalent, coat the surface of the brake pedal pin where it contacts the brake booster input rod.
CAUTION: Use only a new brake booster input rod to-brake pedal retaining clip to ensure proper retainment.
4. Connect the power brake booster input rod-to brake pedal pin. Install a new retaining clip. Do not use the old clip.
CAUTION: Do not reuse the original brake lamp switch. The switch can only be adjusted once. That is during initial installation of the switch. If
the switch is not adjusted properly or has been removed for some service, a new switch must be installed and adjusted.
5. Remove and replace the brake lamp switch with a NEW switch. Discard the original brake lamp switch.