
Sebring Convertible V6-2.5L VIN H (1997)
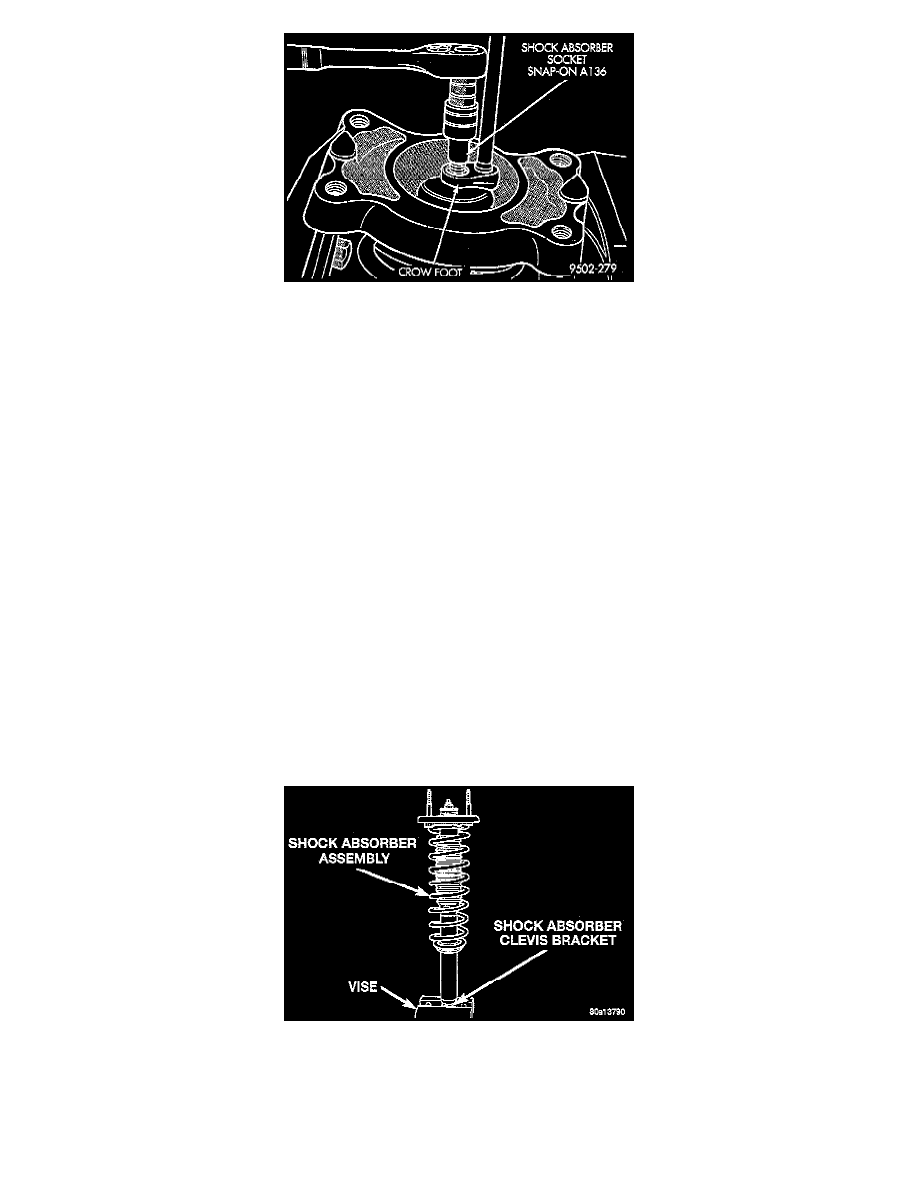
11. Install nut on rod of shock absorber assembly. Install Shock Absorber Socket, Snap-On A136 or an equivalent on end of shock rod to keep rod from
turning Then tighten rod nut using a crowfoot to a torque of 55 Nm (40 ft. lbs.).
12. Relieve all tension from spring compressor. After all spring tension has been remove from the spring compressor, remove it from the shock
absorber assembly.
13. Remove the clevis from the shock absorber. The clevis must be removed from the shock absorber for installation in vehicle.
14. Install shock absorber assembly back in the vehicle.
General Information
The rear shock absorber can not be repaired and must be replaced as a unit if found to be defective in any way. The shock absorber is available in 2
different suspension calibrations, be sure the shock absorber is replaced with a shock absorber of the same calibration. Refer to the sales codes for the
vehicle being serviced, to determine which type of suspension the vehicle is equipped with.
The components of the shock absorber assembly listed below are replaceable if found to be defective.
-
Coil Spring (Coil springs come in a standard and high rate. Be sure spring is replaced with a spring of the correct rate.)
-
Dust Shield Assembly
-
Mount Bracket
-
Jounce Bumper
-
Lower Spring Isolator
-
Shaft Nut
-
Lower Retainer (Washer)
-
Upper Retainer (Washer)
-
Bushing Sleeve
-
Upper Mount Bushing
-
Lower Mount Bushing
-
Upper Spring Isolator
Disassembly
1. Remove shock absorber assembly requiring service from the vehicle.
2. Position shock absorber assembly in a vise. Shock absorber is to be clamped only by the clevis bracket on the bottom of the shock absorber.
3. Mark the coil spring and the shock absorber right or left, according to which side of the vehicle it was removed from, and which shock absorber the
spring was removed from.
WARNING:
-
Do not remove the shock absorber rod nut, before the shock absorber coil spring is compressed, removing spring tension from the