
Town & Country V6-3.8L VIN L (2006)
crank. (Figure 15)
10.
Remove the three bolts holding the wiper motor assembly to the wiper module and remove the motor. (Figure 15).
11.
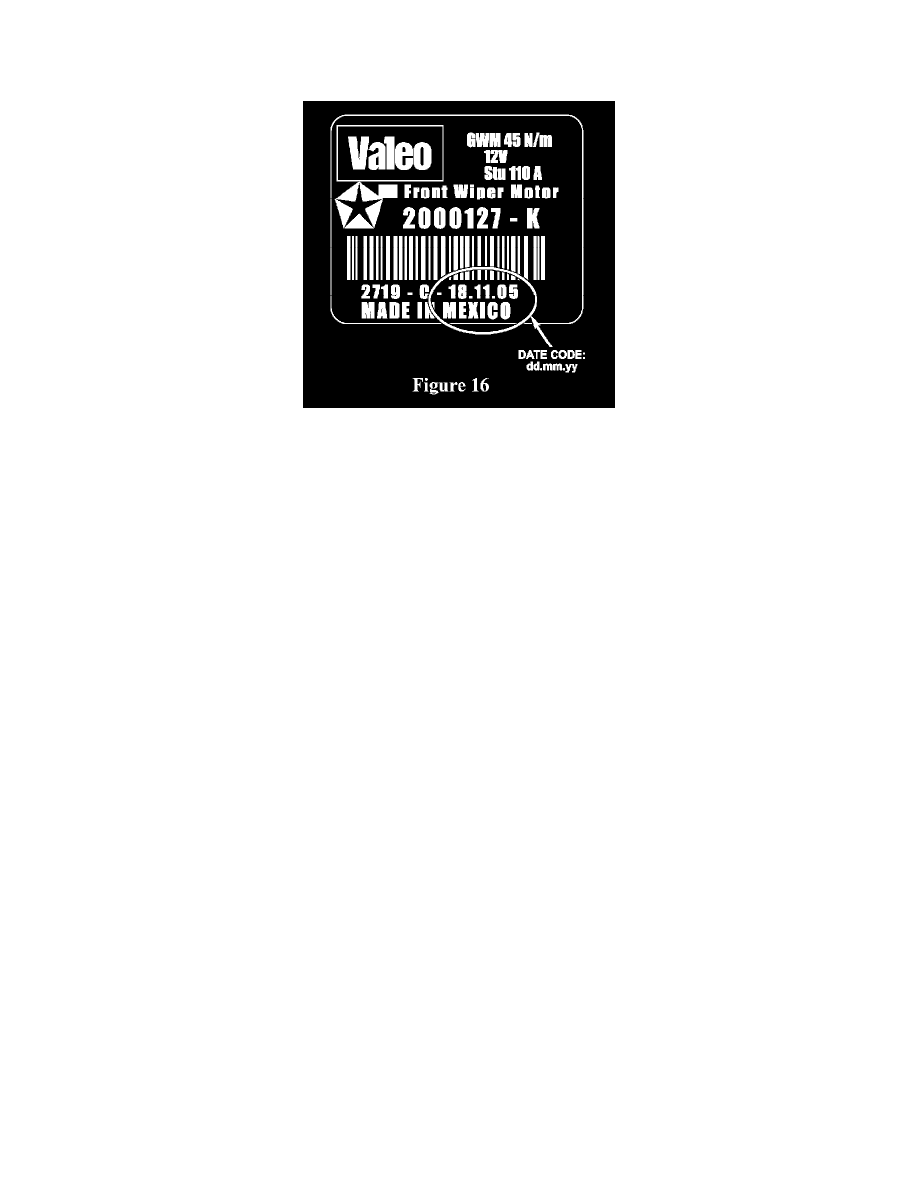
Read the wiper motor date code (Figure 16).
>
If the date code (dd.mm.yy) is:
21.03.05 (21Mar05) through
15.05.05 (15May05)
OR
21.09.05 (21Sep05) through
28.10.05 (28Oct05),
OR
the date code is illegible,
discard the old wiper motor.
>
If the date code is not within the two date ranges, reuse the old motor. motor.
12.
Position the wiper motor so that the end of the wiper motor is facing the engine
13.
Install the three wiper motor self tapping bolts removed in Step 10 and tighten to 62 in-lbs (7 N.m). (Figure 15)
14.
If a new wiper motor is being installed, apply a light coating of grease (supplied in the kit) to the lower wiper motor crank ball.
15.
Using a pair of slip joint pliers, snap the lower wiper linkage (left) onto the ball (Figure 15). Apply just enough force to pop the link on.
CAUTION:
Excessive clamping force will damage the plastic drive link bushing.
16
If a new wiper motor is being installed, liberally apply the remainder of the grease on the top half of the upper crank ball.
17.
Using a pair of slip joint pliers, snap the upper wiper linkage (right) onto the ball (Figure 15). Apply just enough force to pop the link on.
CAUTION:
Excessive clamping force will damage the plastic drive link bushing.
18.
Connect the wiring harness connector to the wiper motor connector.
19.
Lock the red positive lock tab on the wiper module wire connector.